If you have walked through a thrift store or garage sale, chances are you've seen dozens of outdated lamps just waiting for a little spray paint and a DIY lampshade makeover.
In today's upcycling world, redoing a lamp is a great way to take an otherwise dated (or just plain ugly) lamp up a level and make it fit the decor of your home. It saves you money plus it keeps them out of the landfill.
But how do you redo a lamp shade? How do you DIY a burlap lamp shade?
It's not nearly as hard or as complicated as it seems, and the results are shabby chic perfection.
Here's how to take a boring lampshade and make it a showstopper with a little burlap and glue.
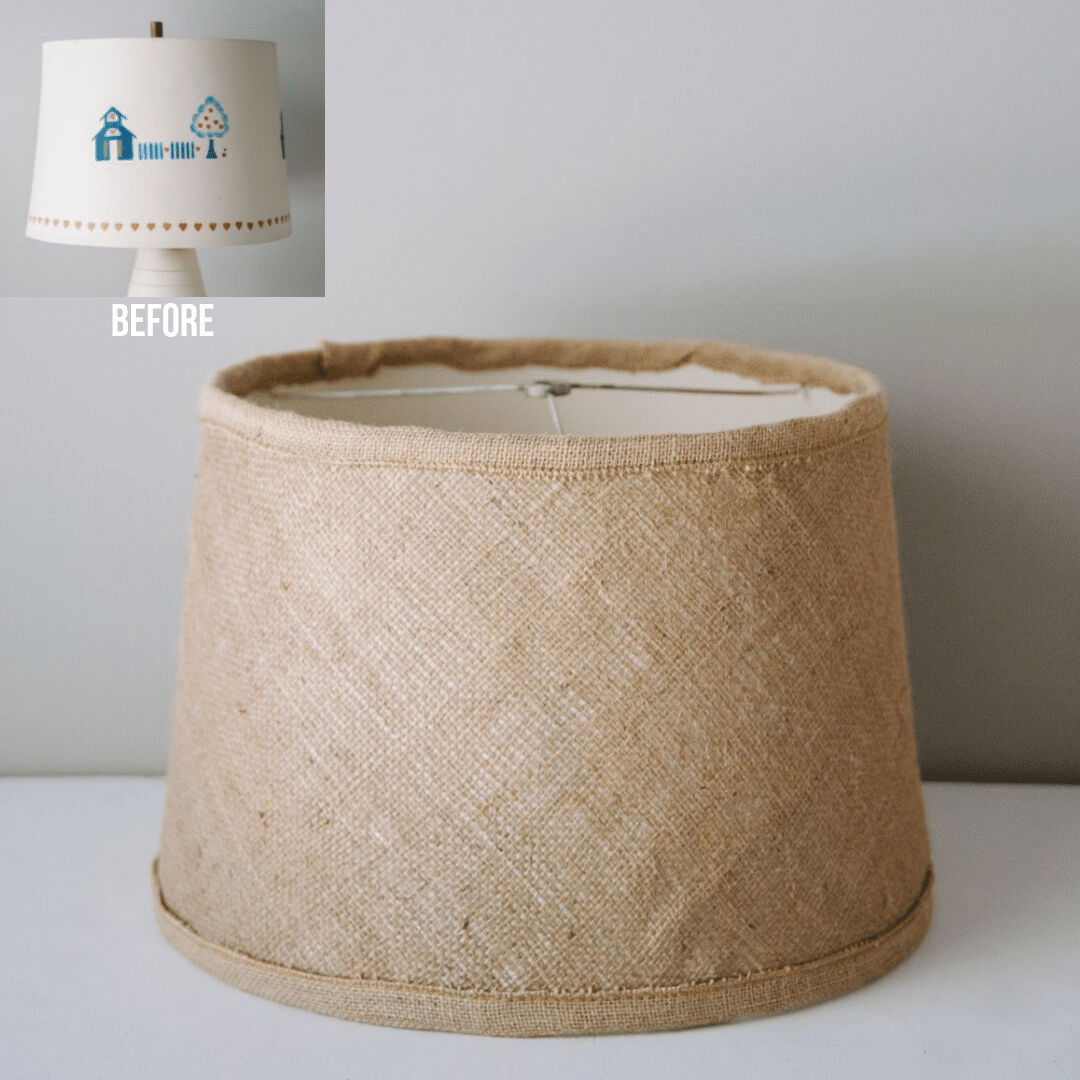
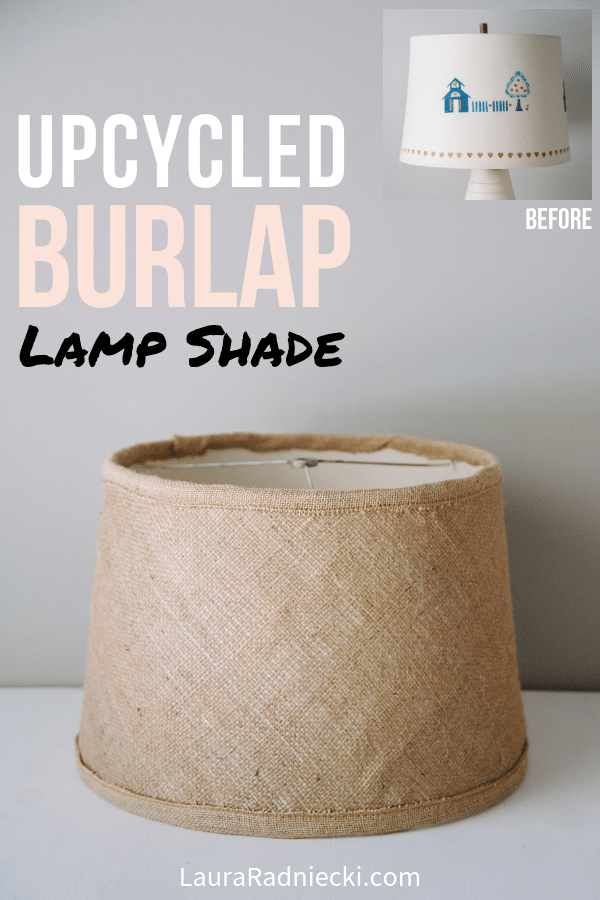
DIY Lampshade Makeover | Upcycled Burlap Lamp Shade
Step 1. Gather supplies.
Supplies needed:
- Lamp shade
- Primer or white spray paint if your shade is not plain
- Burlap fabric
- Pen, pencil, or marker
- 1.5" wide burlap ribbon
- Spray adhesive
- Hot glue gun and glue sticks
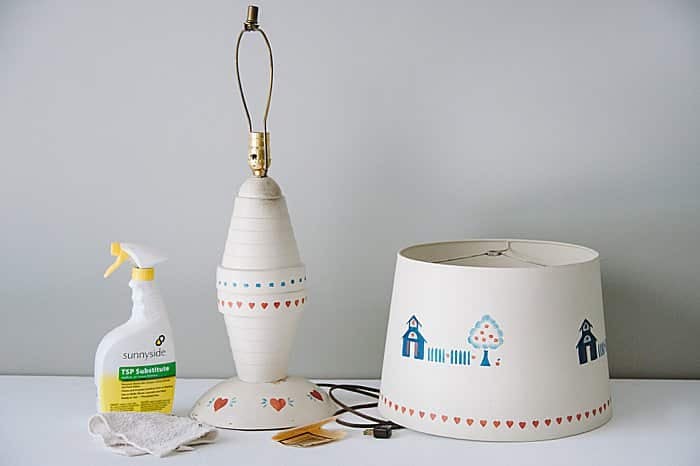
Step 2. Prepare the lamp shade for the DIY lampshade makeover.
Clean the lampshade if it is dirty.
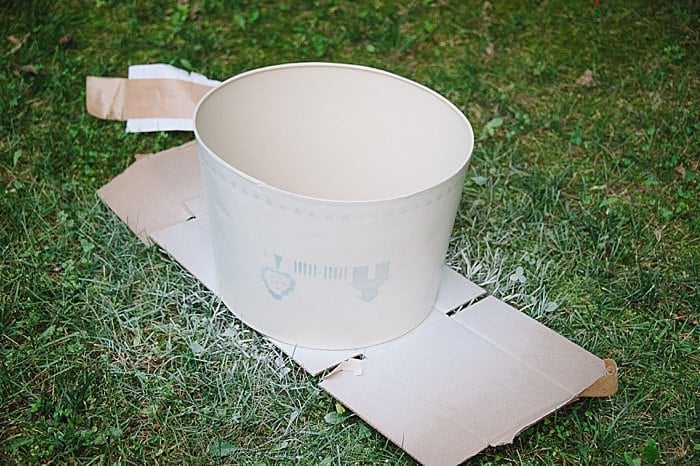
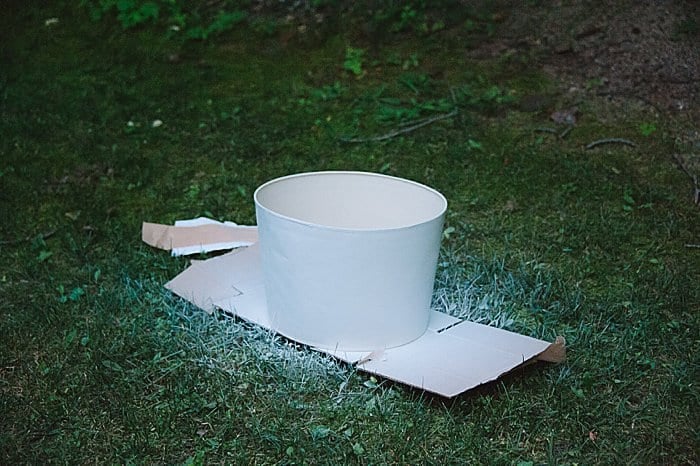
If the shade is not plain (un-patterned), you will want to cover up any stencils, designs or patterns so they don't show through the finished product.
I used several coats of white spray primer until I could no longer see any designs through it.
You could use regular spray paint (not primer) if you needed to. It doesn't matter, as long as you cover up any existing designs.
Step 3. Cut burlap for lamp shade.
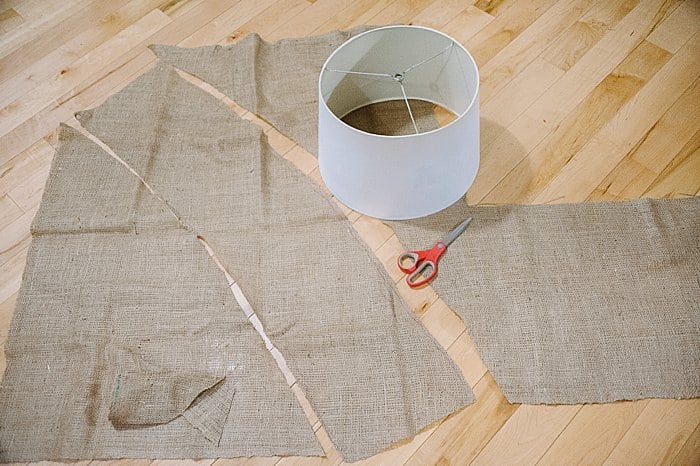
Lay out the burlap fabric.
(Here is everything you need to know about burlap including what it is and how to handle it.)
Roll the lamp shade slowly along the fabric and trace the outline as you go. Add an extra ½" or 1" to the top and bottom because you will be folding these edges over the top and bottom of the shade and gluing later.
PRO TIP: This step sounds complicated but you don't have to be perfect or exact. As long as you allow extra fabric to wrap and glue, you'll be fine.
Step 4. Spray burlap with spray adhesive.
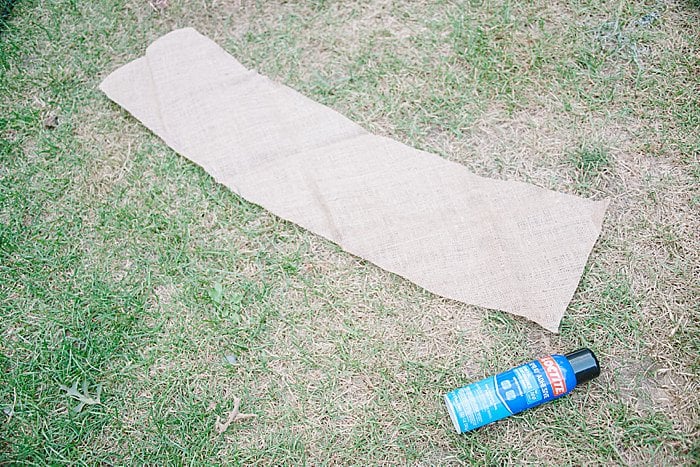
Following the directions on the spray adhesive can, spray the burlap and lamp shade in preparation for wrapping.
My bottle said if I wanted a permanent bond, to spray a medium coat on both surfaces, let dry for a minute, and then stick together.
Make sure you spray enough to ensure a good bond. I don't think I sprayed enough - it acted more like repositionable spray than a permanent bond so next time, I would spray more adhesive on each side.
Step 5. Carefully wrap the lamp shade in burlap.
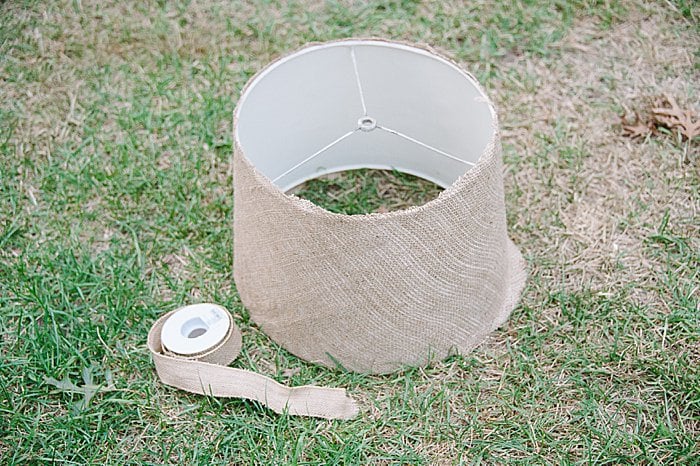
Slowly wrap the lamp shade with the strip of burlap, smoothing out any wrinkles or bubbles as you go.
I was able to peel my fabric back a little bit if needed as I went, to get the best fit I could.
Make sure there is enough to wrap around the top edge and bottom edge as you go.
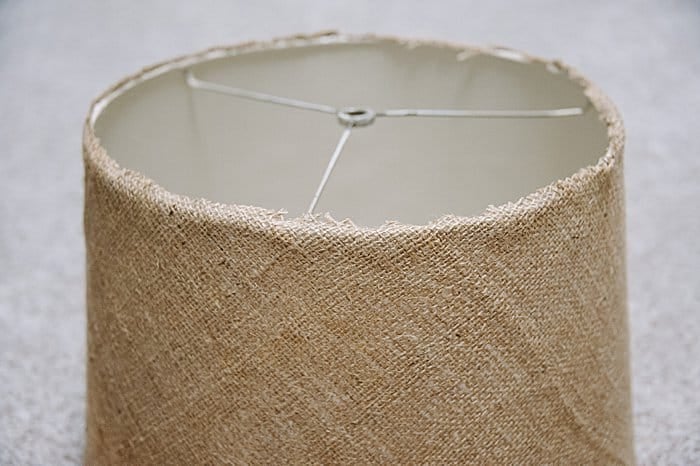
Step 6. Hot glue top and bottom edges of burlap to the inside of the lampshade.
Using a hot glue gun and glue sticks (and being careful of your fingers!), put glue along the top edge and inside-top edge of the lampshade. Fold the burlap over and press into the glue.
It might be helpful to use a pen or other tool so you aren't actually touching the hot glue with your fingers as you push the burlap into the glue.
This edge will look unfinished and that's ok. We will be covering it in ribbon next, but you want to make sure the top and bottom edges are wrapped and secured first so everything stays nice and tight.
Step 7. Glue ribbon onto top and bottom edge of lampshade.
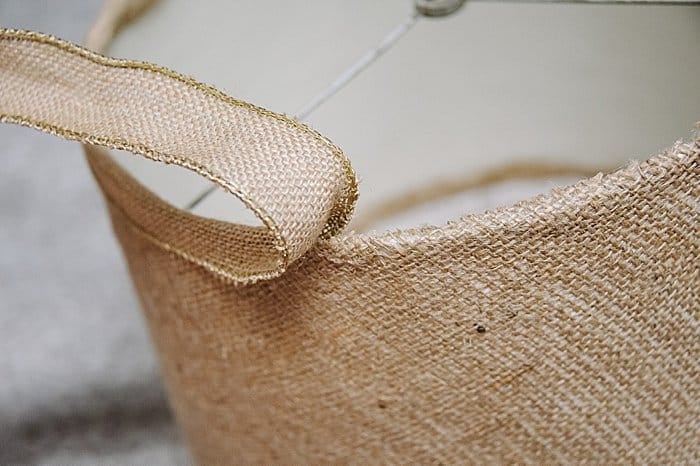
Using hot glue, glue the burlap ribbon along the top and bottom edges of the lamp shade.
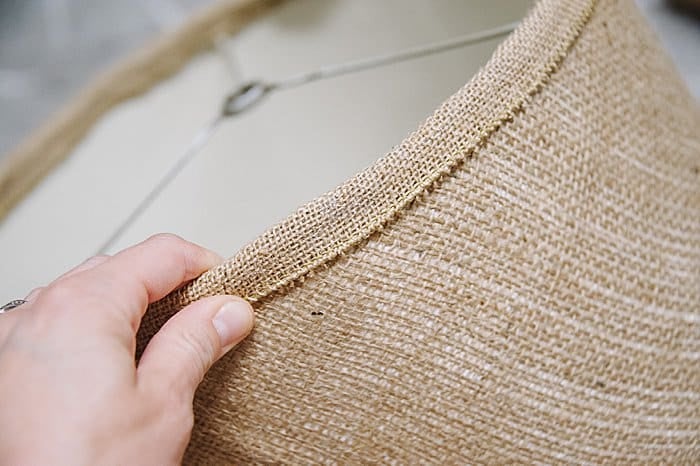
Half of it will be on the front of the lamp and the other half will wrap around and be glued to the inside of the shade.
I worked in 3-4" sections. First, I put glue on the outside of the shade, and glued the ribbon to the outside of the lampshade. Then, I put glue along the top edge and the inside. Lastly, I folded the ribbon over, anchoring it in the glue along the edge and the glue on the inside.
Then I continued onto the next section.
It takes a little time to do this part, but it's satisfying watching the finished edges take shape!
It's all coming together now!
Step 8. Fold over end of ribbon and secure.
Fold over the end of the ribbon to make a clean edge, and secure with hot glue. I overlapped the ribbon an inch or so.
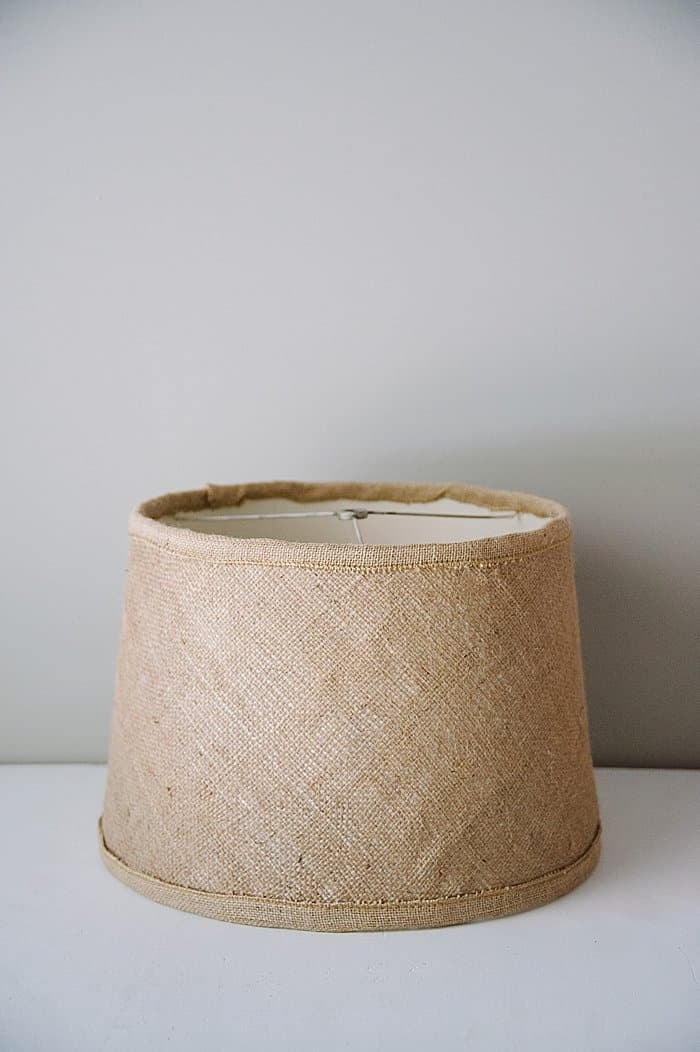
Once you've added your ribbon to the top edge and the bottom edge of your lampshade, you are DONE!
Add the repurposed DIY lampshade to a lamp and you are finished.
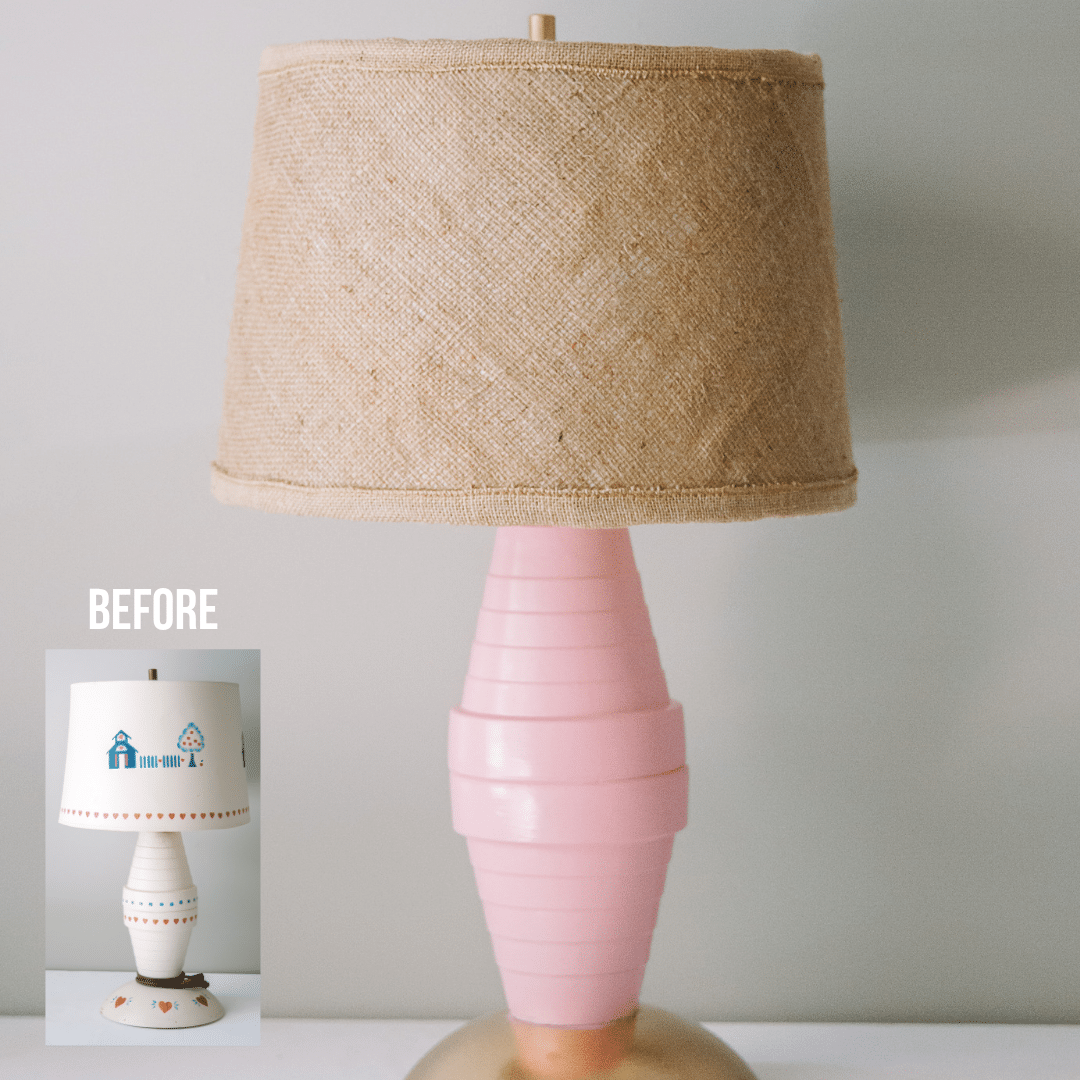
This is the lamp from the DIY lamp makeover I did in collaboration with the Habitat for Humanity ReStore. You can see how outdated it was in the beginning (hello 1990's!!) as well as the awesome transformation by checking out that post.
Transformations are always fun, whether they are house flips, furniture makeovers or even weight loss journeys. I find it fun to see the before and see how the after compares.
Redoing an old lampshade by covering it in burlap is a fun and easy project, and it is a great way to add new life to an outdated lamp.
With the abundance of old lamps available at garage sales, thrift stores, Habitat ReStores, and maybe even in the corner of your own basement, you have plenty of opportunities to try your hand at a DIY lampshade makeover yourself!

Amy
Hi There,
Question:
I have two burlap lampshades that I would like to refresh and paint white to give a more clean updated look while keeping the texture. What do you suggest as far as paint. I have a lot of acrylic craft paint and wondering if I could gently just use it so I will not have to make a trip to the store. Will the paint be ok with heat? From one DIY to another! Thank you.
Laura
Hi Amy! Sorry for the delay in reply - I would guess acrylic craft paint would work well! I think you could brush it on in light coats, one at a time, and watch how pigmented it gets. Then you can stop when it looks however you'd like it to be. I am interested to hear how it works!
Moe
How do I paint my burlap lamp shade? It's on a floor lamp.
Laura
Hi Moe!
I would say you could use pretty much any type of paint: acrylic paint, latex or even spray paint if you wanted to. The lamp shade is far enough away from the light that it shouldn't get too hot.
If you wanted to be safe, you could try fabric paint, so it would be sure to stick to the burlap. I'm not sure if any of the other options would flake off. I haven't tried to paint my burlap shades, but I do think you could!
I hope that helps. Good luck!
Laura