This article is sponsored by and in collaboration with the Twin Cities Habitat for Humanity ReStore.
All it takes to see that people are interested in easy upcycle ideas is to turn on HGTV and look through the list of shows. Hits like Flea Market Flip are everywhere and for good reason; everyone loves a good transformation!
Watching something old or just plain ugly get a fresh look and a chance at new life is fascinating, plus it's good for the environment since it keeps things out of the landfills.
The Habitat for Humanity ReStore is a great place to look for materials and inspiration for upcycle projects; the materials are all secondhand and affordable too! Perfect for whatever DIY upcycling project you have in mind.
And the Habitat ReStore in the Twin Cities of Minnesota is kicking things up a notch with their own version of the DIY challenge: The Freestyle Flip Upcycle Challenge!
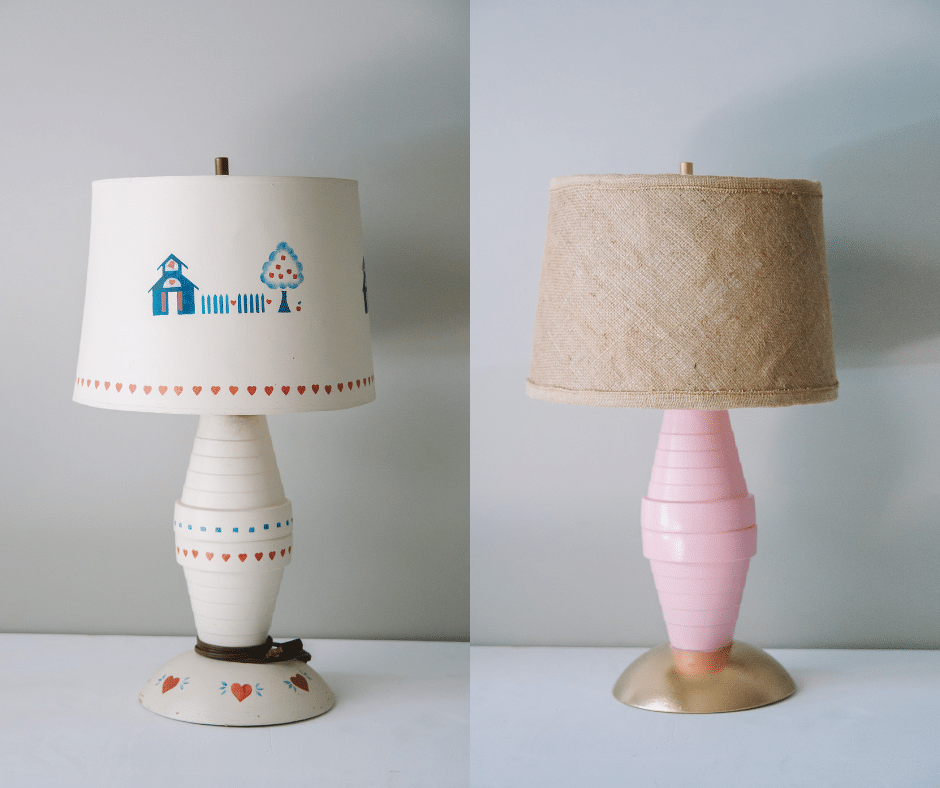
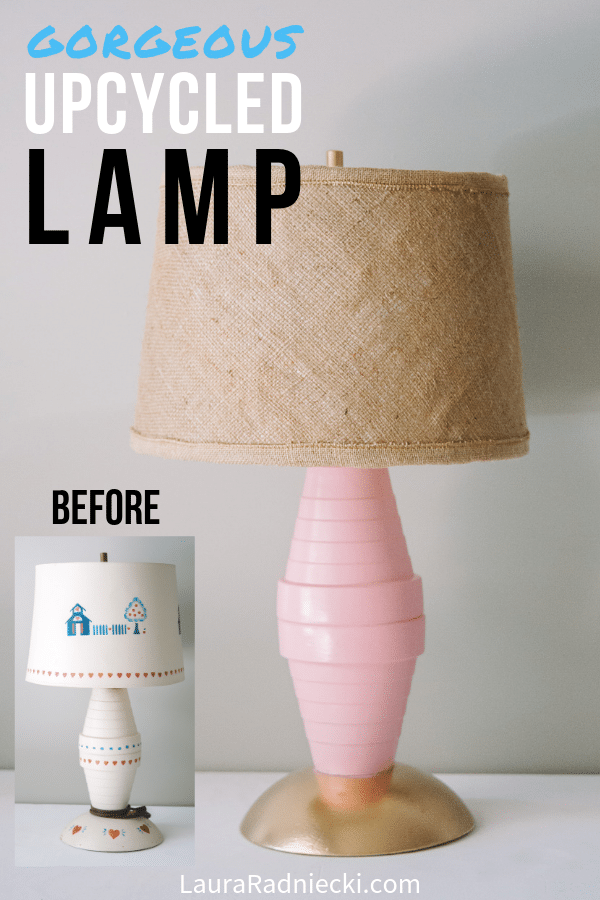
In the spirit of looking for easy upcycle ideas I could try, I browsed through my local Habitat ReStore and found the perfect project. A very outdated lamp, just waiting for a little love! That outdated lamp got a DIY lamp makeover as well as an upcycled lampshade, and I couldn't be happier with the results!
Here's what the lamp upcycle process looked like, as well as a few more easy upcycle ideas using items I bought from the ReStore, and details on the Freestyle Flip Upcycle Challenge hosted by the Twin Cities ReStore!
DIY Lamp Makeover | Easy Upcycle Ideas with the ReStore
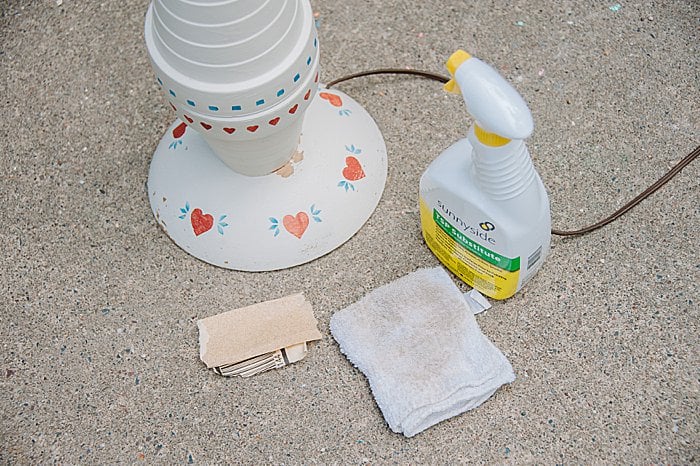
Step 1. Gather supplies.
Supplies needed:
- Lamp (check Habitat ReStores, thrift stores or garage sales for options to upcycle)
- teaspoon or TSP substitute
- Rag
- Sand paper
- Painters Tape
- Paper towels or scrap paper for masking
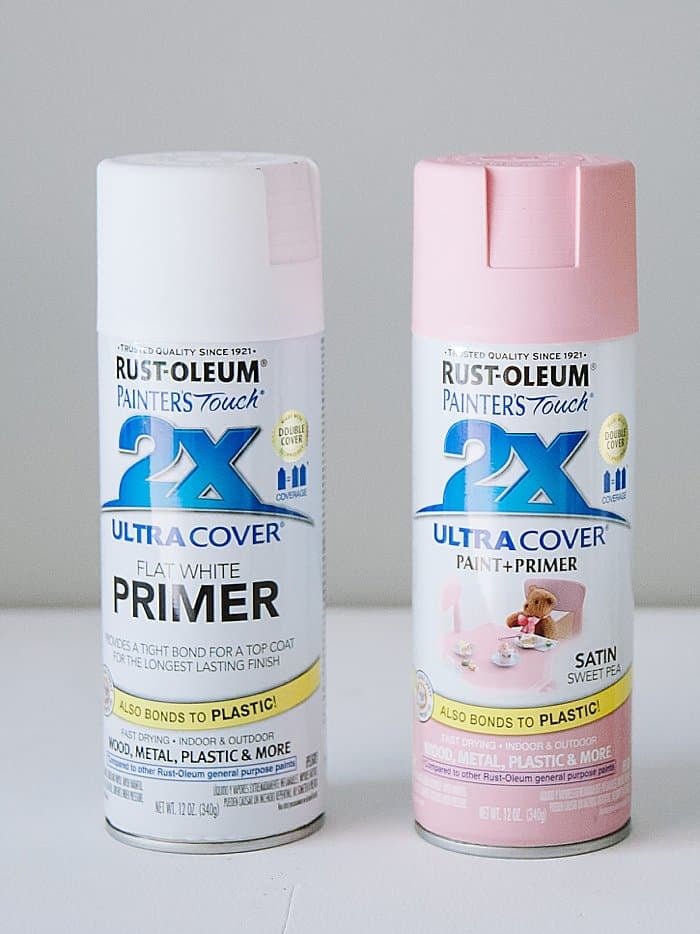
- Spray Paint (Primer plus chosen colors)
- Burlap fabric
- Burlap ribbon
- Spray adhesive
- Scissors
- Hot glue gun and hot glue sticks
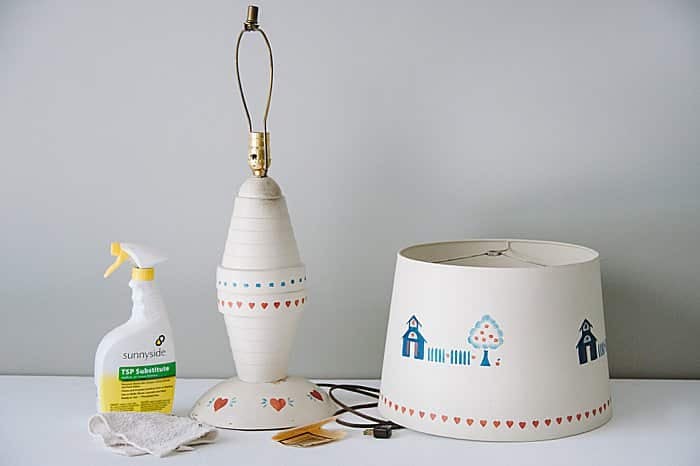
Step 2. Prep lamp surfaces with sand paper.
Take off the lamp shade and set it aside for now.
Sand the lamp surface with sand paper to remove any flaking paint, raised or uneven areas, or any other blemishes or imperfections.
Step 3. Clean lamp with teaspoon or teaspoon alternative.
Using teaspoon and a rag, clean the surfaces that will be painted. This removes dirt, grime, and preps the surface for painting.
I like the ease of a TSP Substitute in a spray bottle so I don't have to do any mixing of powdered teaspoon and water.
Step 4. Mask lamp in preparation for painting.
Using painters tape and paper towels or scrap paper, mask off any parts of the lamp that you don't want to get paint on.
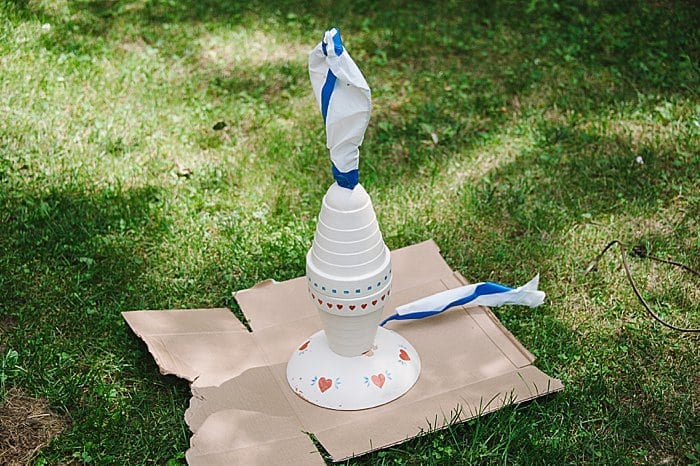
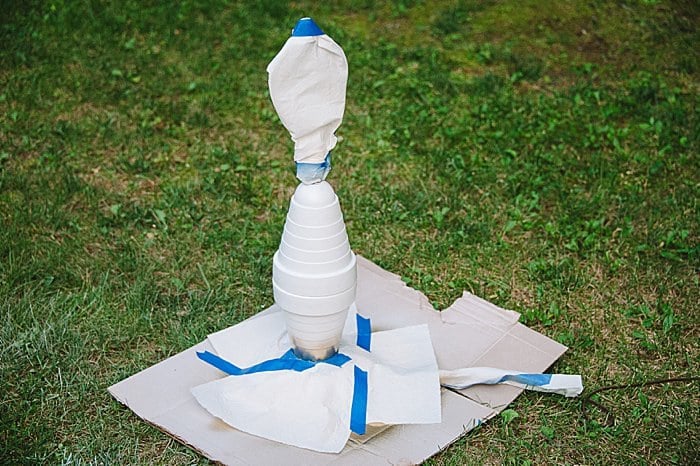
Step 5. Prime lamp.
Using a spray paint primer, paint the lamp in several light coats, following the paint can's directions.
You want the whole lamp to be coated by the end, with any patterns or stencils not visible anymore.

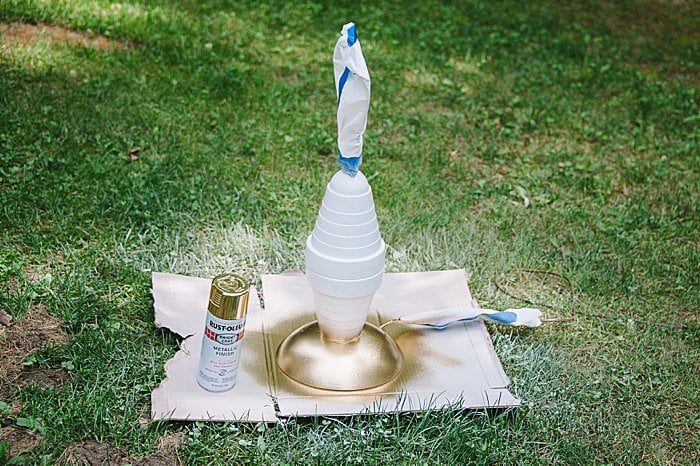
Step 6. Paint the base.
Using a shiny gold metallic spray paint, I sprayed the bottom section of the lamp.
I didn't mask the middle section off yet, because a little overlap here doesn't matter.
I'll be painting over any gold overlap when I paint the pink middle section of the lamp next.
Step 7. Mask off bottom gold section to prepare middle section.
Once dry, mask off the newly painted base with painters tape and paper towels/paper.
You really want to be SURE you allow enough time for your base to fully dry though. If in doubt, wait a little longer.
I always accidentally rush my spray paint projects, and I always end up with smudges in the wet paint. Looking closely at my gold base, this project is not any different. So, it pays to wait long enough to make sure it's really, truly dry before moving on!
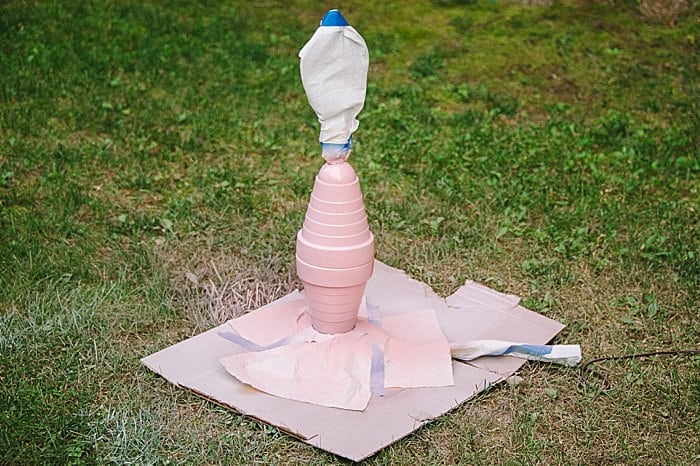
Step 8. Spray paint lamp.
Using the pink spray paint and doing several light coats, spray paint the body of the lamp, letting it dry between coats.
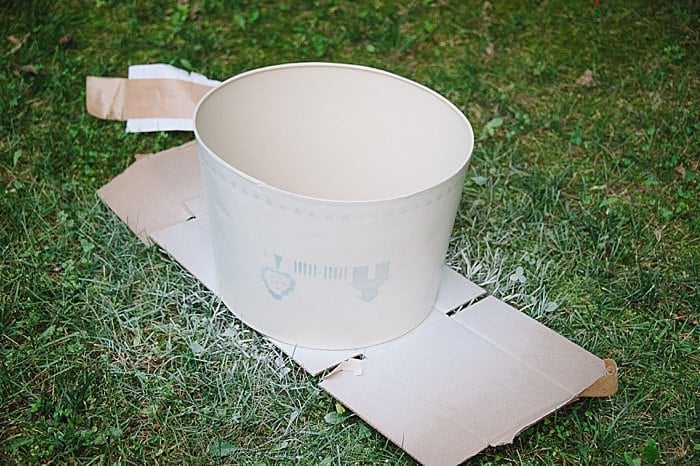
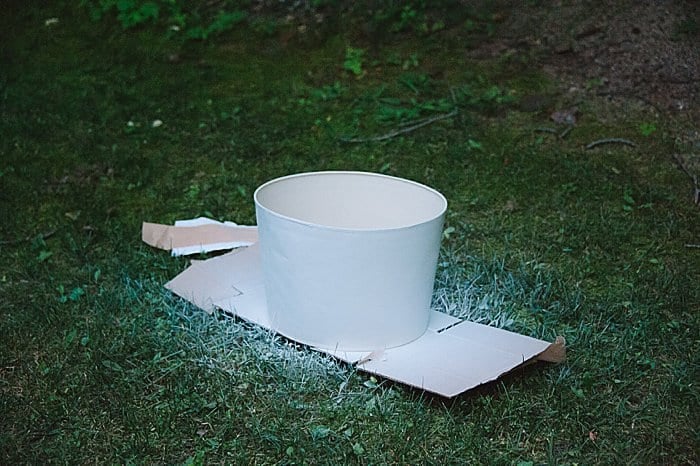
Step 9. Paint lamp shade.
If your lamp shade is plain to begin with, you can skip this step.
You want to get rid of any stencils or patterns on the lampshade, because they will show through the finished shade otherwise.
I used several coats of white primer to coat my lamp shade, but regular white spray paint would work fine too.
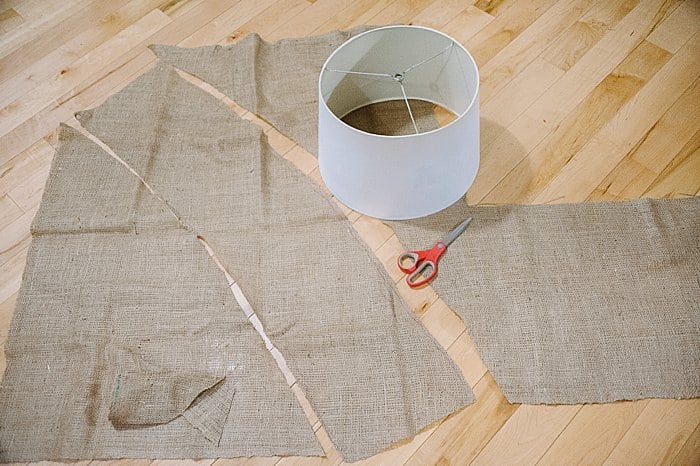
Step 10. Cut out burlap in shape of lamp shade.
Lay out your burlap fabric and slowly roll the shade along it, tracing the outline as you go.
I knew I wanted to try to fold the edges of the burlap over the top and bottom edges of the lamp shade, so I traced it about ½" larger than it actually is.
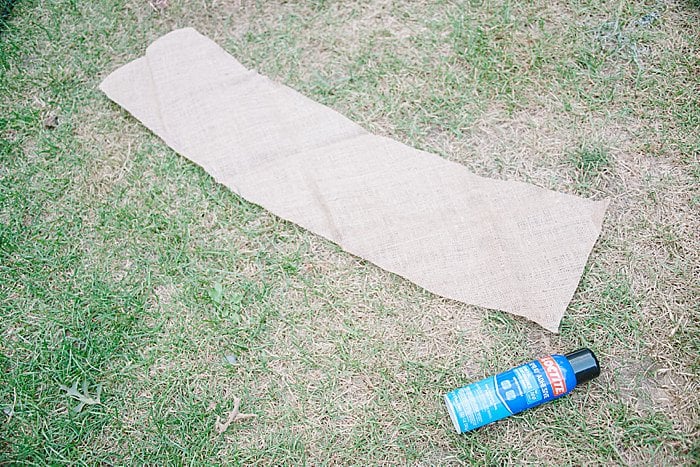
Step 11. Spray burlap and lamp shade with Spray Adhesive.
Following the directions on the back of the spray adhesive can, spray the burlap and lamp shade with spray adhesive in preparation for putting the burlap onto the shade.
PRO TIP: My adhesive can said to do a MEDIUM coat on both surfaces, let dry for a minute, and then adhere together. I don't think I used enough spray adhesive though, so make sure you do a medium coat. I would air on the side of too much adhesive rather than not enough, because you want to make sure your burlap will stick to the lamp shade really well.
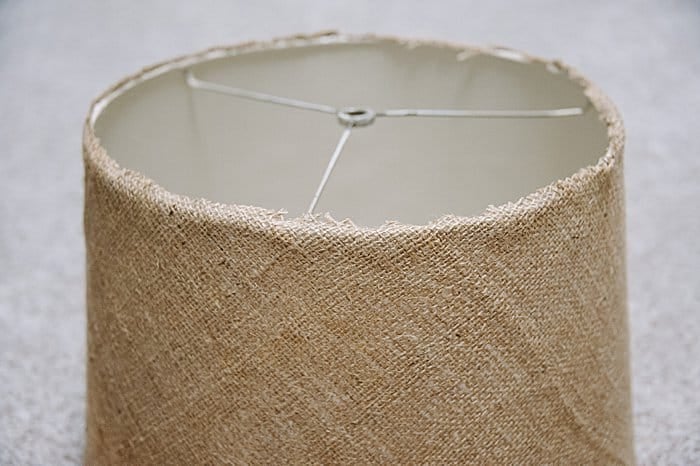
Step 12. Carefully wrap shade in burlap.
Very carefully and gently, wrap the burlap piece around the lamp shade. Smooth out any bumps or bubbles as you go.
If you need to, you can peel the burlap back from the shade to reposition.

Step 13. Use a hot glue gun to glue extra edges down.
Along the top and bottom edges of the lamp shade, use a hot glue gun and secure the fabric edges to the inside of the lamp shade.
Apply glue along the top edge and right inside the top of the shade. Fold the burlap over with your fingers and press lightly.
Be careful of the hot glue! It will ooze out of the burlap and will probably get on your fingers a little bit. You can use some type of tool like a pen or crochet needle if you don't want to use your fingers.
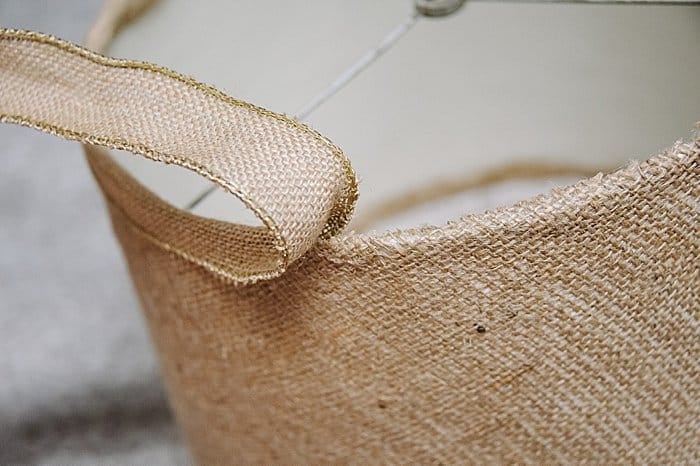
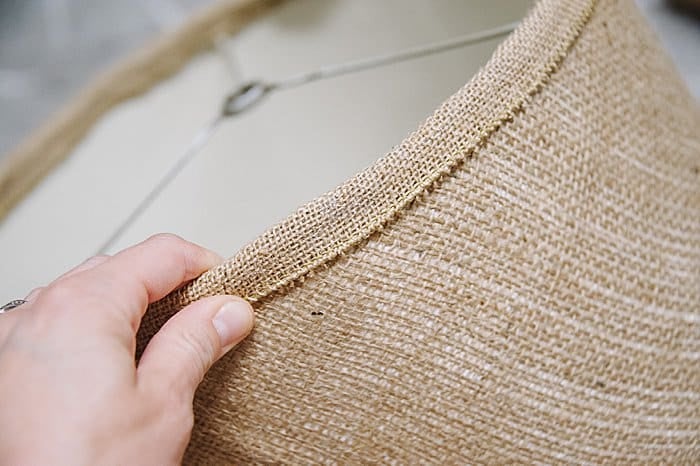
Step 14. Use a burlap ribbon to trim top and bottom edges of lampshade.
Using a burlap ribbon that is 1.5 inches in diameter, has wired edges, and matches the look of the burlap fabric you are using for the lampshade, hot glue the ribbon to the top and bottom edges.
Put hot glue on the outside, very top edge, and inside of the shade, and then fold the ribbon over to create a finished edge.
Continue around the top edge and the bottom edge of the lamp shade.
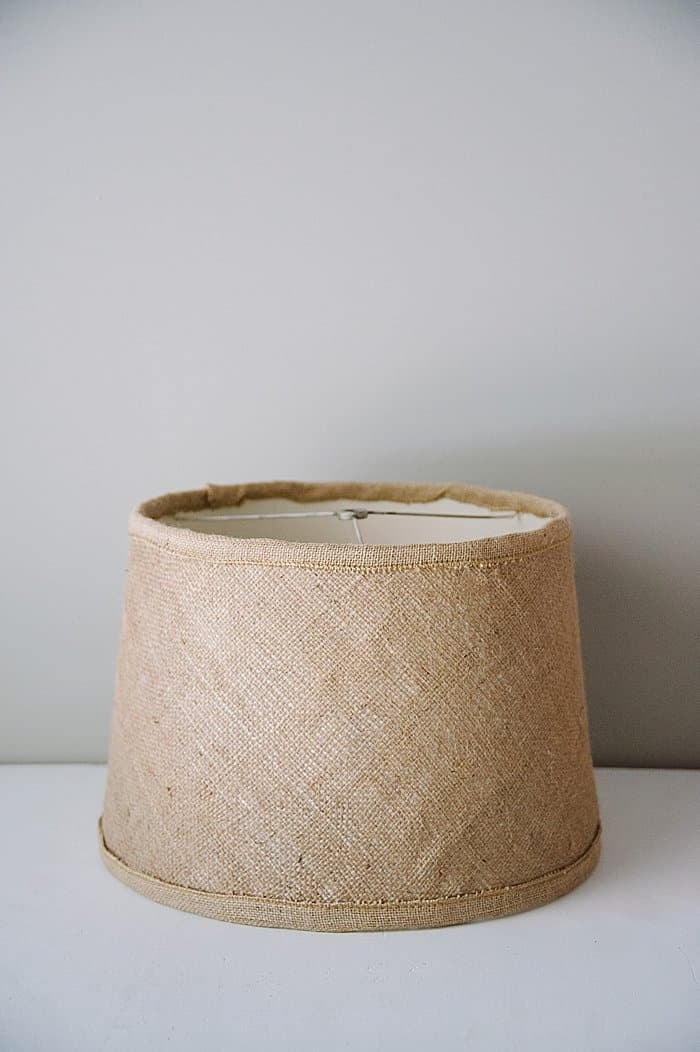
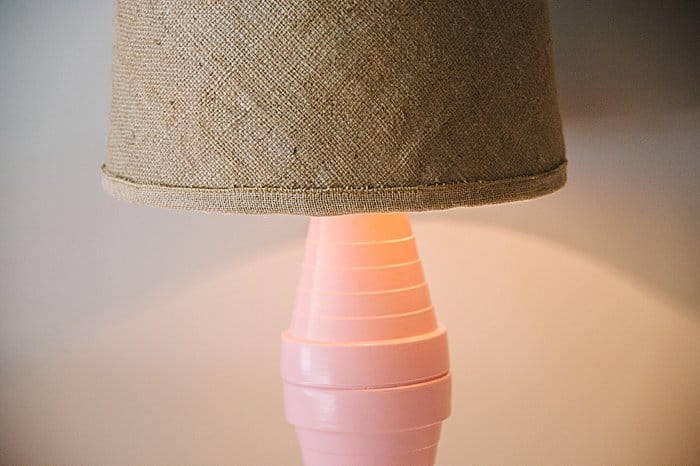
Voila! Your DIY burlap covered lamp shade is complete!
Step 15. Remove all masking tape, touch up any needed areas, and enjoy!
Let dry completely, and then remove tape.
When I removed my painters tape, there were several areas that needed a little touch up with a brush.
As I was attaching the lampshade back onto the lamp, I also noticed I forgot to spray the little brass knob on the very top of the shade gold too. I had to quick do that so it would match the newly painted gold bottom.
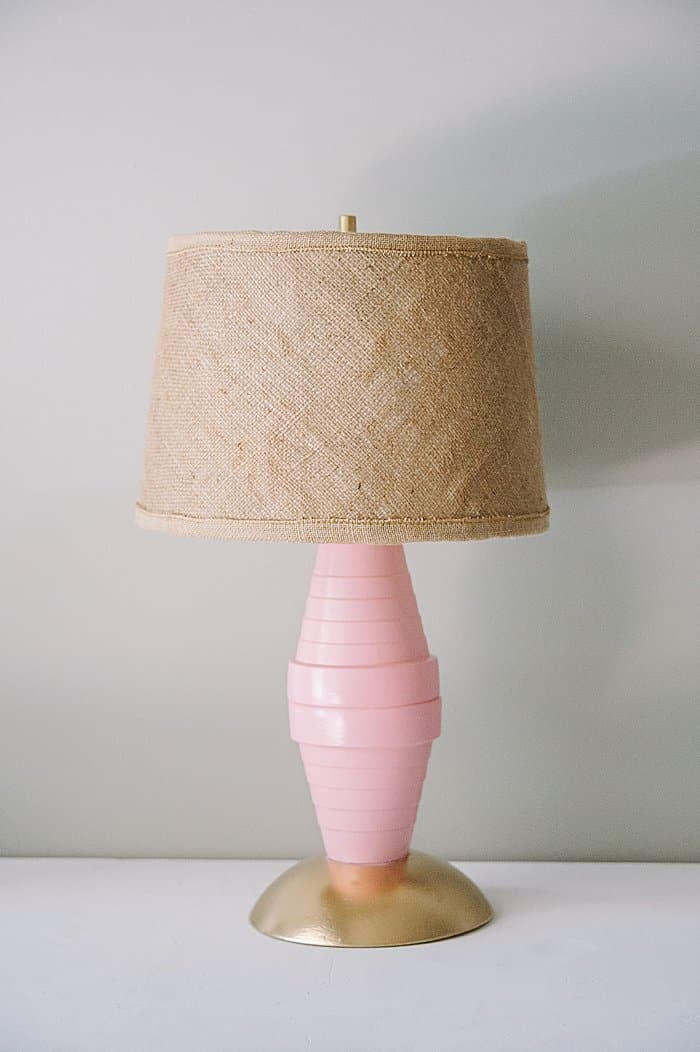
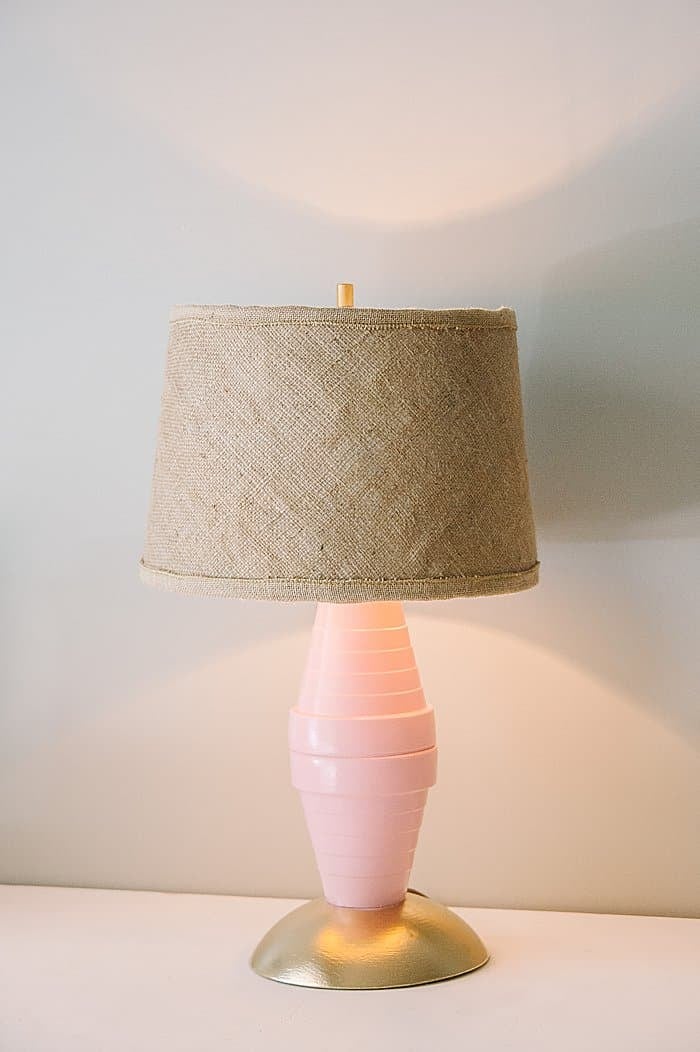
Add a lightbulb, and it's DONE!
As I frequently talk about around here, done is better than perfect, and perfection is not my goal. Making things is.
If I look closely at my lamp, there are lots of imperfections. So you know what I do? I stand further away. I look at it from a distance and all I see a beautiful lamp, ready to illuminate my bedroom!
I also see a fun DIY project, and a second chance for a piece of furniture that likely was headed for the dump.
When I consistently work at keeping that perspective, I am free to create without reservation or perfection.
As I was shopping in the ReStore, I picked up a few more materials with easy upcycle ideas in mind.
MORE Easy Upcycle Ideas from the ReStore
I bought:
- Tiles, like I used with the DIY Mod Podge Coasters.
- Old shelves, to repurpose into wall sign with stencils
- An old cabinet door for another stencil sign
- An outdated photo frame with plans to give it new life
- An old, scratched metal basket that was used for holding wood on a fireplace. All it needs is a little new paint, and it'll be the perfect accent piece for any room.
And the best part is... all of the supplies listed above plus my lamp totaled less than $14.
But even better than the cheap prices and the thrill of the hunt is that each piece bought from a Habitat for Humanity ReStore is one item that will not be heading to the landfill!
- - - - -
The Twin Cities Habitat for Humanity ReStore can be found on the web and on Facebook.
Leave a Reply