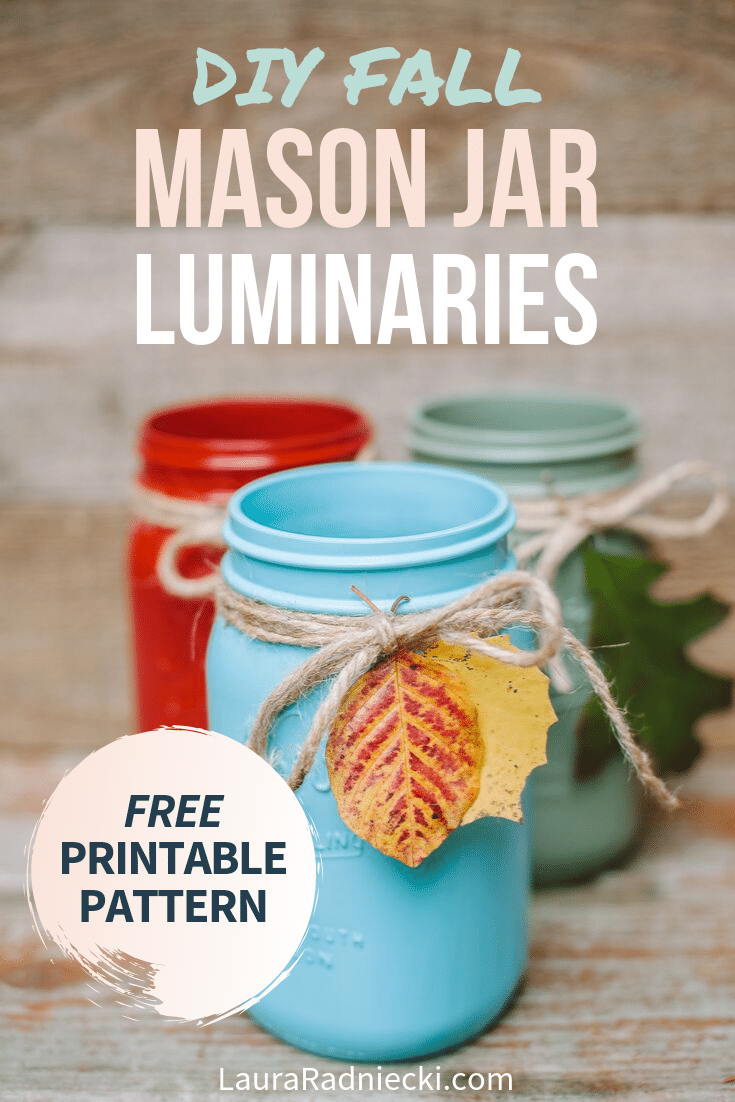
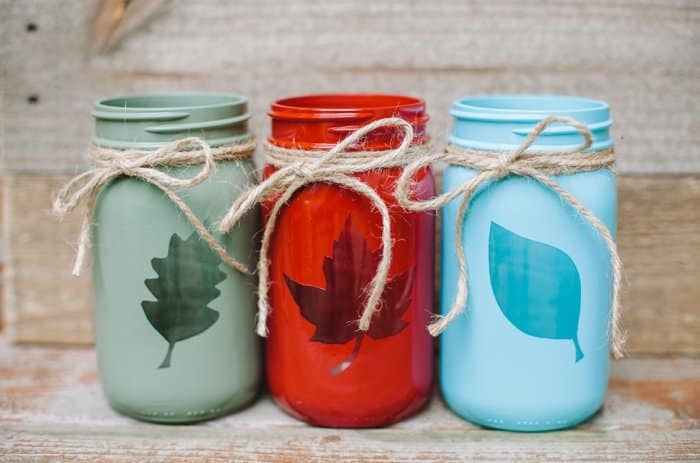
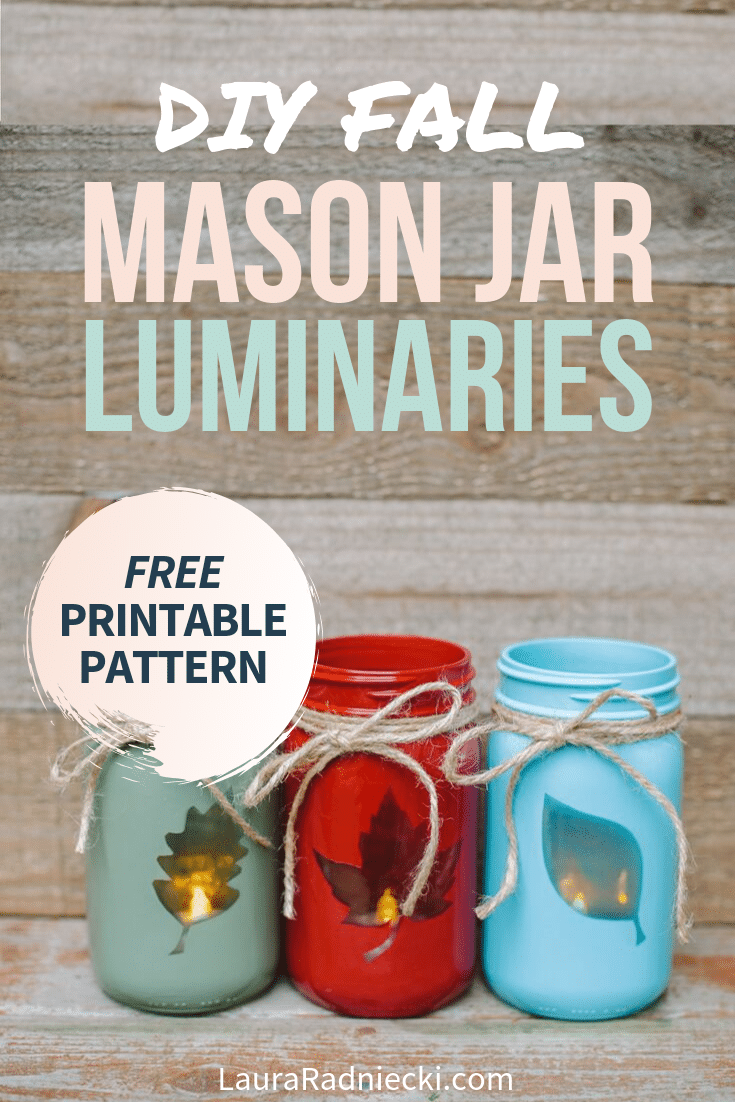
Reversible 2-in-1 DIY Fall Mason Jars; classic on one side, an easy leaf luminary on the other! You'll love this easy fall home decor craft, perfect for your mantel or bookshelf!
I'm addicted to mason jars.
I know, some people think they're so cliché and overused. And they might be right.
But I don't care; there's a rustic charm and simplicity about them that I just love. So any crafts involving them? I'm in!
(Glass jars make the perfect container for a worry jar, so they are useful for more than just crafts!)
I combined some inspiration from Pinterest to make a 2-in-1 fall jar craft that might just be my new favorite fall decoration.
It's simple, easy and affordable to make. And the end result is BEAUTIFUL!!!
Let's take a look!
How to Make Easy Reversible 2-in-1 DIY Fall Mason Jars
Supplies:
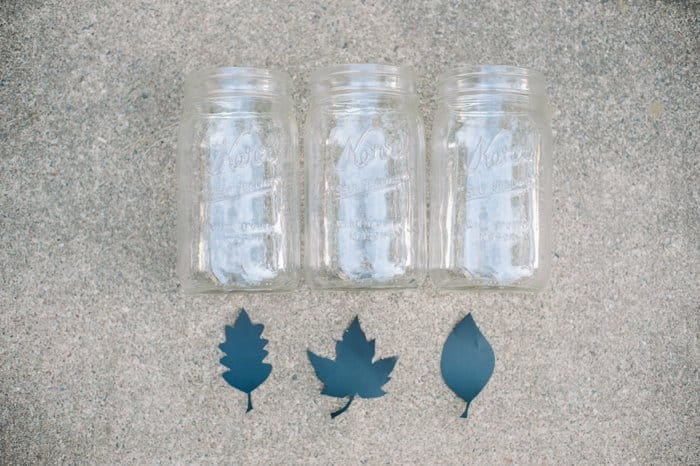
- 3 Mason Jars - I used wide mouth, quart sized jars
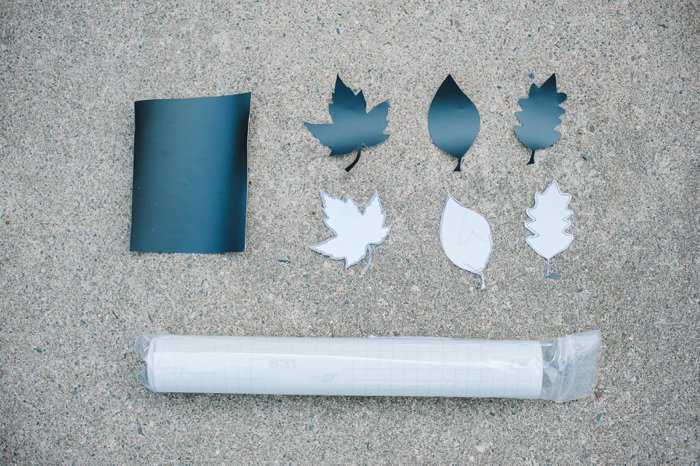
- Vinyl decal material
- Leaf Shape Templates (it's free in my resource library!)
- Scissors
- Spray paint
- Twine
Step 1: Prepare Leaf Templates.
Download and print the free leaf templates from my free resource library.
Cut out the paper leaf shapes to use as templates for your vinyl leaf cutouts.
(These are the same shapes I used for a fall book page leaf banner too!)
Step 2: Use Leaf Templates and Cut Vinyl.
Next, cut out the leaf shapes in your vinyl. Some people have machines that will do this for them; Cricut machines etc.
I held the paper template on top of the vinyl and then very slowly and carefully cut out the leaf shape. Even though some of the leaves were pretty intricate, this worked surprisingly well!
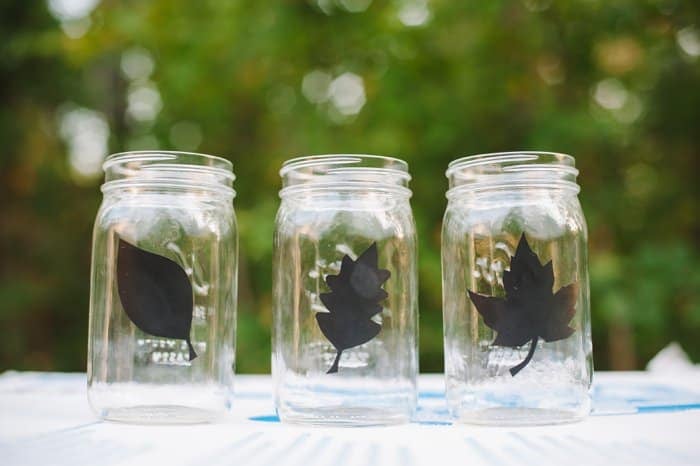
Cut out all three vinyl shapes, one for each jar.
Step 3: Prep Jars and Stick on Vinyl Decals.
Wipe the jars with a paper towel to make sure they're clean.
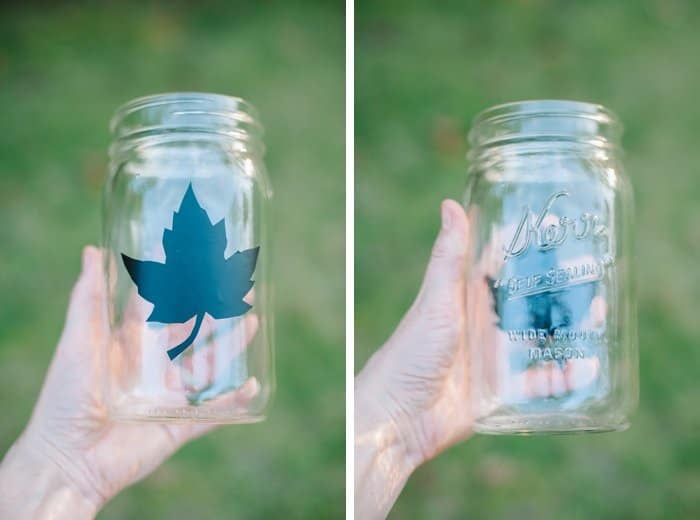
Very carefully, peel the paper backing off of the vinyl. On the smooth surface of the jar, (the back side of the jar, without the words), add the leaf decal in the desired position.
Smooth your hand over the decal, making sure it's completely sealed around all of the edges. This is to make sure you don't let paint leak in underneath your decal.
Step 4: Spray paint the Jars!
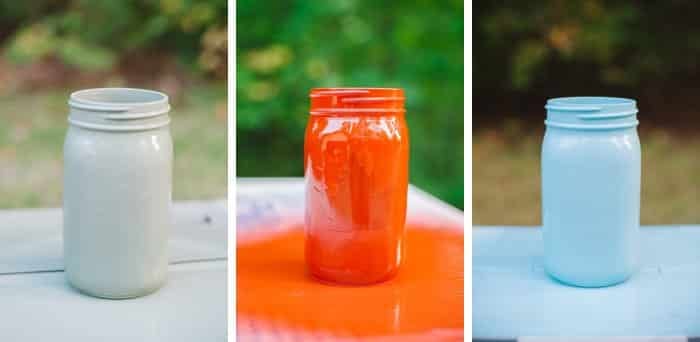
Decide which color to paint each jar.
Spray paint each jar carefully. I used two coats to make sure I had good coverage, letting it dry in between coats. Make sure you get the area toward the bottom of the jar as well as the top rim.
I have seen people use acrylic paint and a paintbrush for this part. That would work if you don't have spray paint, or aren't able to use spray paint.
The downside to that method is it may leave streaks on the jar from the brush strokes. Spray paint eliminates any brush strokes.
Step 5: Let dry completely.
For me, this meant letting the jars dry for two full days. You want to make SURE the paint is completely dry before you peel off the vinyl.
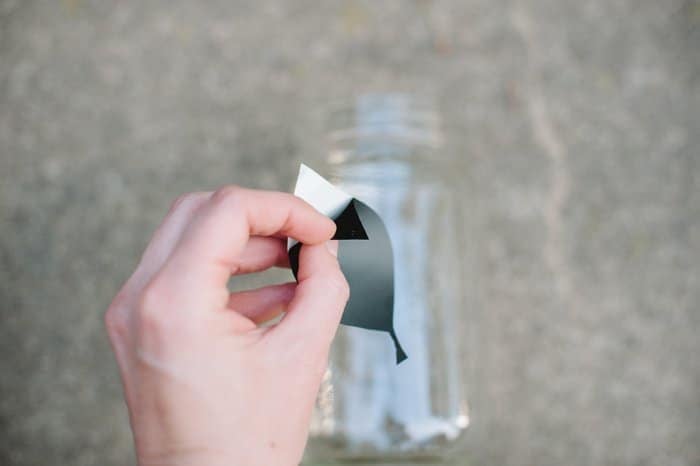
Step 6: Peel off the vinyl decals.
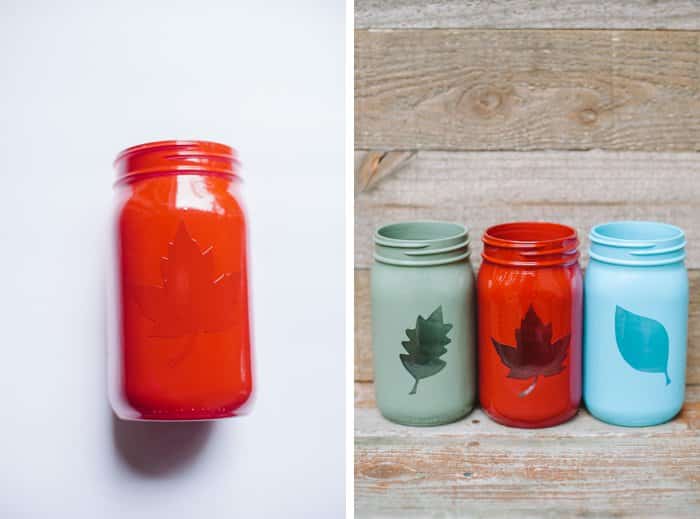
Very carefully, use your fingernail or another small, sharp object to start peeling the vinyl decal off of the jar.
Continue peeling slowly until it all comes off.
Repeat for the other 2 jars.
Step 7: Tie twine around the top of the mason jar.
Step 8: Add a candle inside your fall mason jar!
I bought battery operated tea lights to put inside the jars. That way, I don't have to worry about melted wax on the inside, and they will last longer than regular candles.
Reversible Mason Jars | Classic Fall Mason Jar Decor
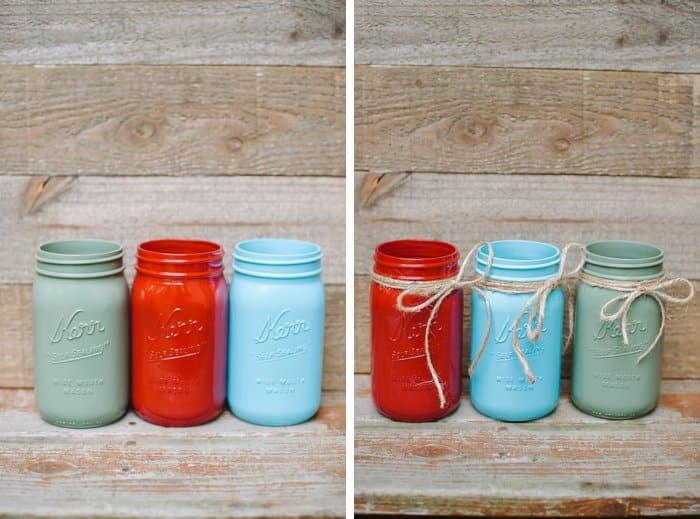
These fall mason jars are REVERSIBLE too! They are 2-in-1 fall decorations!
The other side of the jar, with the raised words, will be painted as well. This offers a different aesthetic and fall decor idea, all within the same mason jar!
Add Leaves to the Fall Jar
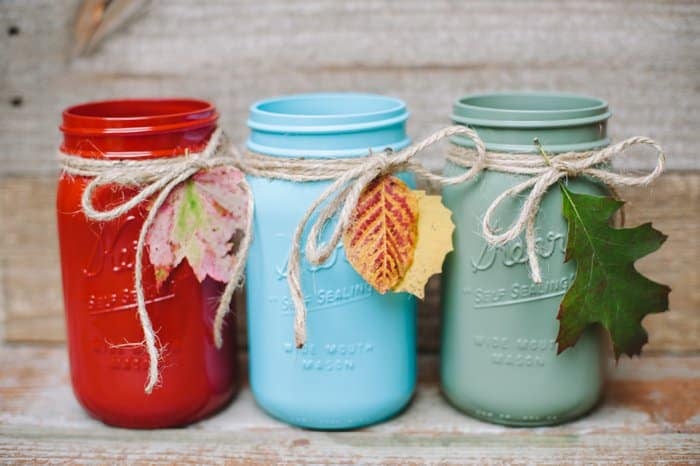
I walked around my yard and picked up a few leaves that had fallen to the ground.
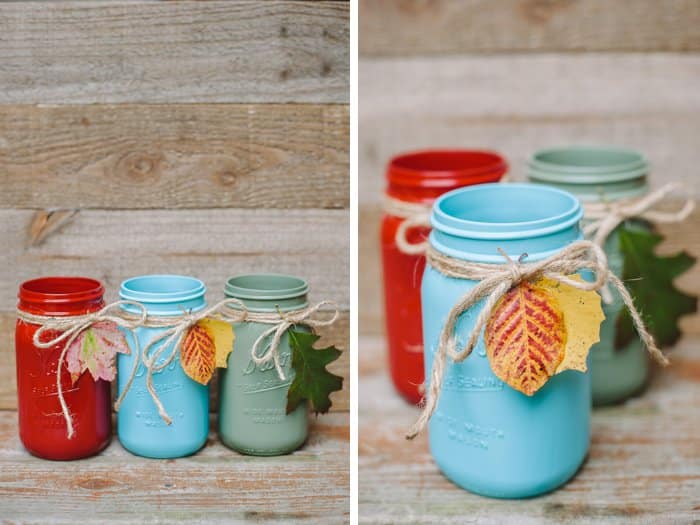
I turned the twine that I'd tied around the top of the mason jar until the bow was on the side of the jar with the words. Then, I tucked a leaf or two into the twine and repeated this on the other two jars.
That instantly transformed the three jars into a gorgeous fall table centerpiece idea that looks completely different from the fall leaf luminaries!
These classic fall jars could also be used as a beautiful idea for fall mantel decor or on a bookshelf.
Easy to Switch Back and Forth with these DIY Fall Mason Jars
When you're ready to display the leaf luminaries again, just move the twine bows back to the leaf silhouette sides, remove the added leaves and turn the tea lights back on!
These fall jar crafts are simple, easy and cheap home decor ideas for fall.
You can make them even cheaper on a budget by using old pasta sauce jars and whatever type of paint you have at home!
- - - - -




Leave a Reply