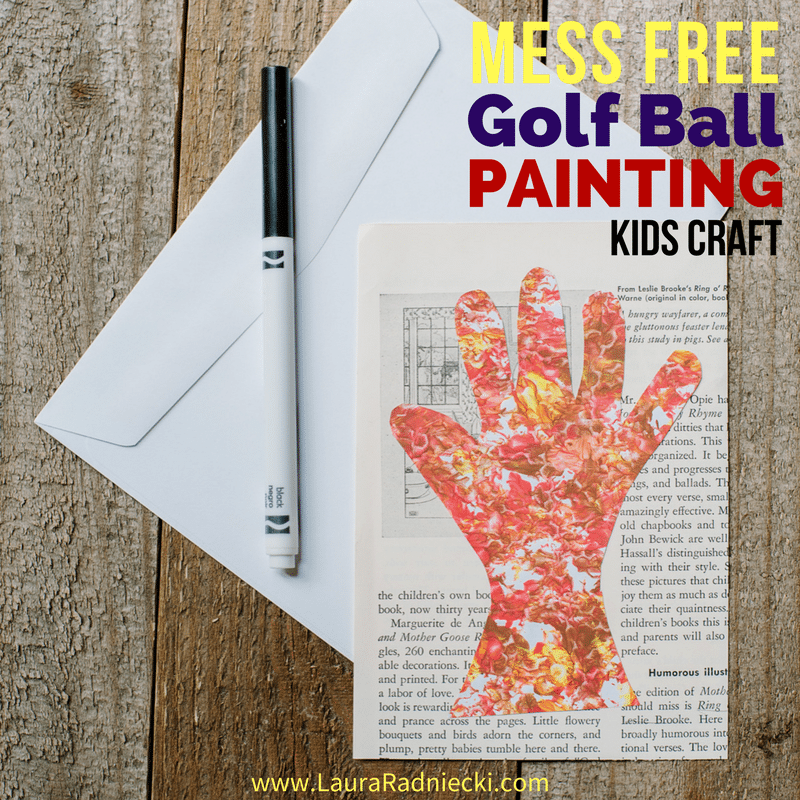
An easy, mess free kids golf ball painting using a cake pan and lid! A great fall kids craft idea that makes a sweet Thanksgiving card for grandparents!
Kids are inherently messy.
They make a mess when they eat, as they play, and most certainly any time they do a craft project. That's part of being a kid, yes. But as a Type A mama myself, I appreciate crafts that try to keep the mess to a minimum.
That's often hard to do while still allowing the child space to have fun and really dive into the project.
This craft, golf ball painting, is a great mess free paint project that is perfect for kids! Moms will love it too!
How to Make a Mess Free Kids Golf Ball Painting for Fall
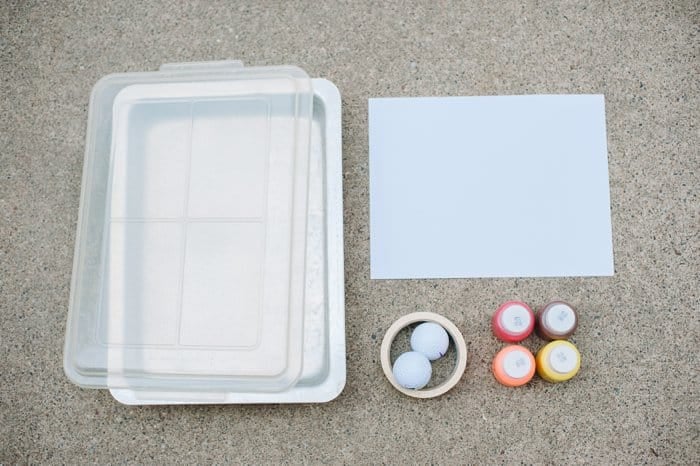
Supplies Needed:
Cake pan with a lid
Paper
Tape
Paint
2+ Golf Balls
Book pages or colored paper
Markers
Scissors
Glue stick
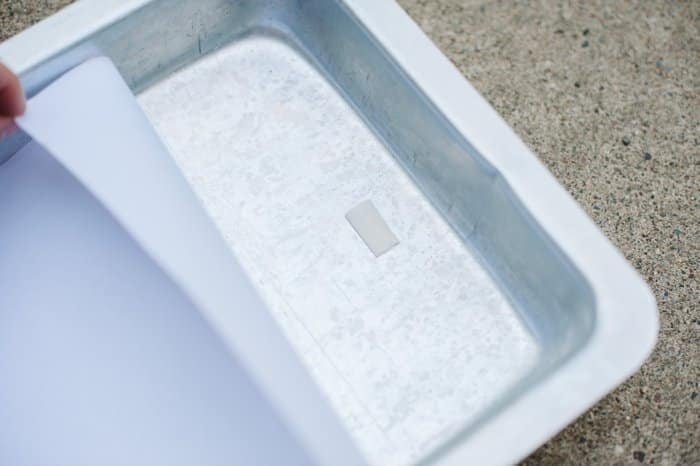
Step 1. Tape paper to inside of cake pan.
Using a type of tape that won't tear or ruin your paper, secure your paper to the inside bottom of the cake pan.
I used a very small piece of masking tape on each end of the pan, and didn't press the paper into the tape too much. Washi tape would also work for this because it typically doesn't ruin paper when it's peeled off.
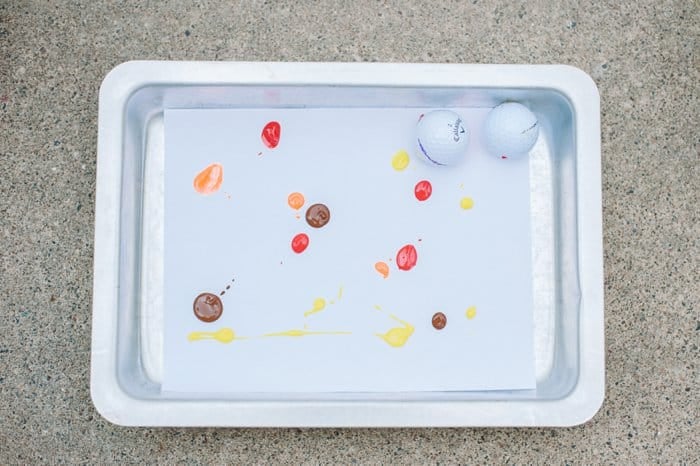
Step 2. Put small dabs of paint onto the paper.
I wanted to make a golf ball painting using fall colors, so I chose red, orange, yellow and brown for my paint colors.
We've done this before with spring pastels as well. Choose colors based on the season or theme you want your painting to be!
Step 3. Put two (or more) clean golf balls into the pan.
Make sure they're clean so they won't leave any dirt or grass residue on your painting.
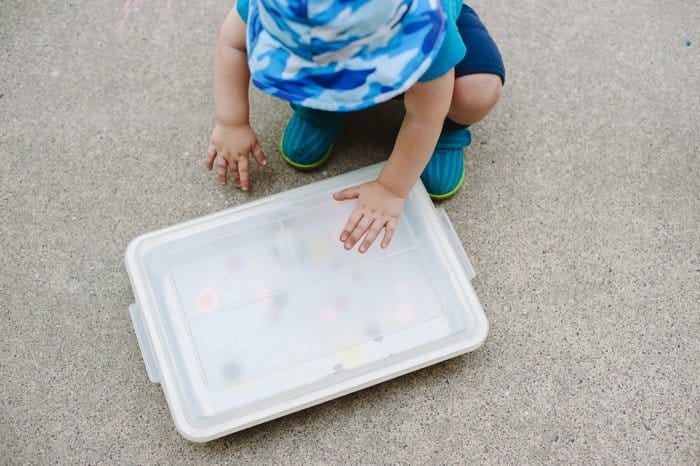
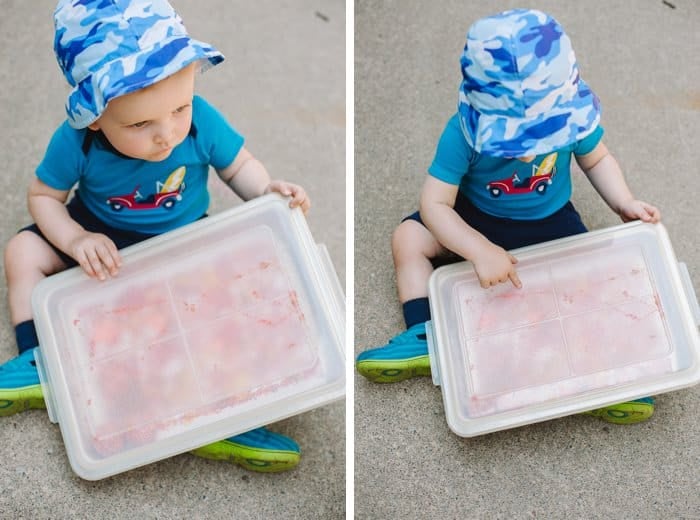
Step 4. Put the lid on the cake pan and roll the balls around inside!
This is a great kids craft or even a baby craft because it's pretty fool-proof and mess-free. The lid keeps all the paint inside, and kids have fun shaking and tipping the cake pan, to roll the golf balls around inside.
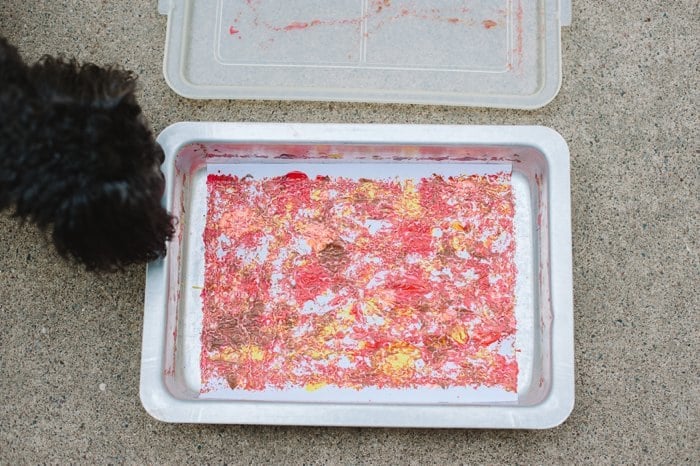
As they roll around over the paper, they will smear the dollops of paint around, creating a neat marbled effect.
Keep going until you start to see the marble paint design covering the whole paper inside.
PIN THIS CRAFT FOR LATER!
Step 5. Remove paper and let dry completely.
Carefully take the lid off of the pan and remove the golf balls.
Peel the paper off of the bottom of the pan, using caution not to rip it where the tape is.
The paint needs to completely dry now, and depending on how thick it is in some parts, it might take a while.
After your artwork is starting to dry, you can lay another piece of scrap paper carefully over the top, and lay a heavy box or book on them to flatten out your golf ball art. As the wet paint dries on the paper, it has a tendency to crinkle and curl, but pressing it flat when it's almost dry helps you get it extra flat and ready for crafts.
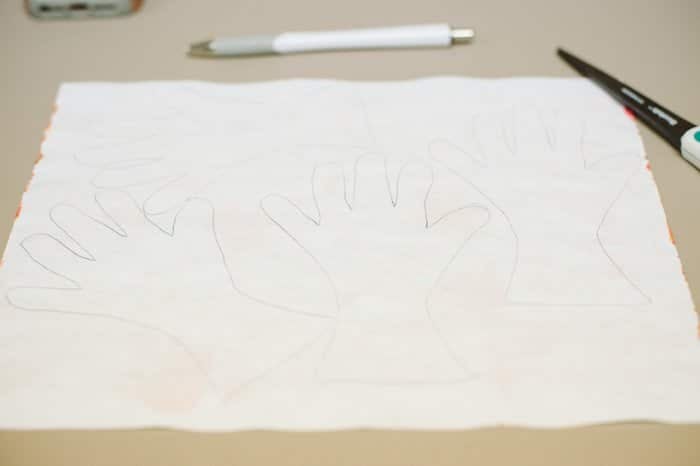
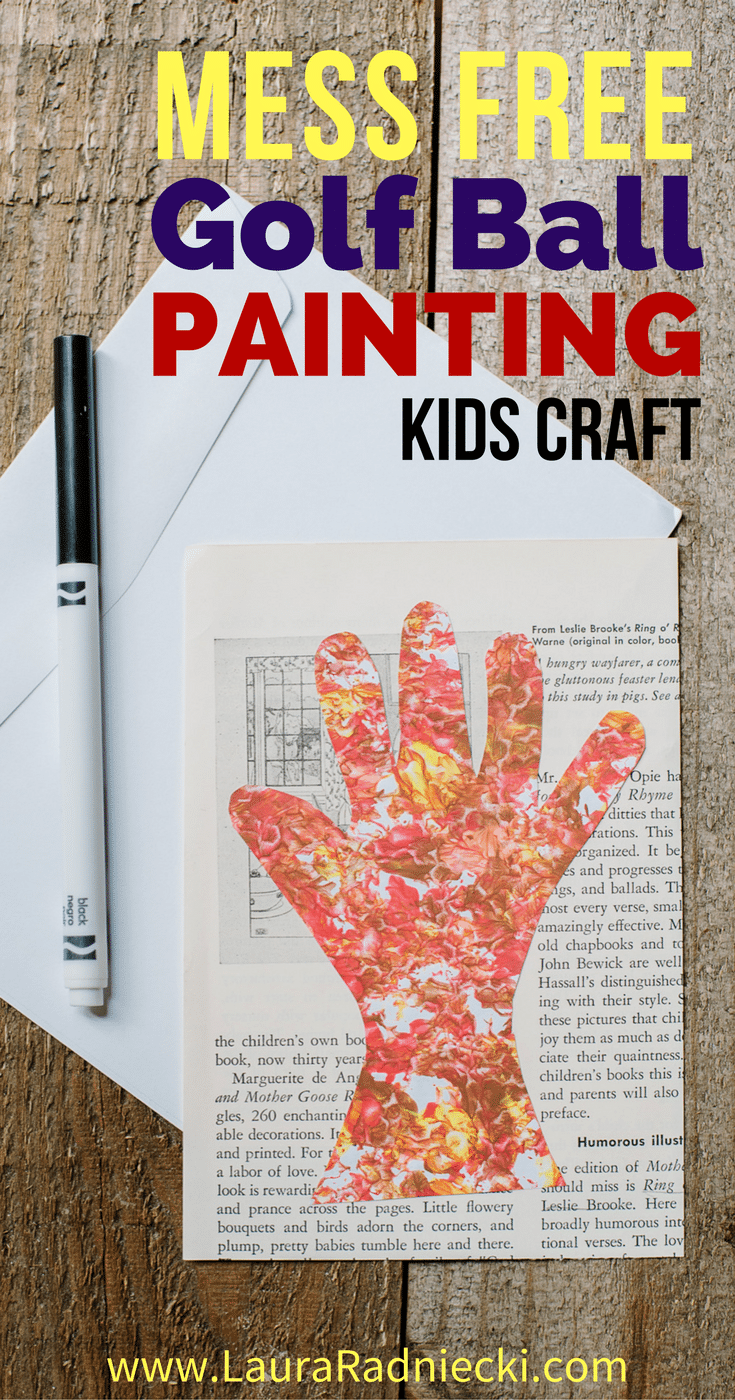
Step 6. Trace your child's hand print, and cut them out of the painted paper.
I decided to do a simple traced hand print shape because I wanted to use these as gifts for Raleigh's grandparents. Grandparents always love hand print crafts! You could also cut the artwork into hearts or any shape you want.
I traced Raleigh's hand on a scrap piece of paper (not pictured), cut it out, and used that as a template for tracing and cutting out hand shapes from his golf ball paper (photo below).
Step 7. Make a card using old book pages and colored paper.
Old book pages are one of my favorite craft supplies, and I've used them in everything from Mod Podge book page trees and fringe book page trees to tassels made with book pages and more!
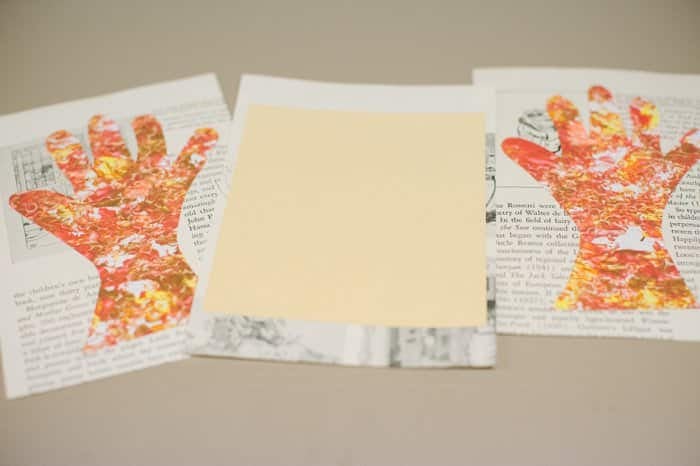
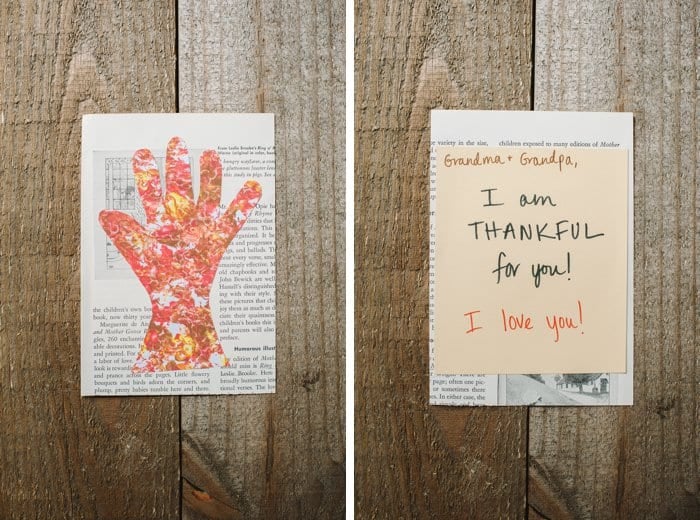
For this project, I cut rectangles out of old book pages that were large enough to fit the handprints, and then glued a hand print to one side.
I also cut a smaller rectangle of tan-colored paper and glued that to other side of the book page as a place to write a message.
Step 8. Write a message on the card!
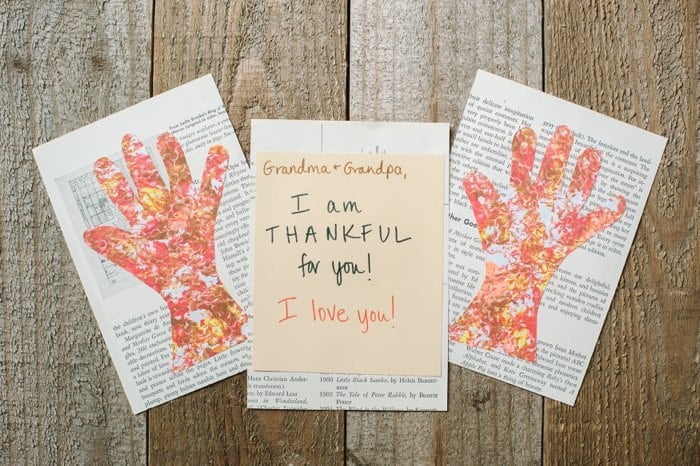
These cards are to tell Raleigh's grandparents how much he loves them!
If he were old enough to write his own message, I would have him do that. Instead, I wrote a little message on the back of each card for him.
PIN THIS CRAFT FOR LATER!
Step 9. Deliver it!
Whether you put the golf ball painted card into an envelope of matching size and mail it, or deliver it by hand, it will be a hit!
After all, grandparents love everything from their grandkids, right? 🙂
- - - - -
Golf ball painting is the perfect mess-free paint craft for young kids.
The painting itself is a masterpiece; pretty enough to hang on the refrigerator or put into a frame.
The marble painting can also be used in a variety of different crafts like this fall hand print craft. Depending on the season, you can also customize the colors to fit the season or holiday, and create a variety of different crafts!
The sky is the limit!
– If you liked this post, I would love if you would share it on Pinterest or Facebook. Thanks & xo! –




Leave a Reply