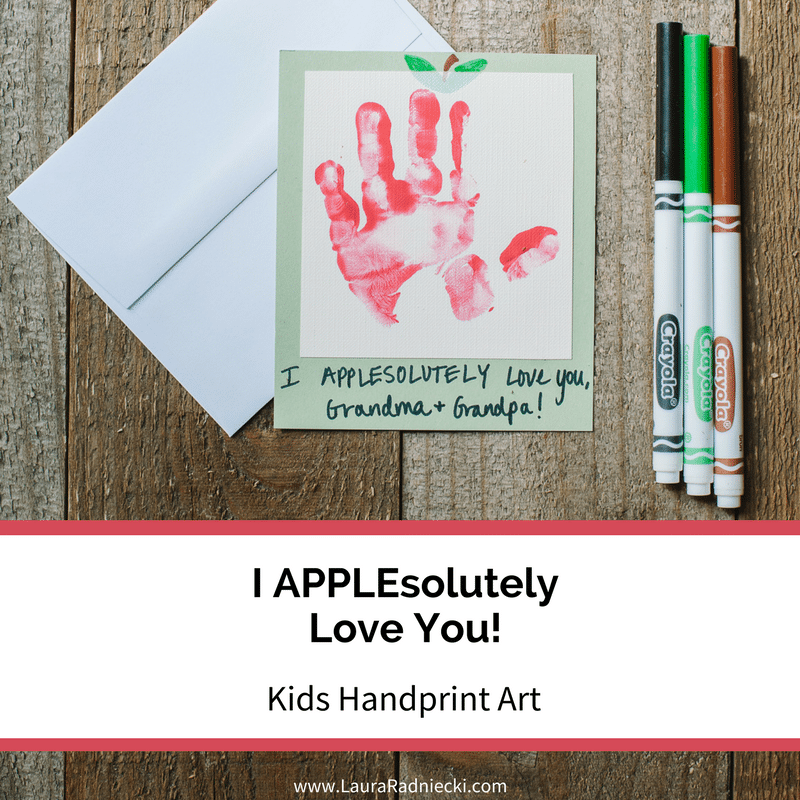
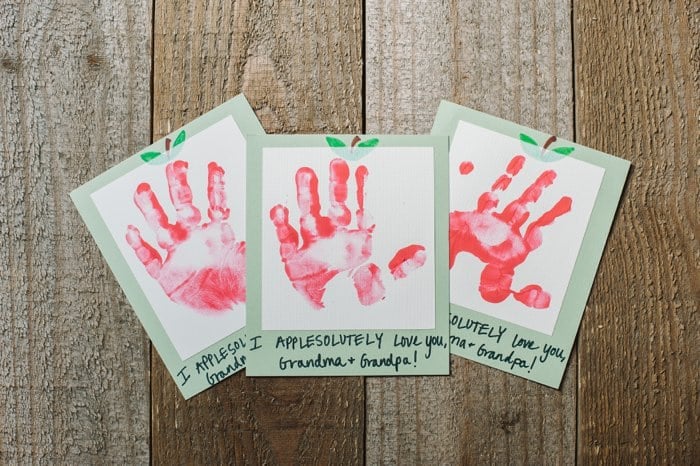
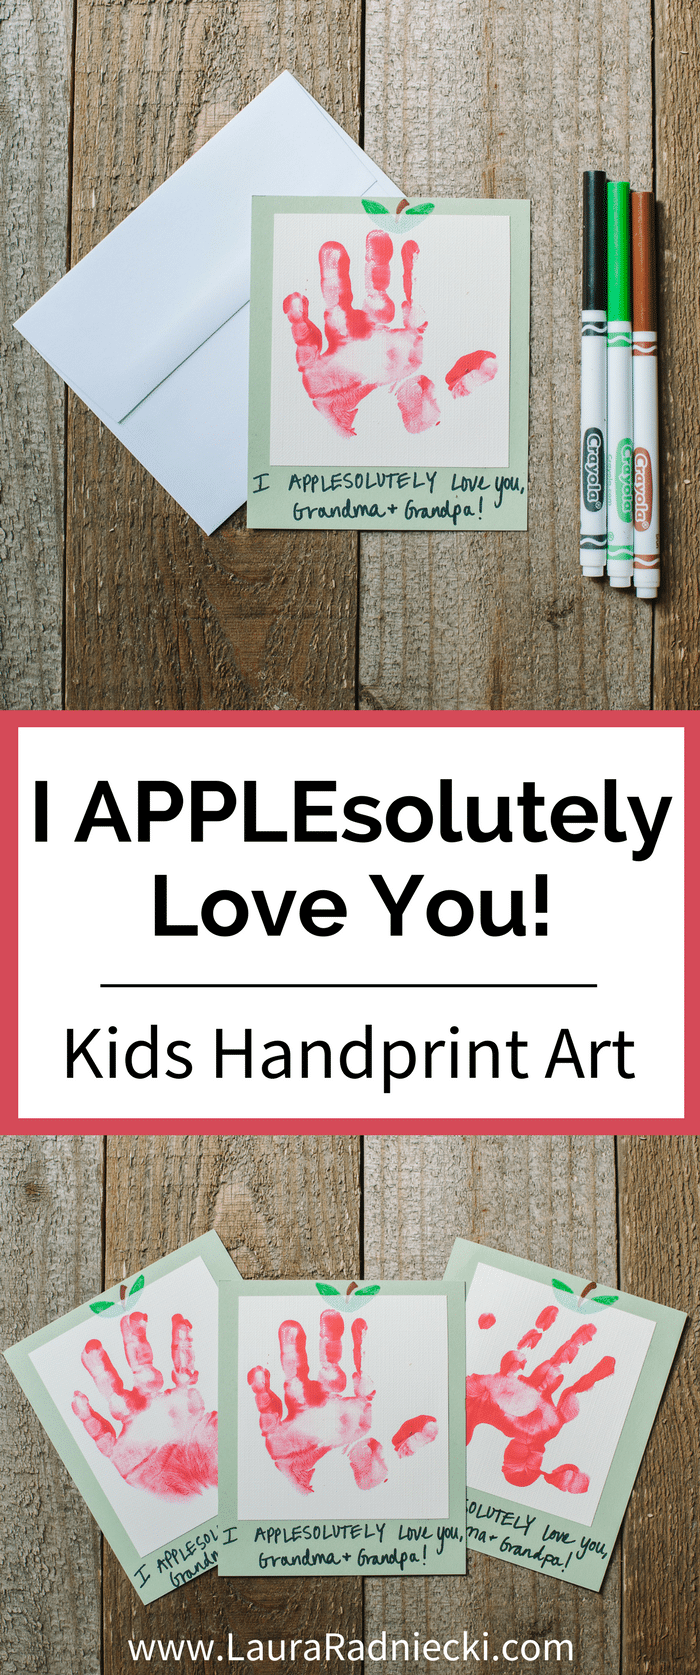
"I APPLEsolutely Love You" - a kids handprint craft idea. Makes a great gift for grandparents or to hang on your fridge!
One of my favorite parts of taking Raleigh to "Mommy and Me" classes has been the art projects. Every week, we made some type of craft, usually involving handprints or footprints.
Those kids crafts have been proudly displayed on the walls of our house, and are filling up the beginning pages of Raleigh's special art book.
I decided to try some handprint art at home, so I bought a set of paints. We made this golf ball painting kids' craft that turned out so cute.
Raleigh is curious and wild, so it's difficult to do handprint and footprint crafts with him right now, without the assistance of another person. But we decided to give it a whirl and make some art to send to his three sets of grandparents!
I was inspired by the apple handprint art we made at ECFE. In class, we used red paint and turned handprints into apples, adding "You are the Apple of my eye!"
This time, I wanted to use the same apple method, but use a different phrase. So we gave it a whirl!
I APPLEsolutely Love You | Kids Apple Handprint Art
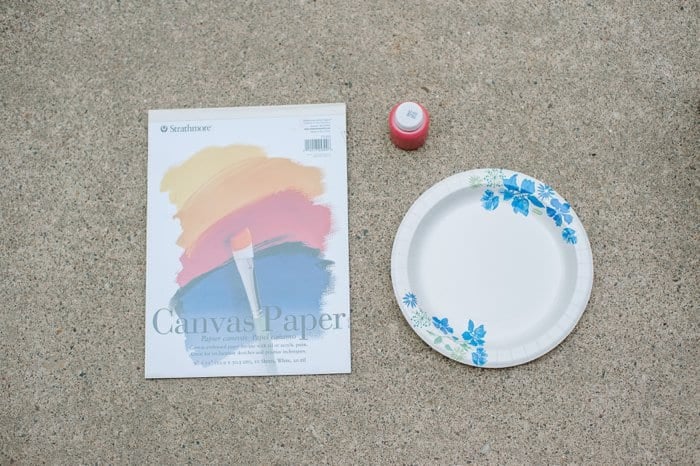
1. Gather Supplies
Paper for handprints - you can use any kind of paper, but I used Canvas Paper like this.
Red kids paint
Paper plate to put paint on (or you can paint it onto their hand with a paintbrush if your kid will hold still and not rub paint everywhere.)
Markers for leaves and stem, and to write
Colored paper to mount the handprint on
Glue stick
Scissors
Envelope to mail handprint art in
2. Make Handprints
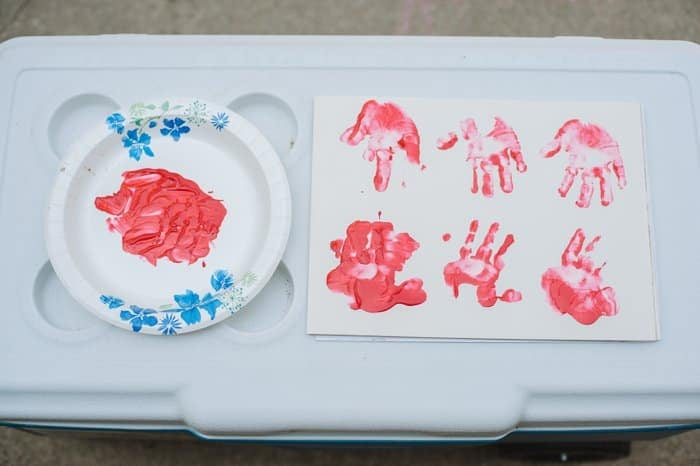
This was the hardest part. I did it unassisted and Raleigh was unimpressed with the interruption to his outdoor exploring. I knew I wanted to make three pieces of art, so I decided to stamp as many handprints on one piece of paper that I could fit.
I put paint on a paper plate, wrapped Raleigh up in my arms, and made handprints as fast as I could. Because I was rushing, I got way too much paint on his hand. You can see it squishing all over in the first couple hand prints. As it got used up, the handprints got better. I ended up with 3 decent ones of the 6, so I was happy.
Once the handprints are painted, let them dry completely.
(One of the handprints ended up looking like Raleigh was giving me the middle finger (HAHAHA) which was fitting with how unimpressed he was haha!)
SAVE THIS CRAFT FOR LATER!
3. Cut Out Handprints
I cut out each of the useable handprints into a square/rectangle shape. You can do this with scissors, but I much prefer to use my paper trimmer because I can't get a straight line for the life of me without it!
4. Cut Out Background Paper
I cut a corresponding rectangle of green card stock for the background.
5. Glue Handprint onto Background Paper
Next, I used a glue stick and glued the handprint onto the piece of background paper.
6. Draw Leaves and Stem
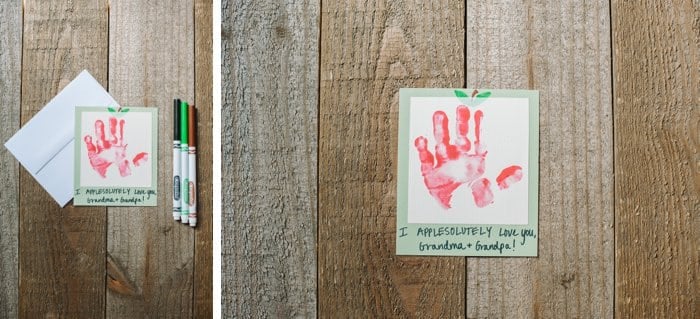
I used thin green and brown markers to draw a little stem and leaves at the top of each handprint-apple.
7. Write Your Phrase and Date the Back
I decided to write "I APPLESOLUTELY love you, Grandma and Grandpa!" on each card. I wrote it in thin black marker beneath the handprint apple.
I also dated the back of the note with Raleigh's age and the date.
8. Package and Deliver to Grandparents!
I put each completed art project into an envelope, sealed them up, addressed and stamped them, and mailed them to Raleigh's sets of grandparents.
They all loved them so much!
The sky is the limit when it comes to handprint and footprint art projects with kids. They can be made with babies, toddlers and kids (as long as you can get them to sit/hold still enough to do them.)
I'm not quite sure what it is about them, but anything with Raleigh's little hand or footprint makes a lump form in my throat and I want to KEEP THEM ALL!



Leave a Reply