
A "Special Book" is the best way to preserve and store kids artwork in an organized, compact way. Plus, it's easy and fun to look through!
Growing up, my family believed in keeping and recording memories.
My sister and I have DVD sets (converted from VHS tapes) of nearly our entire childhoods. Each of us have at least a dozen completed photo albums, and when we got married and moved into our own homes, we took with us several huge, plastic totes full of memorabilia.
We call those tubs “Special Boxes.”
Our Special Boxes
Our first Special Boxes were started by our parents, and include things all the way back to each of our births. They continued to fill with artwork, remnants of our first haircuts, report cards, and even some of our baby teeth! (Is that weird? Did anyone else save things like that?)
Those Special Boxes are literally a record of our entire growing up years. What a gift it is to be able to look through them!
The downside to throwing everything in a big tub is that it’s not very easy to look at the contents. Pieces have to be taken out bit by bit and pretty soon, you’ve got a mountain of papers in the middle of the living room.
We did this several times throughout our childhood, and we enjoyed the walk down memory lane. But as I considered ways to keep Raleigh’s memorabilia, I wondered if there was a better way for storing kid artwork and other special items.
Keepsake Photo Books of Artwork | Storing Kids Artwork
One currently popular way of saving memorabilia (particularly papers and artwork) is to take photos of the items, and then make a photo book from the pictures.
This is a great option for people who want the minimal amount of physical clutter, or people who are limited in their available space.
However, the downside of this method is that while kids are able to look at the things they drew and made in the photos, they aren’t able to touch them with their hands. There’s something poignant about being able to feel the dried paint of a turkey made from a handprint, knowing that you made it when you were 4 years old. That opportunity is lost when all you have left is a photo.
Special Books for Storing Kids Artwork - "Special Boxes" in Book Form
Last winter, one of my favorite people to follow on social media (Natalie Norton) was moving and in the process of packing, she put together keepsake binders for her three sons. She posted videos online of the boys paging through their books of artwork, homework and other items from their childhoods, laughing and discussing the contents.
I decided to follow suit, and created a version of a Special Box for Raleigh. It’s really a "Special Book."
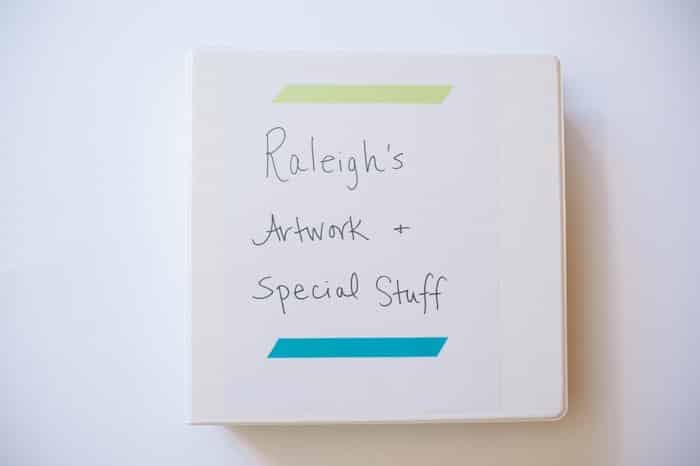
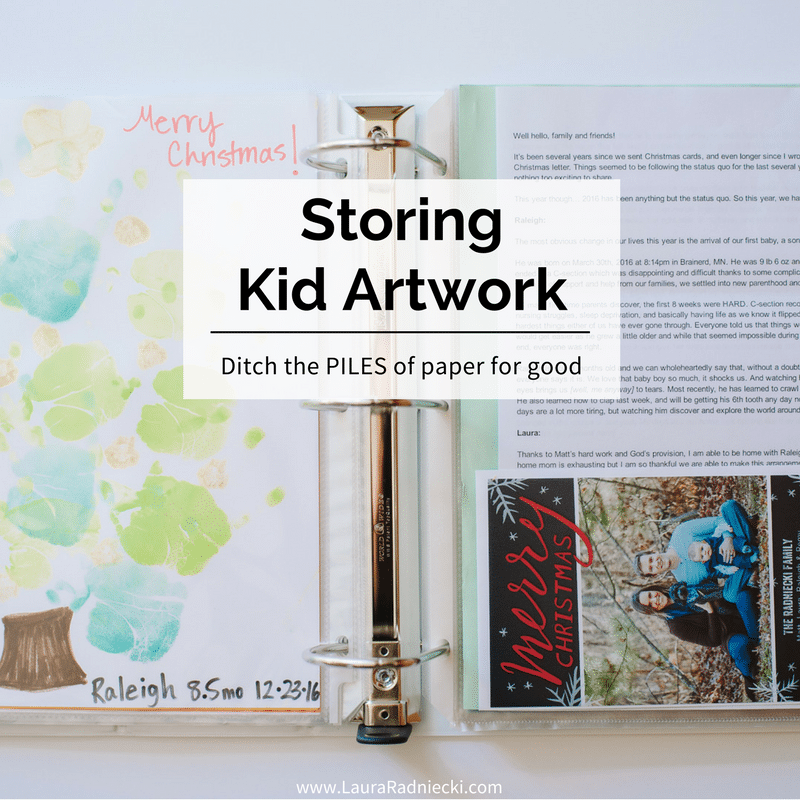
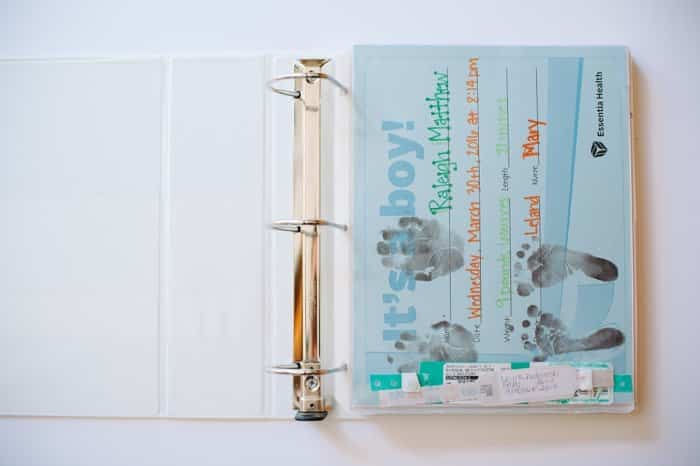
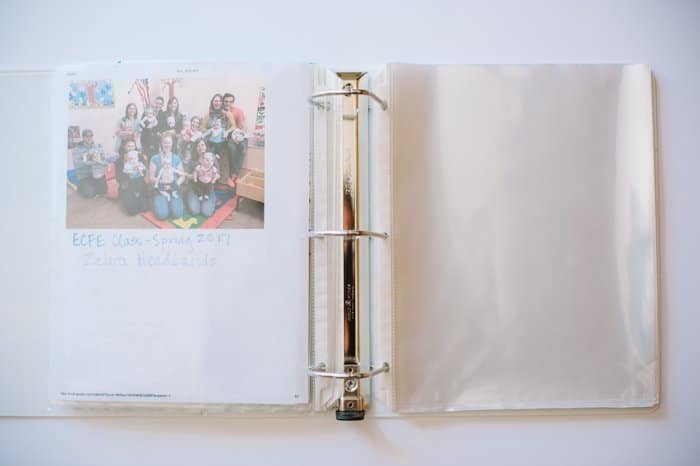
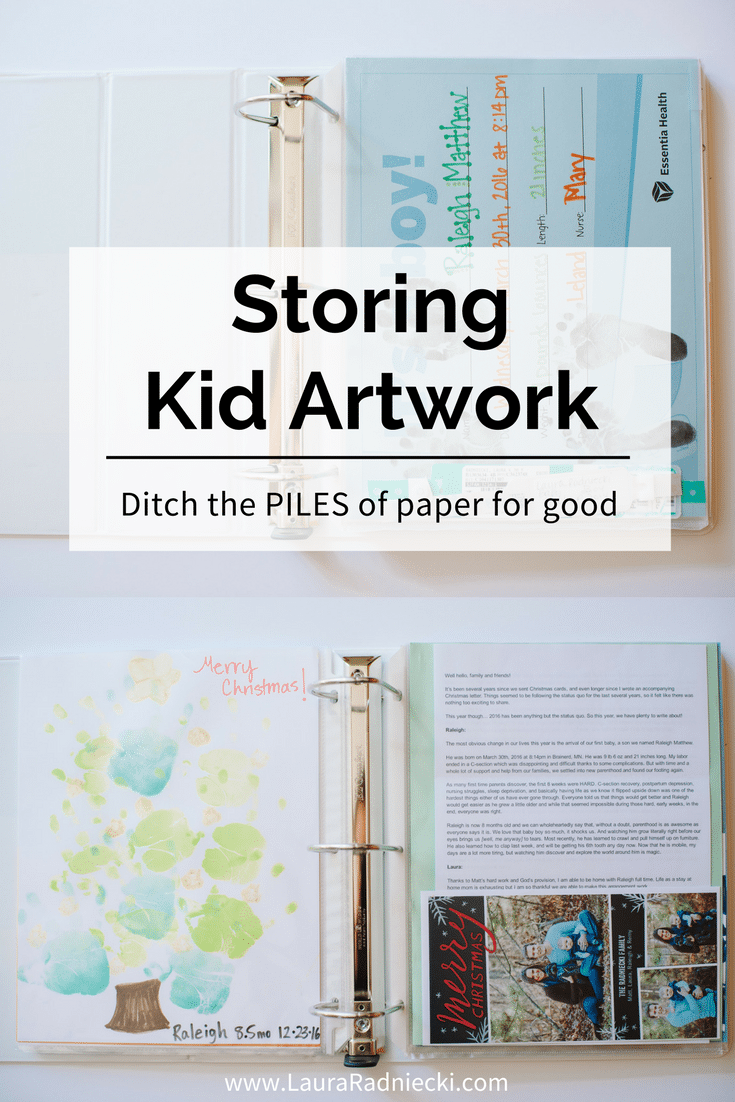
I got a huge 3 ring binder, and put clear plastic sheet protector pages inside it. Then, I started to fill it with important papers like the “It's a Boy” sign we took home from the hospital, our Christmas card and letter from last year, the bulletin from Church on the weekend of his baptism, and the cute artwork we brought home from ECFE class.
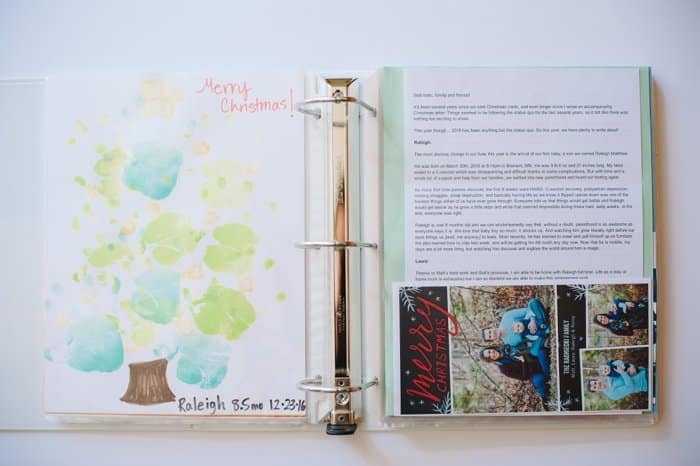
This makes the contents easy to see, simple to remove to a closer look, and I can buy more pages to add to the book, or buy a second binder and start Volume 2.
Building the Special Book as Raleigh Grows
My criteria for putting things in the binder will likely get more strict as Raleigh grows.
Right now, he isn’t creating artwork of his own; we did one per week during the ECFE sessions. I’ve added most of that artwork to the significant papers I started the book with, and I have also included a few special greeting cards as well.
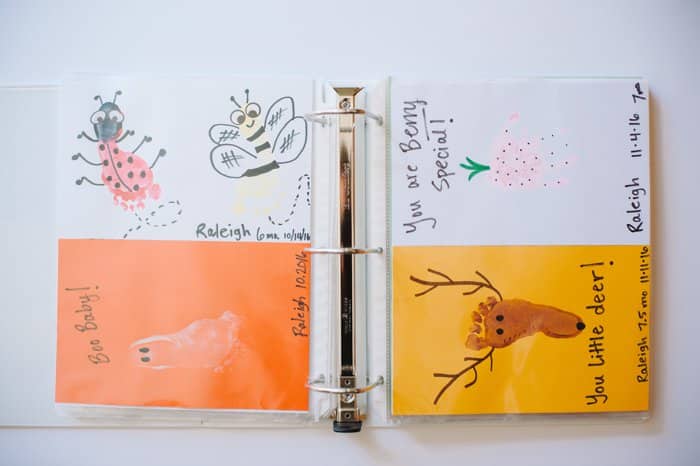
As he begins to create more of his own art, and starts bringing more papers home (like when he’s in preschool or elementary school), I will have to be more selective about what I keep. I don’t want him to have 10 packed 3-inch binders full of papers when he’s 18; that would be a bit overkill.
But I do think (and hope) that he will enjoy flipping through the books from time to time, to see significant parts of his childhood. I know I will be looking through them in the years to come as he grows up! (Emotional mama over here!)
I also have one tote started for him, with the intention of putting items that can’t fit in the binder in there. Things like the outfit he wore home from the hospital, his baptismal candle, and a couple of the outfits that family bought for him and I particularly loved. I'll also keep his 1st birthday time capsule in there too.
- - - - -
I am glad I started Raleigh’s Special Book early, before the stack of papers began to accumulate.
Now the foundation is set, and the clear plastic page protectors are ready for future papers and artwork.
I know that boys typically aren’t as sentimental as girls are about things like this, but I do hope that one day, Raleigh will enjoy being able to look back at the important and everyday parts of his life.
I also hope he knows just how loved and appreciated he is.
- If you liked this post, I would love if you would share it on Pinterest or Facebook. Thanks & xo! -

Christa
Oh my goodness! Where were you 18 years ago?? I have 3 kids ages 20,17,14 and I have so many special bins where I threw there artwork and baby things in. I am overwhelmed now trying to organize those bins. I will be using your idea for a binder book .
Thanks!
Laura
Let me know how it goes, Christa! I updated my kids' books the other day, and while I'm going to be needing a second edition in the next year or two, I am loving the book system so much!
Lauren
Thank you! I Have 10 years of art work to organize and I finally feel that I have a good plan!!
Laura
I'm so glad you like the idea, Lauren!