LEARN HOW TO MAKE A BOOK PAGE TASSEL ORNAMENT IN MINUTES WITH JUST PAPER, SCISSORS, TWINE, AND HOT GLUE, USING THIS EASY TO FOLLOW, STEP-BY-STEP VIDEO TUTORIAL.
Someone once told me they thought using old books for crafts was a terrible way of desecrating them.
I do not agree.
To me, using old books (which are in endless supply in thrift stores and garage sales) for craft projects and other home decor purposes is a way of HONORING them, and giving them new life!
Do you know where those books would end up if no one used them?
The recycling bin or worse... the garbage.
I've made many crafts with old book pages such as this DIY book page wreath, book page bunting, fringe book page trees, Mod Podge cone trees, and Mod Podge ball ornaments.
We’re on Day 4 of The 30 Days of Ornaments Project, where we will make 30 handmade ornaments over the next 30 days.
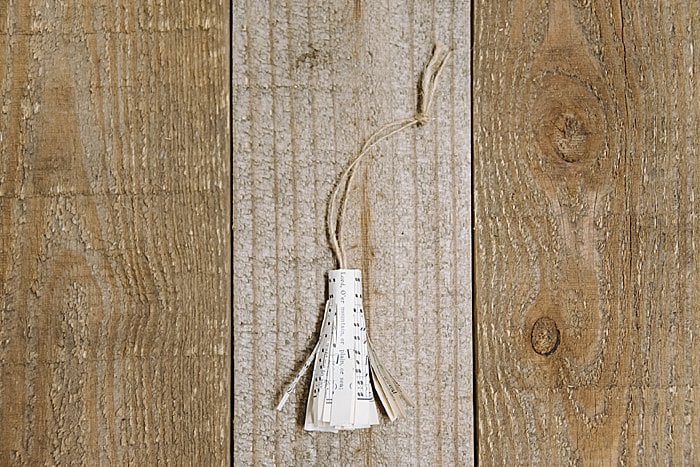
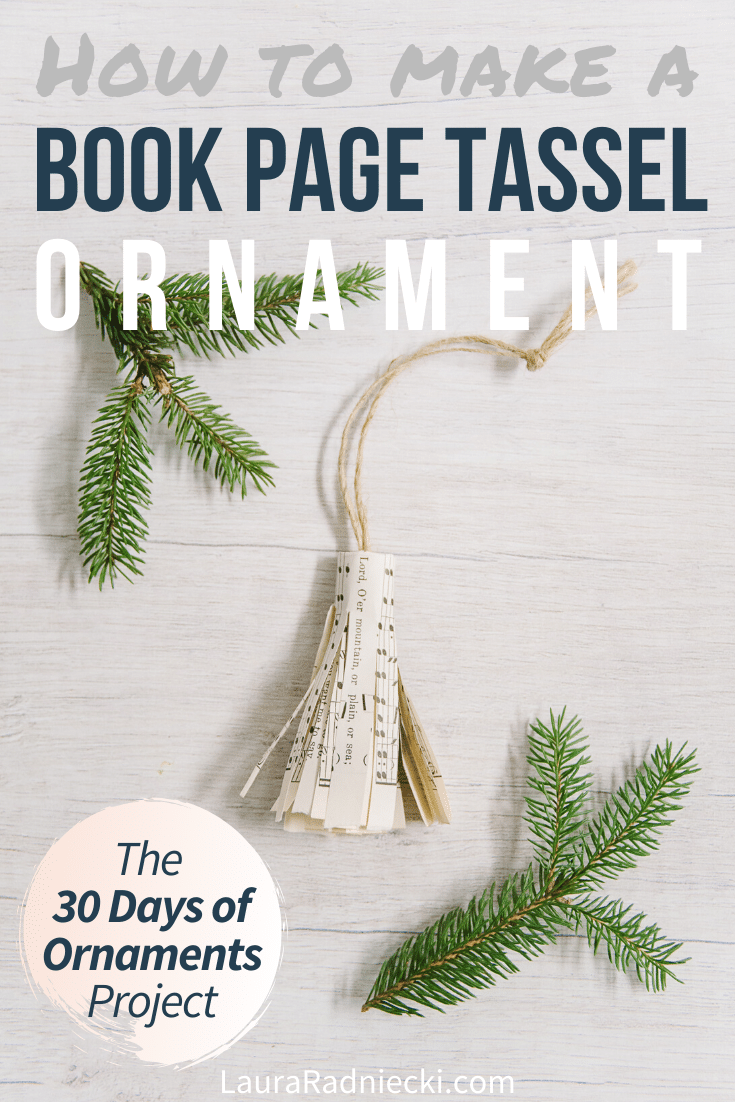
Today's ornament merges my love of old book pages with my affinity for tassels of all kinds. We're making a book page tassel ornament!
Here's how!
Day 4: How to Make a Book Page Tassel Ornament
DIY Book Page Tassels | 30 Days of Ornaments Project
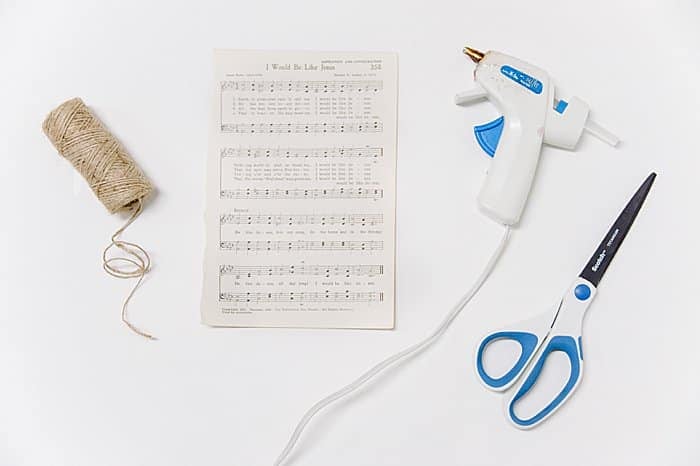
Step 1. Gather supplies.
Supplies needed:
- Book Pages
- Twine
- Scissors
- Hot Glue Gun and Glue
Step 2. Fold piece of paper in half, the long "hot dog way." The crease should be at the top.
Step 3. Cut slits up from the bottom. Cut slits approximately ¼" apart, stopping ½ to ¾" from the creased top of the paper. This creates a fringe.
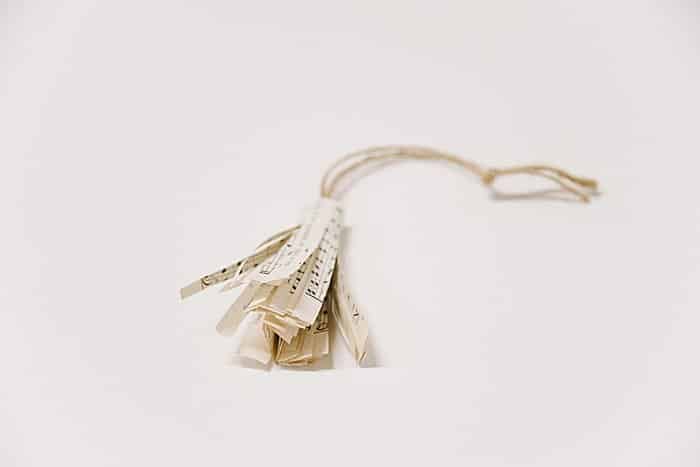
Step 4. Cut a hanging string - 12+ inches long.
Step 5. Fold hanging string in half, tie two ends together.
Step 6. Put hot glue on one end of paper in the upper corner, and anchor the folded end of twine into the glue.
Step 7. Start rolling the paper tightly around the twine, forming a tassel.
Step 8. Keep rolling the whole length of the paper, and glue at the end to anchor.
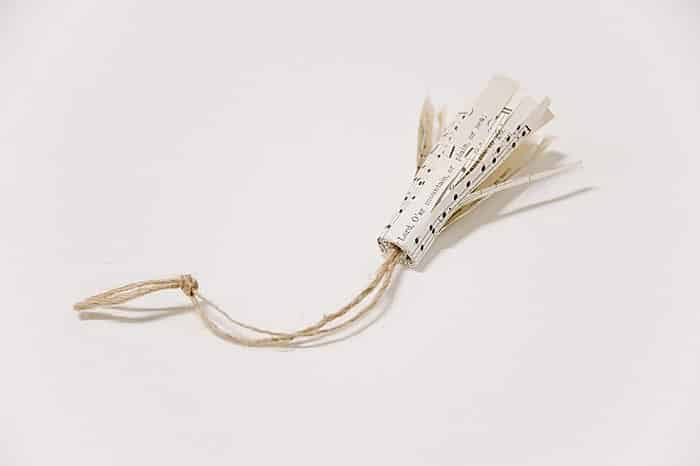
Step 9. Shake tassel, trim up if needed, check knotted hanging string, and display it!
Whether you decide to use old book pages, maps, a church hymnal like I did, or even just plain paper, these paper tassels are so simple and fast to make.
And they turn out so cute!
The trick will be not making 100 of them once you get going!
Save the idea for later by pinning the photo below to Pinterest!
. . . . . . .

Leave a Reply