
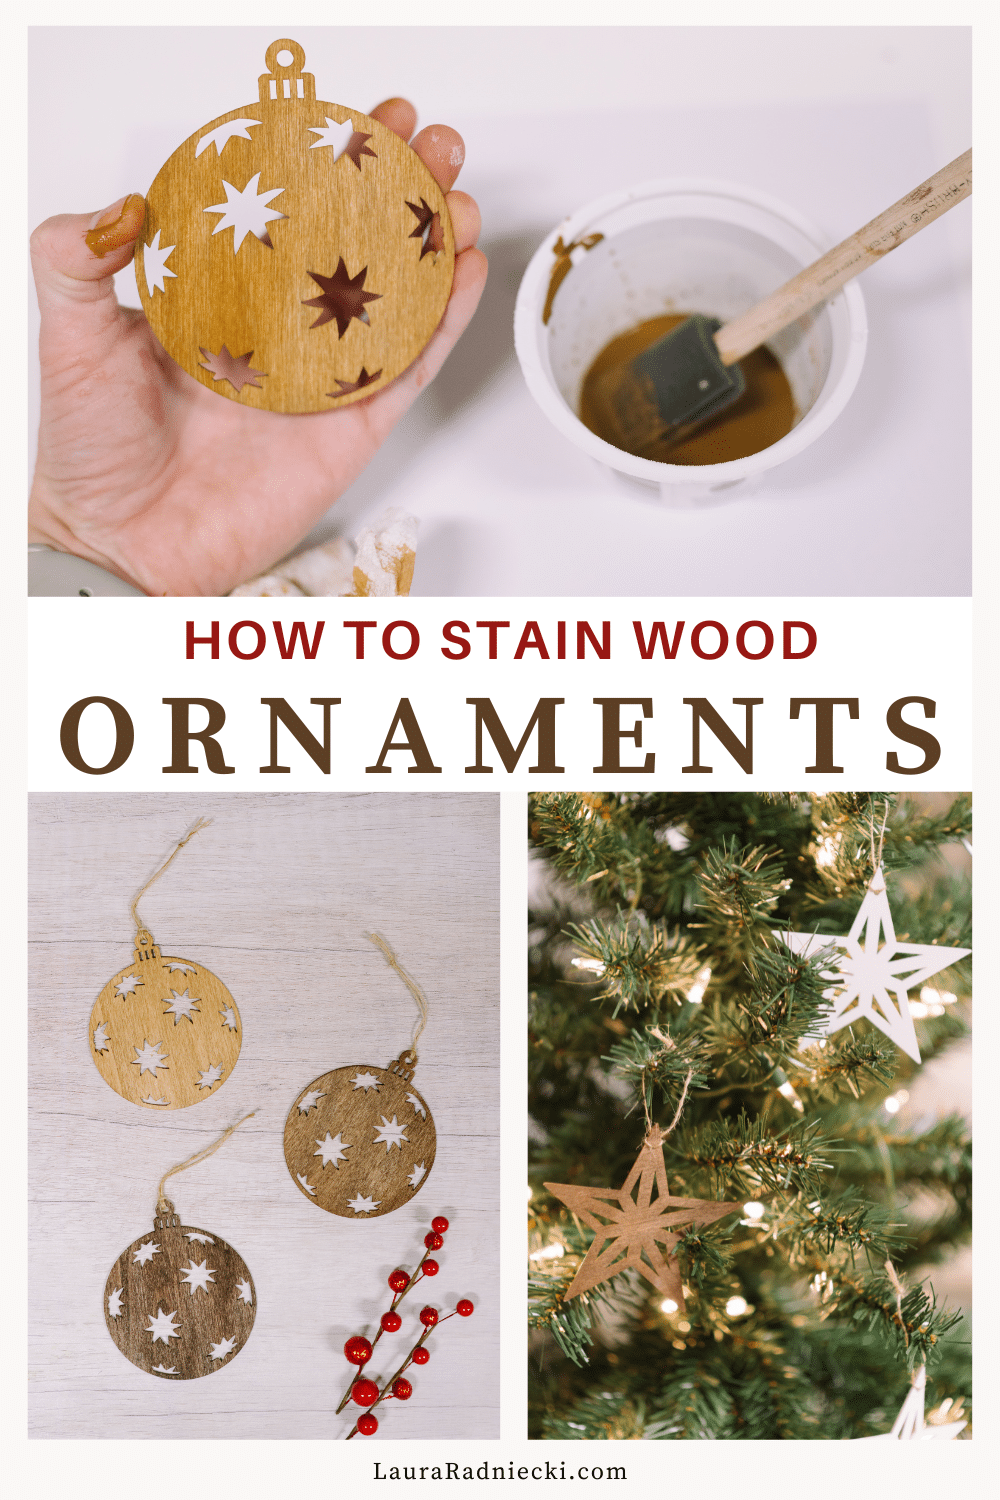
Learn how to stain wood ornaments from the Dollar Tree in this easy step-by-step craft tutorial. Turn simple wooden ornaments into beautiful stained or painted ornaments for your Christmas tree, using any color or shade of stain you want!
Unfinished wood ornaments are sold in many different shapes, and sizes, and usually in multi-packs everywhere from craft stores to dollar stores.
They are cute on their own, with raw wood, but you can elevate the look of these simple wooden ornaments by adding a coat of wood stain or diluting craft paint with water to make your own DIY wood stain.
Today, we're going to look at how to stain wood ornaments using wood stain and diluted craft paint!
How to Stain Wood Ornaments from Dollar Tree
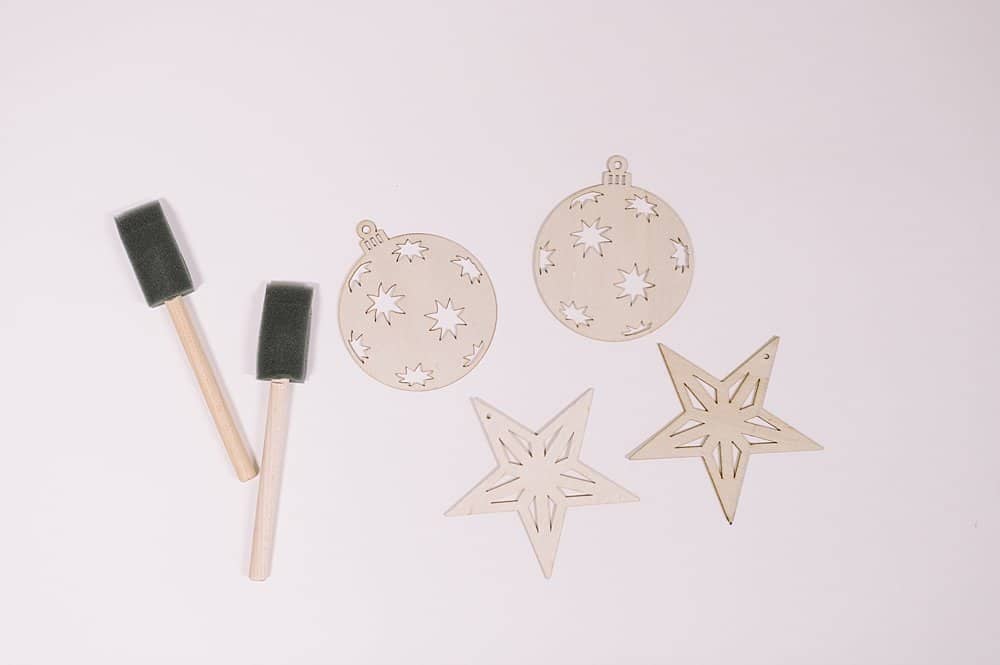
Step 1: Gather Supplies
Supplies Needed:
- Wood Ornaments - (ours are from the Dollar Tree, but you can get them on Amazon too.)
- Stain or Paint in desired colors
- Rags or Paper Towels for Stain
- Foam Paint Brush
- Twine
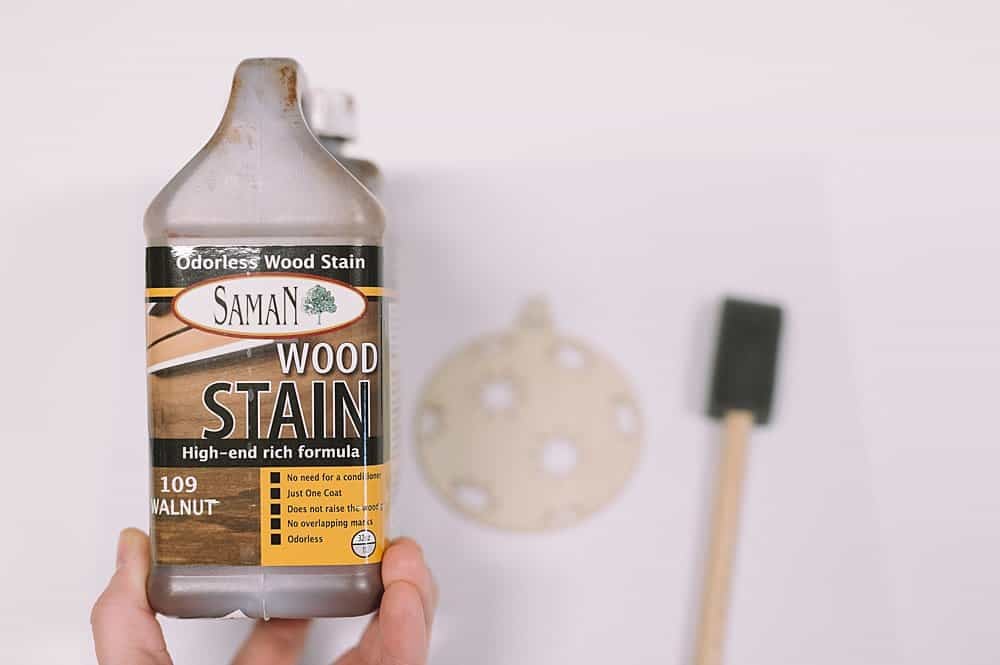
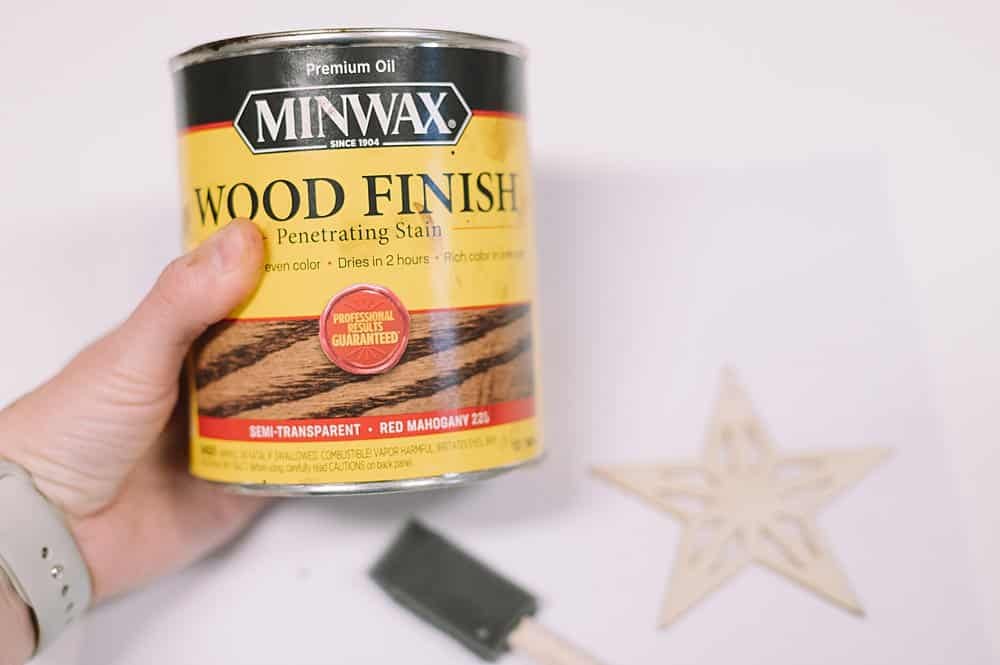
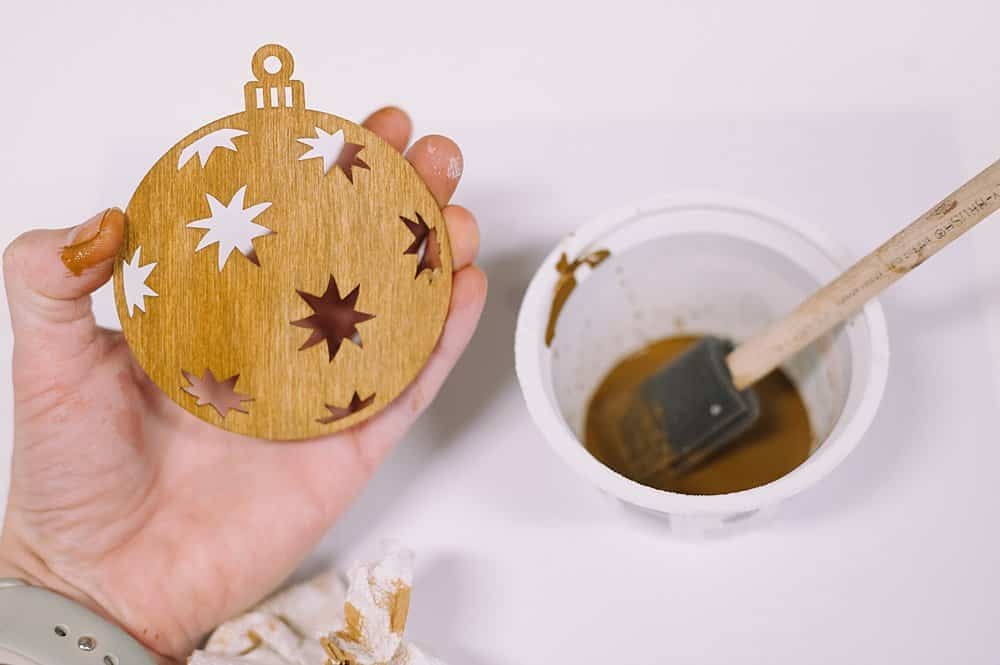
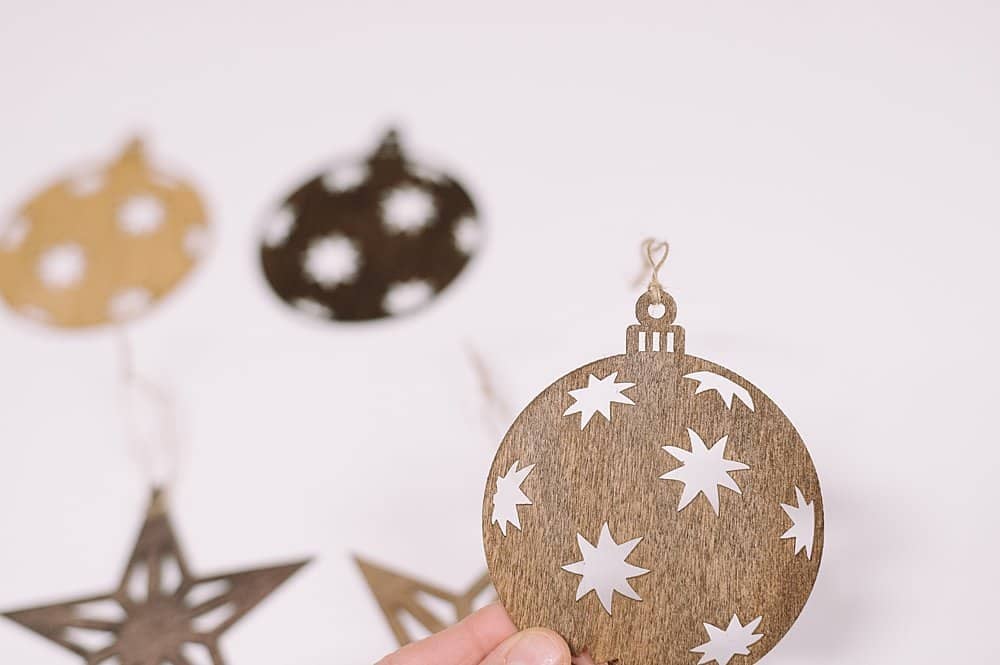
Step 2: Brush the stain onto the wooden ornament, or use a rag to wipe it on.
Use a clean rag to wipe off the excess stain. This will reveal the wood grain.

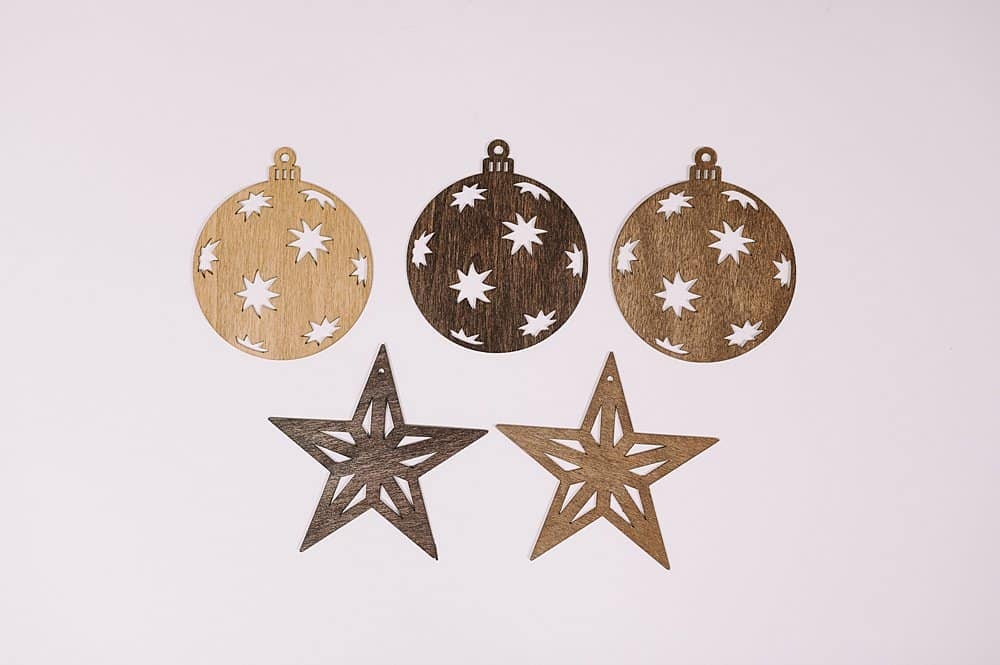
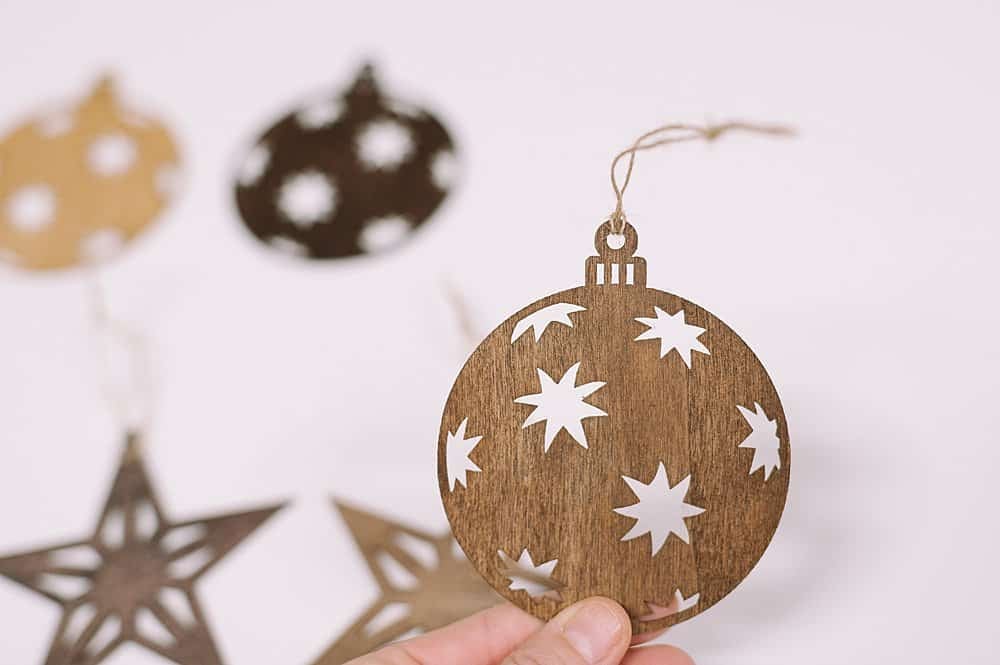
Repeat for any other stain colors you want to use.
Step 3: You can also use craft paint instead of wood stain.
First, choose your paint colors.
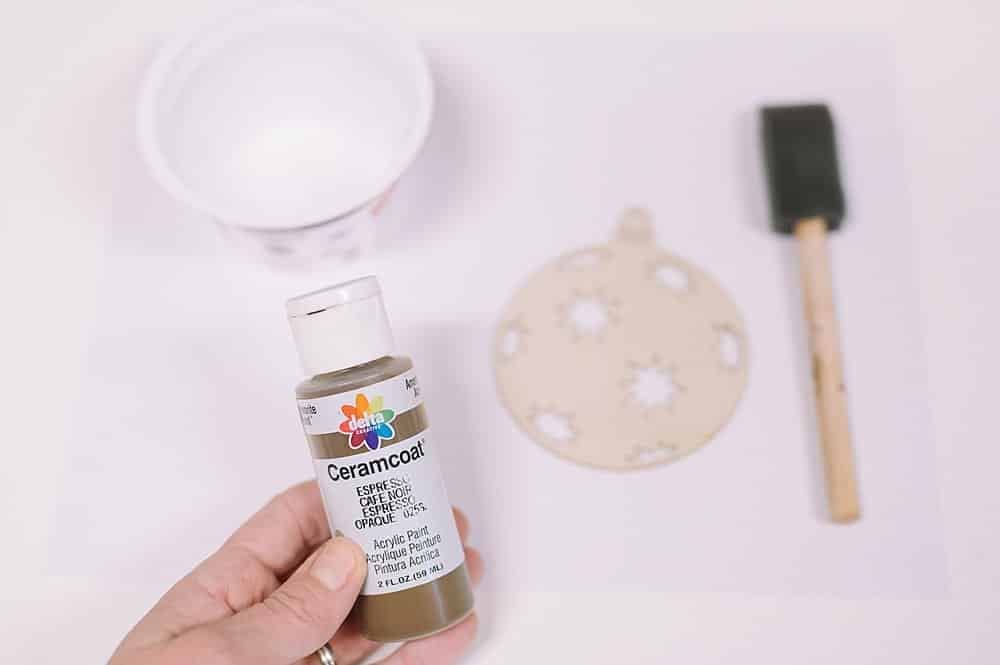
Dilute the paint with water to create a thin consistency.

Brush the thinned paint onto the wooden ornament, and rub off the excess with a clean rag.
(Photo below: left side of ornament has the brushed-on paint, the right side has the excess paint wiped off.)
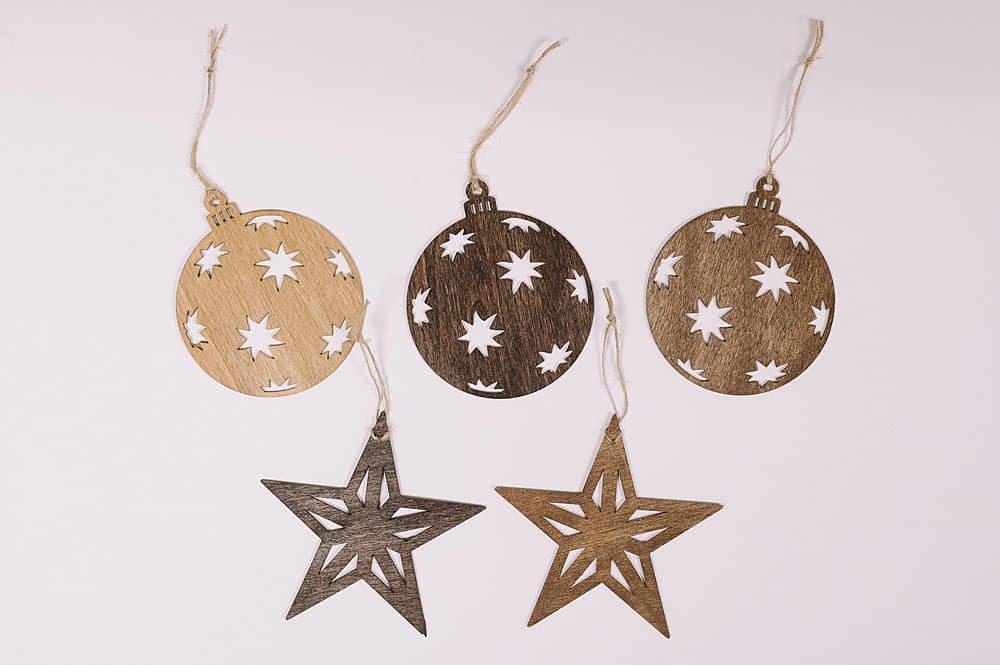
Choose different colors of paint or stain to vary the colors of your wooden ornament.
Step 4: You can also paint the ornaments with any type of paint.
I used white milk paint.
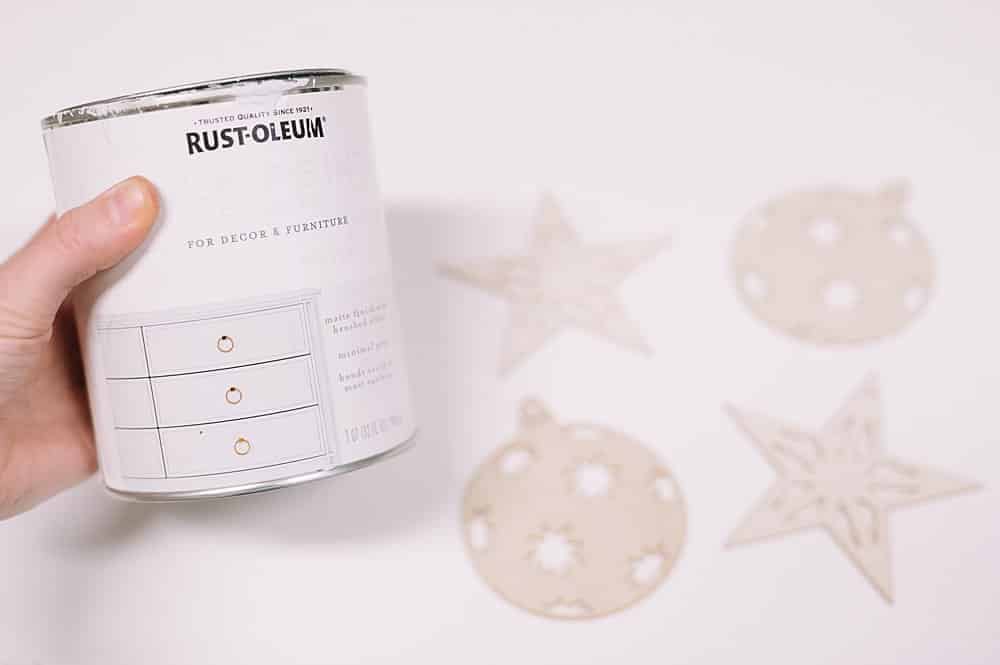
I also thinned some white milk paint with water to create a more "white-washed look" but I could hardly tell the difference in the finished painted ornaments.

Step 5: Add twine to the top of the stained wood ornaments.
Fold a section of twine in half, and push it through the hole at the top of the ornament.
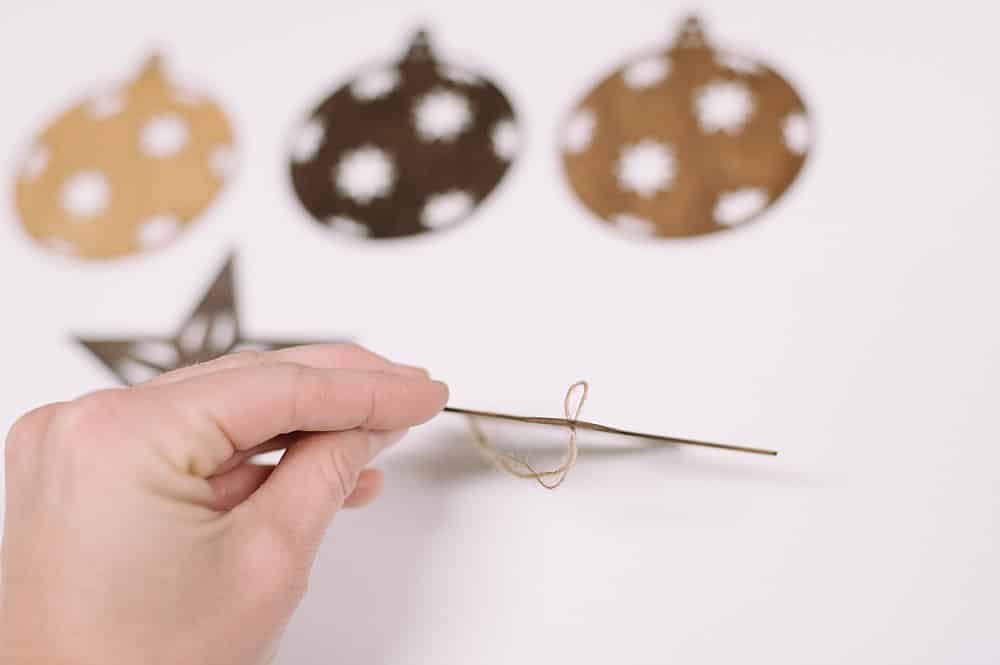
Push the two tails of twine through the loop and tighten.
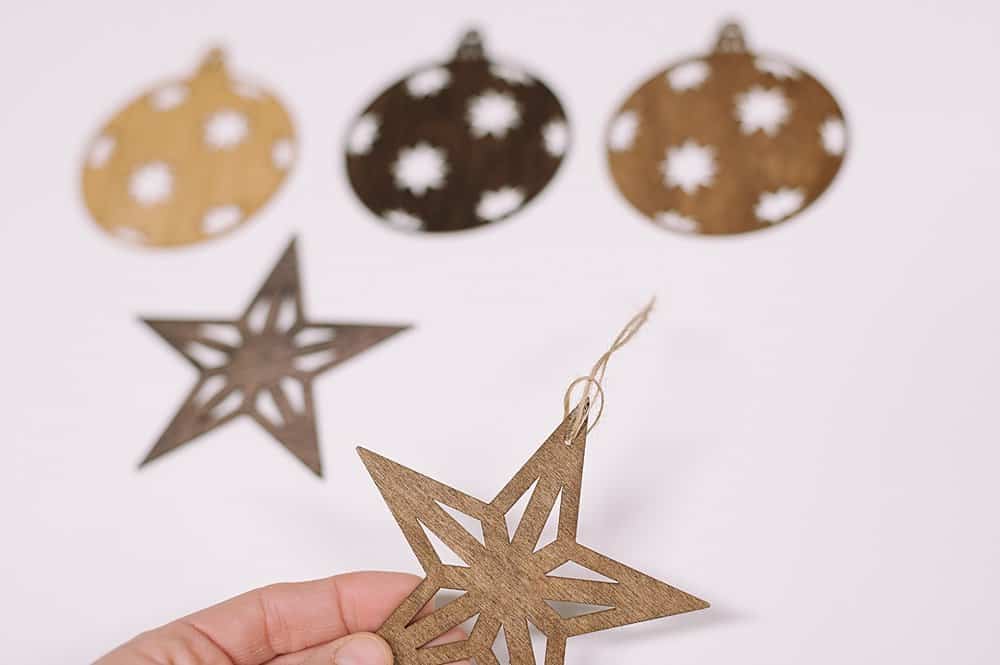
This can be the front of your ornament if you like the look of the twine on this side.
Or, you can flip it around and hang it the other way, if you like the look of the twine on the backside better.
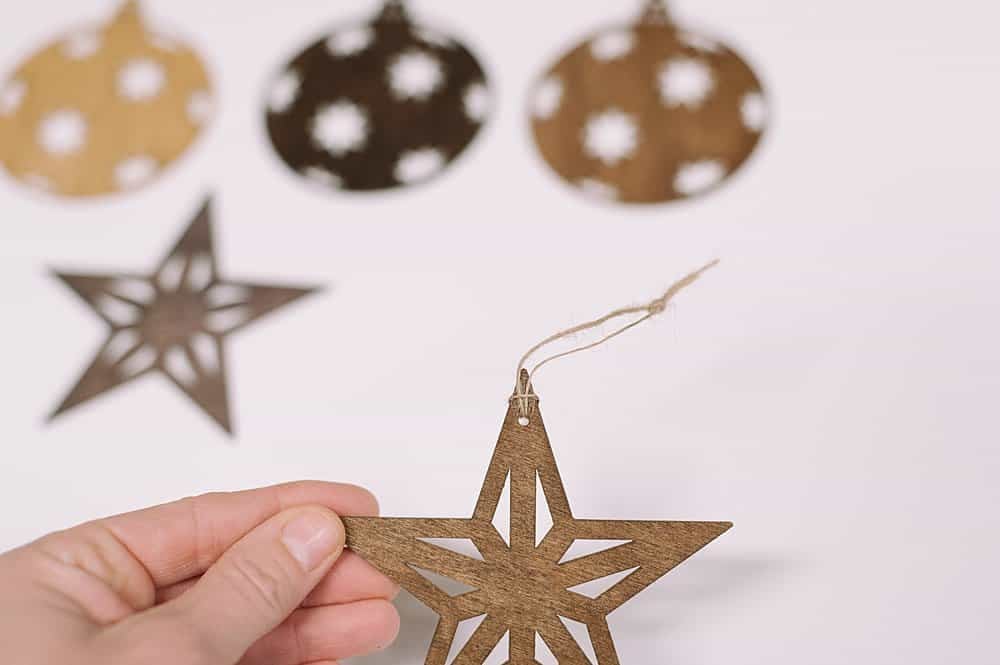
Repeat, adding twine hanging strings to all of your wood stain ornaments.
That's how to stain wood ornaments!
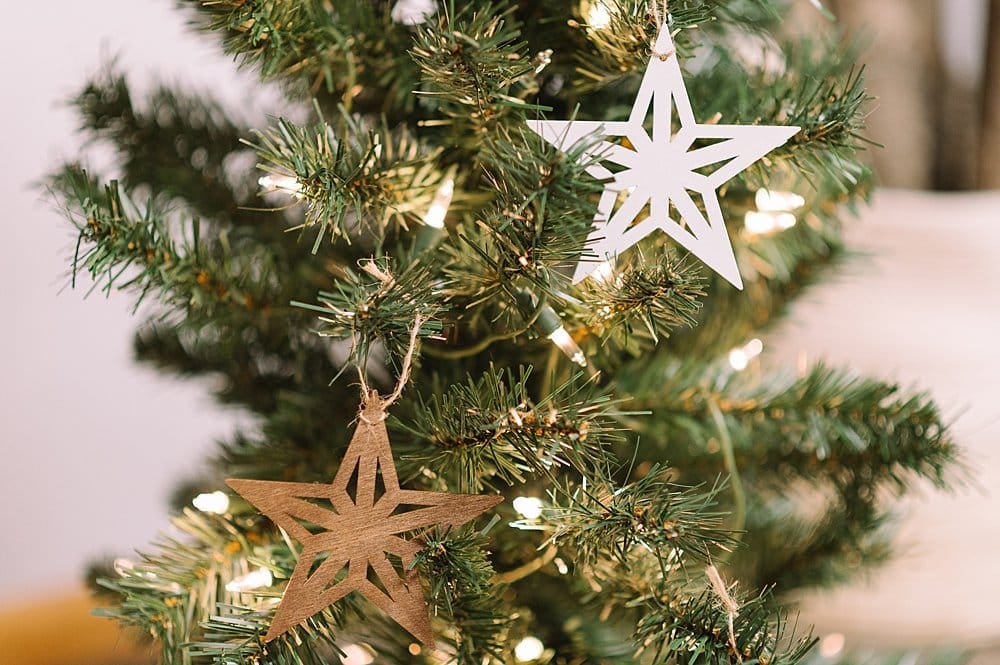
You now have a batch of classic, elegant wood ornaments to hang on your Christmas tree.

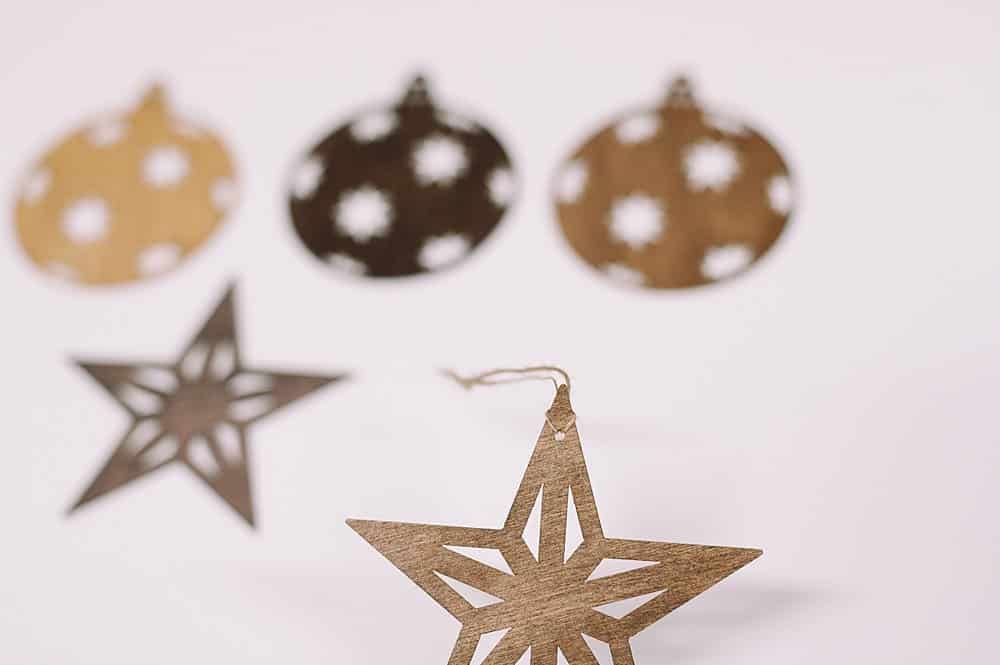
Unfinished wooden ornaments are available at most every craft store or dollar store around.
There's something simple, rustic, and humble about the raw, unfinished wood look, but by adding stain or paint to the ornaments, they instantly look even better!
You can experiment with different colors of stain, or better yet, put the different colors of craft paint you have to work by diluting them with water and using them to "stain" the wooden ornaments!
Just like stained mini chalkboards or stained wooden animals, you can elevate the look of the wood.


Leave a Reply