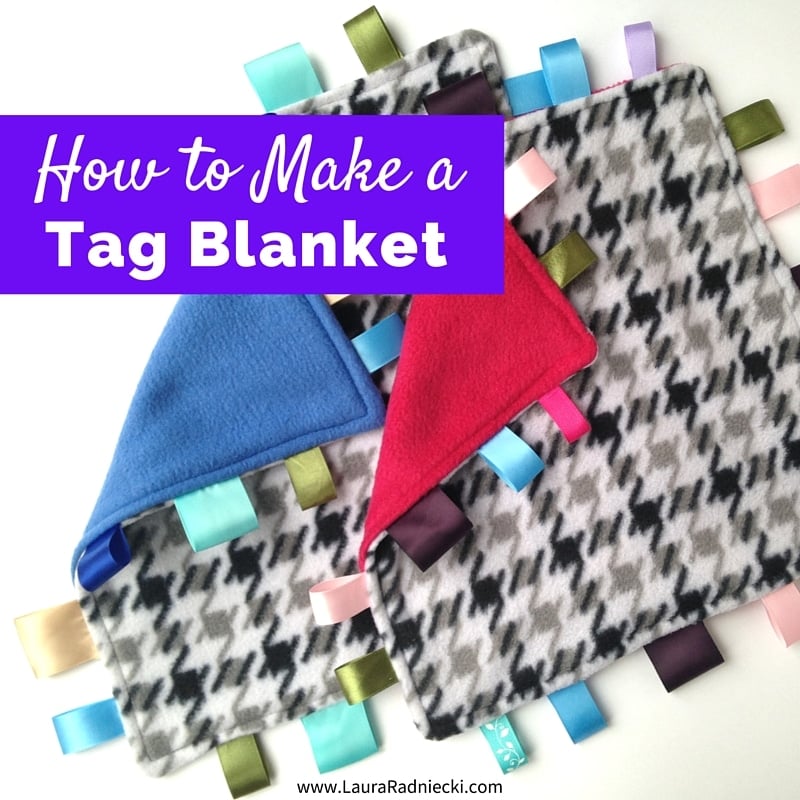
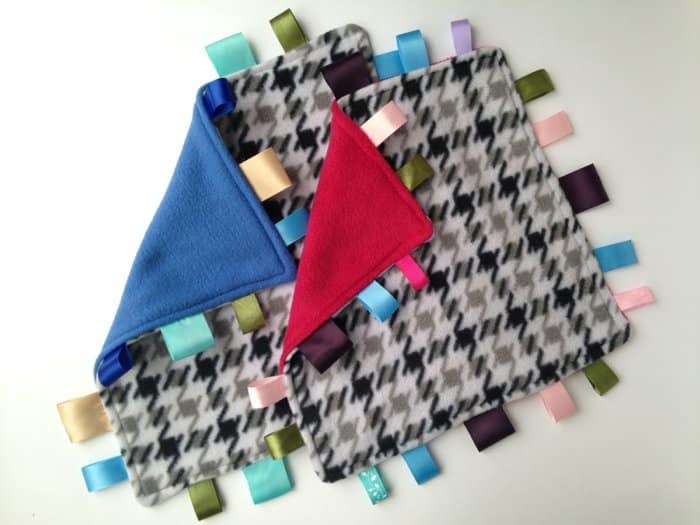
We received a few cute tag blankets at our baby showers.
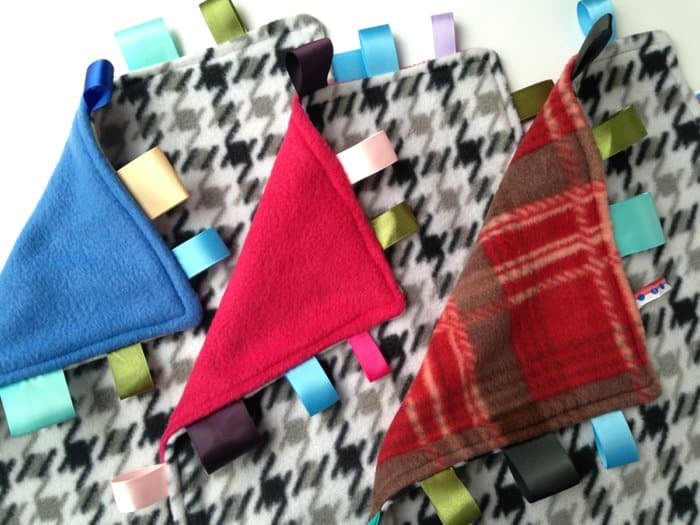
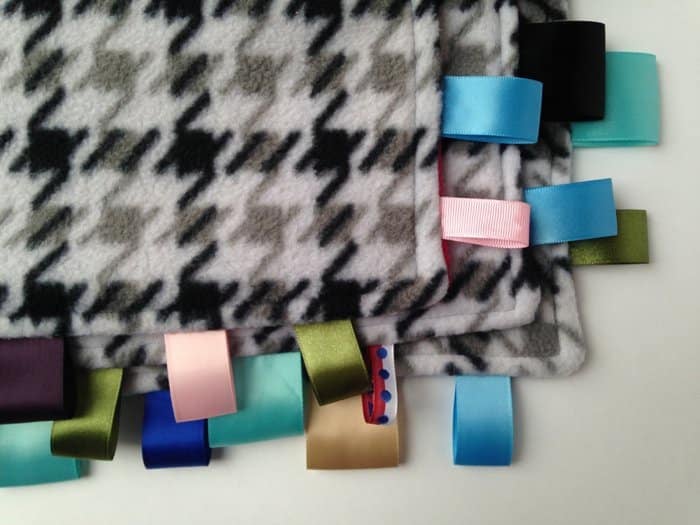
They are small, soft, and have a bunch of colored ribbon tags sticking out the sides, perfect for little fingers to play with and explore.
When I was on my crafting and nesting kick a few weeks ago, trying to use up some of my fabric stash, someone suggested I make a couple of these blankets.
I looked up tutorials on Pinterest, and found many. They look much more complicated to sew than they really are.
If you want to whip up a few for yourself or to give as gifts, they're the perfect project that uses a small amount of fabric, and gives you the opportunity to use up some of your ribbon stash.
[A lot of the ribbons I used came from our wedding - circa 2007!]
 Supplies you need to make a Tag Blanket:
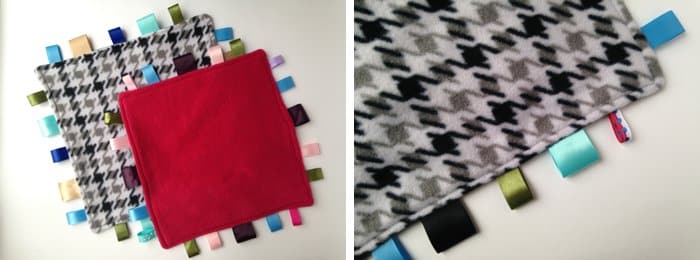
-- Fabric: I used fleece fabric scraps I had left over from other projects in an effort to use up some of my stash. You can use any type of fabric you'd like, but the softer it is, the better. It is a blanket, after all. You can make these blankets as big as you'd like. I made a few that were 18x18 inches, and a couple that were slightly smaller [14x14"] - in order to use up the fabric I had.
-- Ribbon: You can use whatever type, color and style of ribbon you want. I used whatever I had in my ribbon box. Cut the ribbon pieces into 4" long strips, and decide how many you'd like on each side. I put 5-6 pieces on each side because some of the pieces were wide. If I had used all thinner ribbons, I could have fit 7-8 pieces of ribbon on each side. It's up to you and how far apart you want them to be.
-- Scissors, Rotary Cutter, Pins
-- Thread
-- Sewing machine
How to Make a Tag Blanket
Here are the steps to make them.
Again, refer to this tutorial if you need step by step photos of the process.
Step 1. Cut 2 squares of blanket fabric.
Like I mentioned, I cut some that were 18x18" and some that were smaller. You can make them however big you want, depending on how much fabric you have.
Step 2. Cut 4" ribbon pieces.
I cut them into 4" long strips, and determined how many I'd like on each side of the blanket.
There's no right or wrong way to organize the ribbons. You can repeat a color pattern or go completely random if you want.
Step 3. Pin ribbon pieces to fabric.
Lay one piece of fabric out, right side up.
Next, fold your 4" ribbon pieces in half so that the right side is facing out, and pin them so the fold is facing the INSIDE of the fabric square, with the ribbon's edge lining up with the fabric edge. [Look at her tutorial's photos if you're confused by this.]
Pin them all around the edges of the 1st fabric piece.
Step 4. Sew the ribbons to the 1st fabric piece.
I used a roughly ¼" seam allowance for this part. You're securing the ribbons to the first piece of fabric in this step.
Step 5. Lay the 2nd piece of fabric, right side DOWN on top of the first piece of fabric.
Step 6. Sew the two fabric pieces together.
The right sides of the two fabric pieces should be facing each other on the inside of your sandwich stack, and all of your ribbon pieces are hidden at this point.
Sew around the edge with a ½" seam allowance.
Just like I mentioned in this bib tutorial, you want to leave a 3 inch gap someplace along the edge to turn your blanket right side out through.
Step 7. Turn blanket inside out.
Step 8. Top stitch around blanket to finish it.
Top stitching gives the ribbons extra security so they can't be pulled out and it closes up the turn-through hole.
I used a ¼" seam allowance for this, maybe slightly closer to the edge when I came to the turn-through hole to make sure it was secure and hidden.
And that's it!
I whipped these up super quick in the middle of my crafting/nesting frenzy, so I didn't take step by step photos for this tutorial, obviously.
Like I mentioned, this tutorial does a beautiful job of outlining and photographing the steps to make these if the above steps aren't clear enough.
Once you make one, you'll see how easy they are, and the next ones will come together even faster.
I found the most tedious part to be folding and pinning all of the ribbon pieces to the first fabric square. That's a lot of pins!
I can't wait to see how our boy likes his homemade tag blanket, made with love by his mama!

 Supplies you need to make a Tag Blanket:


Mihaela Echols
Definitely sharing this!