Learn how to make a felt ball coaster using hot glue and felt balls in this step-by-step tutorial! You can also make a DIY felt ball trivet!
Felt balls are fantastic craft supplies, and we've used them to make some awesome projects on the blog here like these 10 easy felt ball crafts.
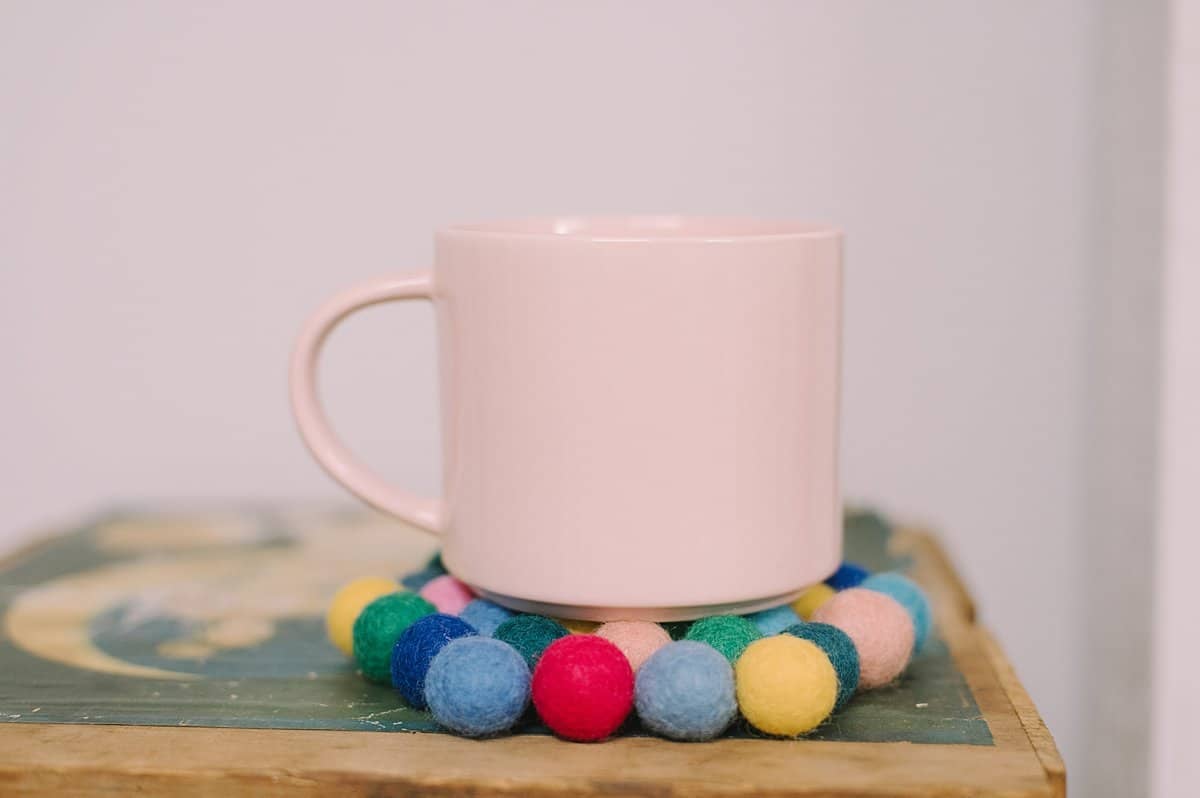
Today, we are using felt balls to make a colorful, easy felt ball coaster, and all we need are felt balls and hot glue!
How to Make a Felt Ball Coaster
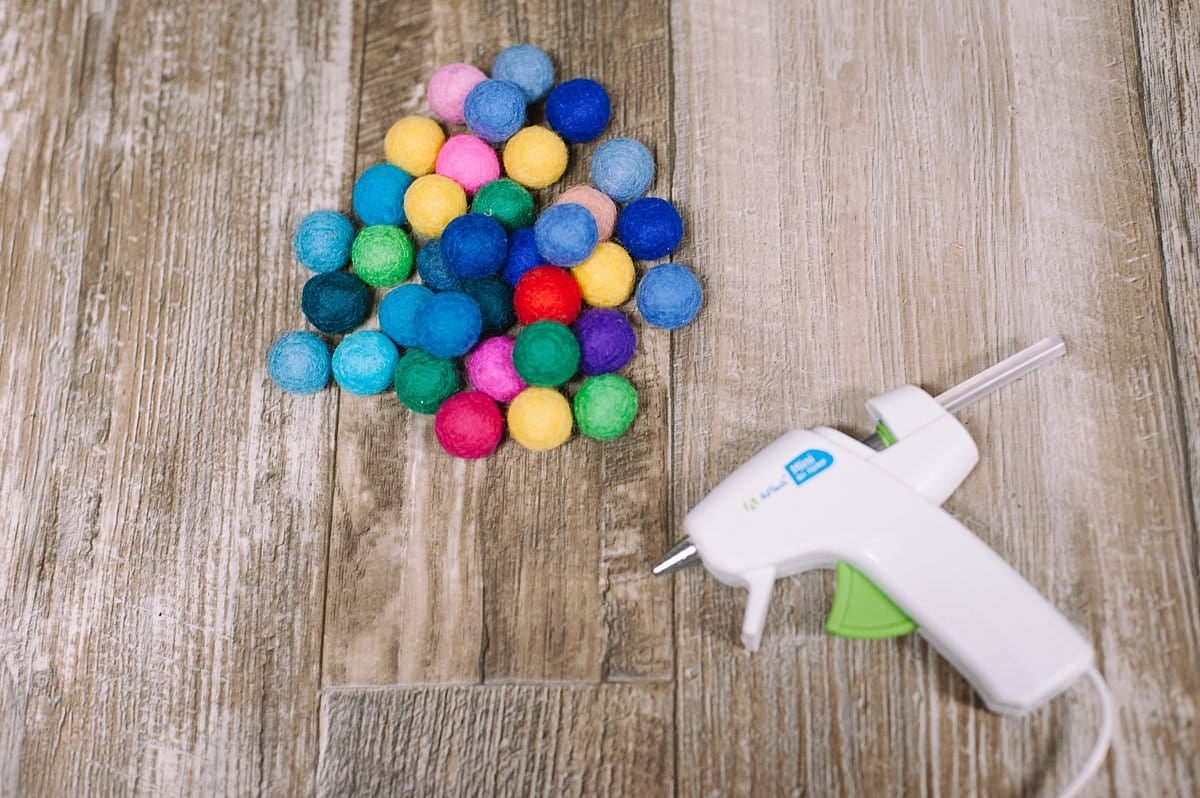
Step 1: Gather Supplies
Supplies Needed:
- Felt Balls - I used balls that were 20mm in diameter (slightly less than an inch.)
- Hot Glue Gun and Glue
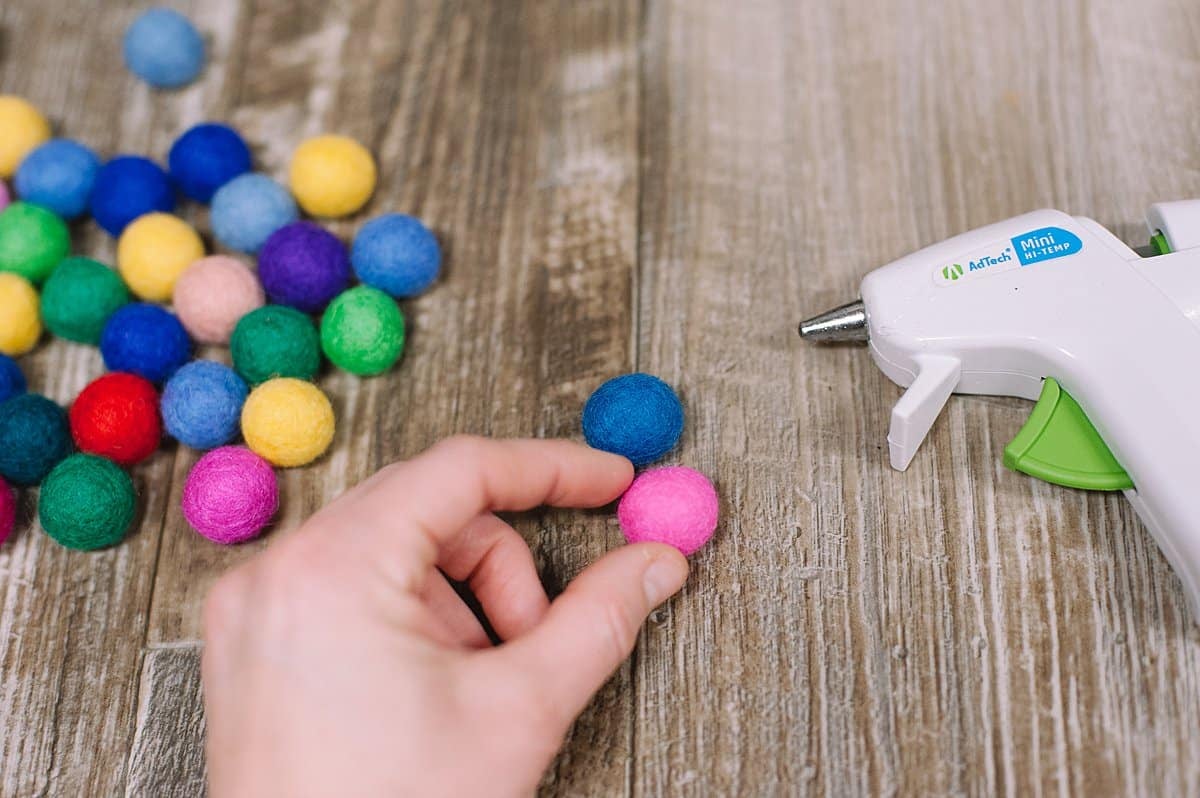
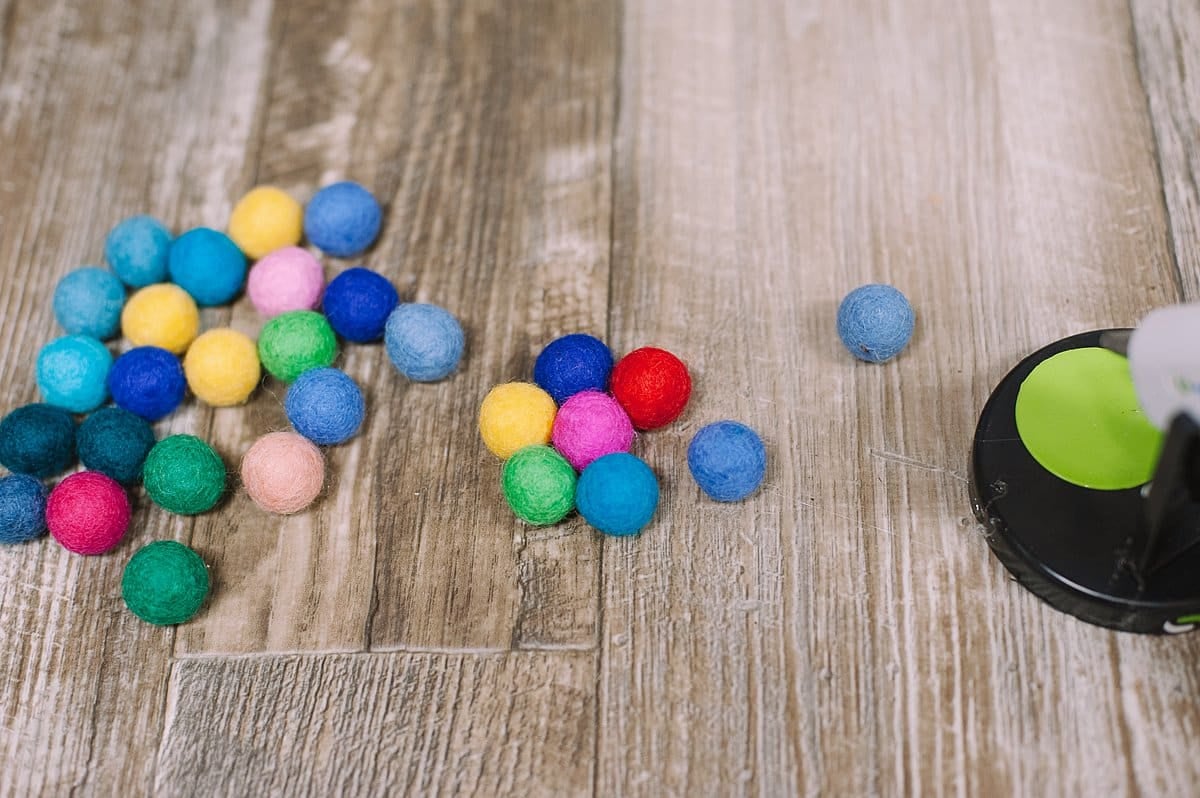
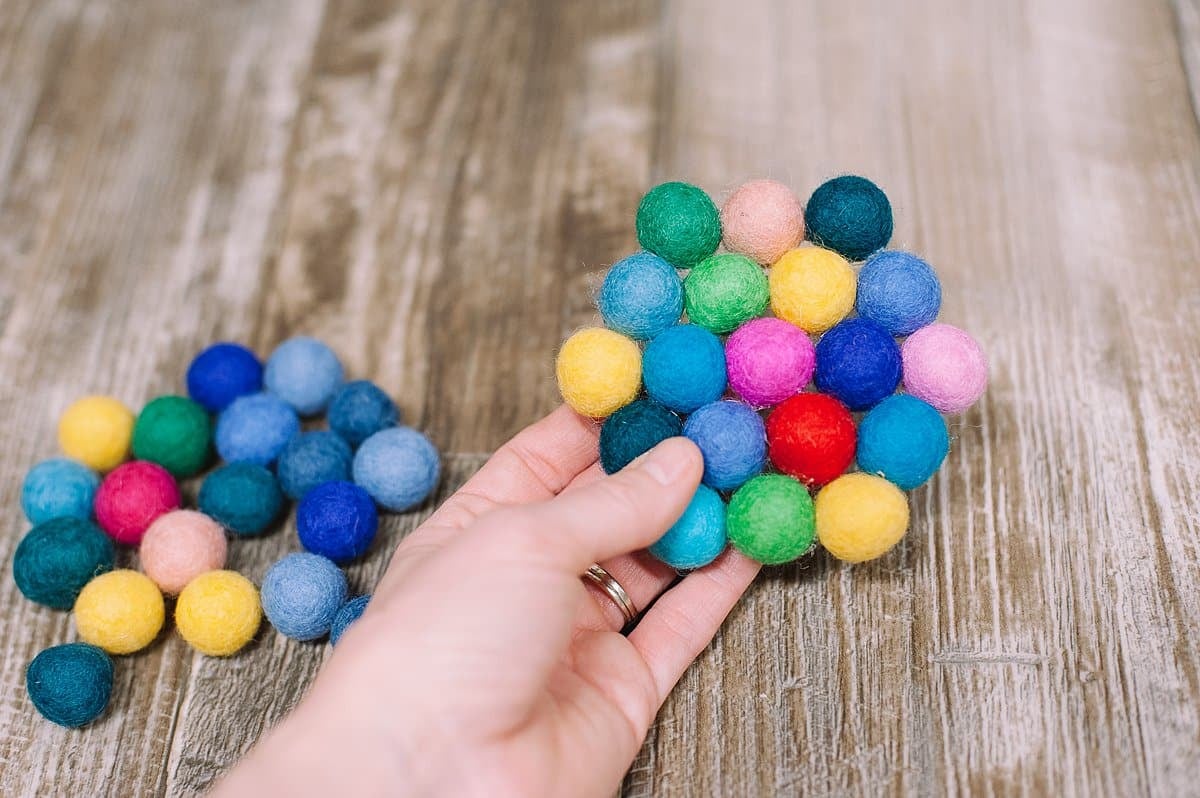
Step 2: Choose one felt ball to be the center of the coaster. Begin gluing balls around the center ball.
The pink ball is the center.
The balls will naturally make a hexagon shape; 6 balls will be able to fit around the center pink felt ball.
Hot glue carefully, with small amounts of glue, any of the surface areas where the balls touch each other.
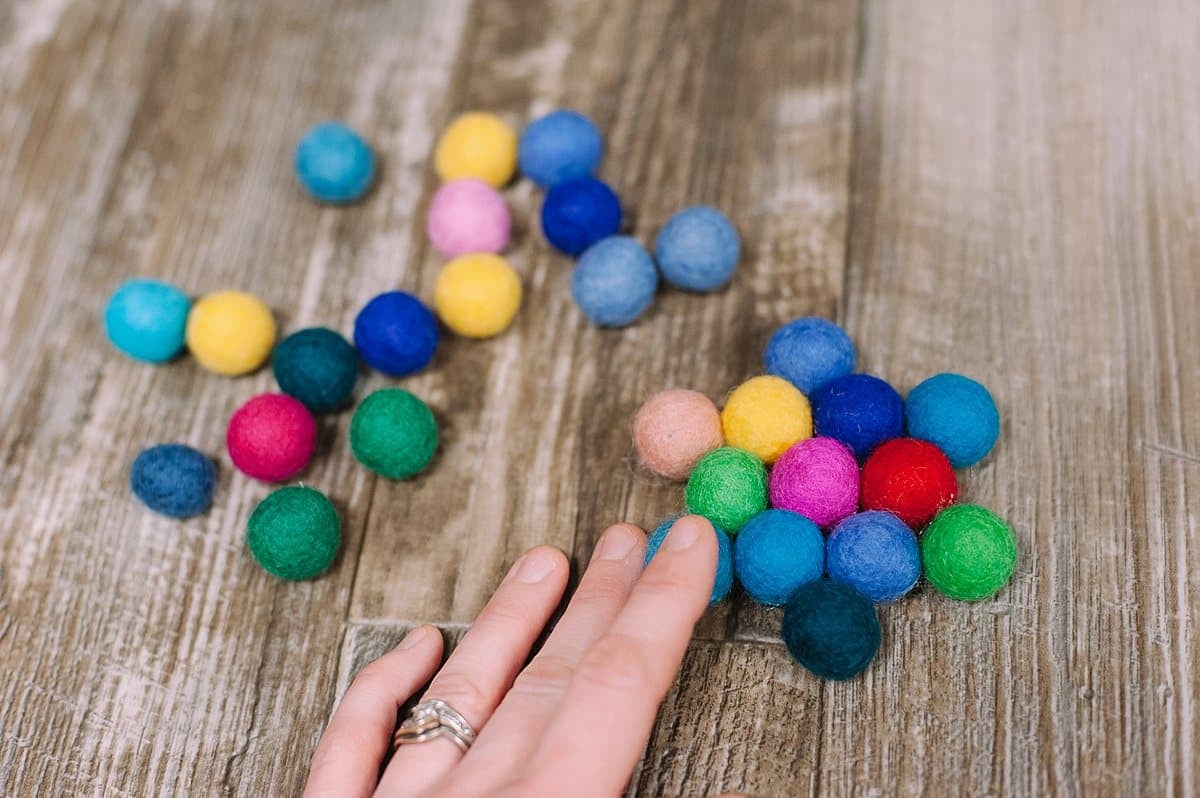
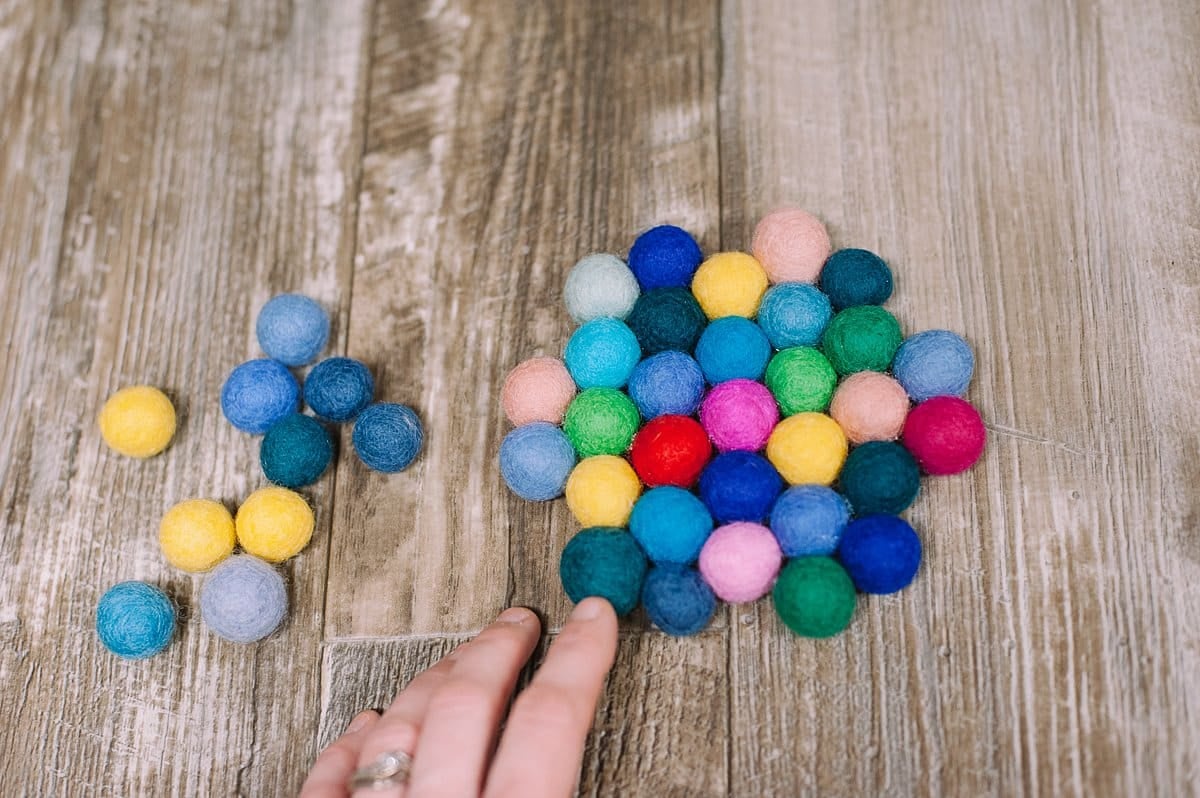
Step 3: Continue with the next layer of felt balls, hot gluing around the perimeter.
It will make an even bigger hexagon.
NOTE: This method of making a felt ball coaster creates a hexagon for the finished coaster. If you want to make a circle coaster, you will need to start smushing the balls together in this row as you glue them, increasing the number of felt balls from 12 (like we used here) to 15+ balls.
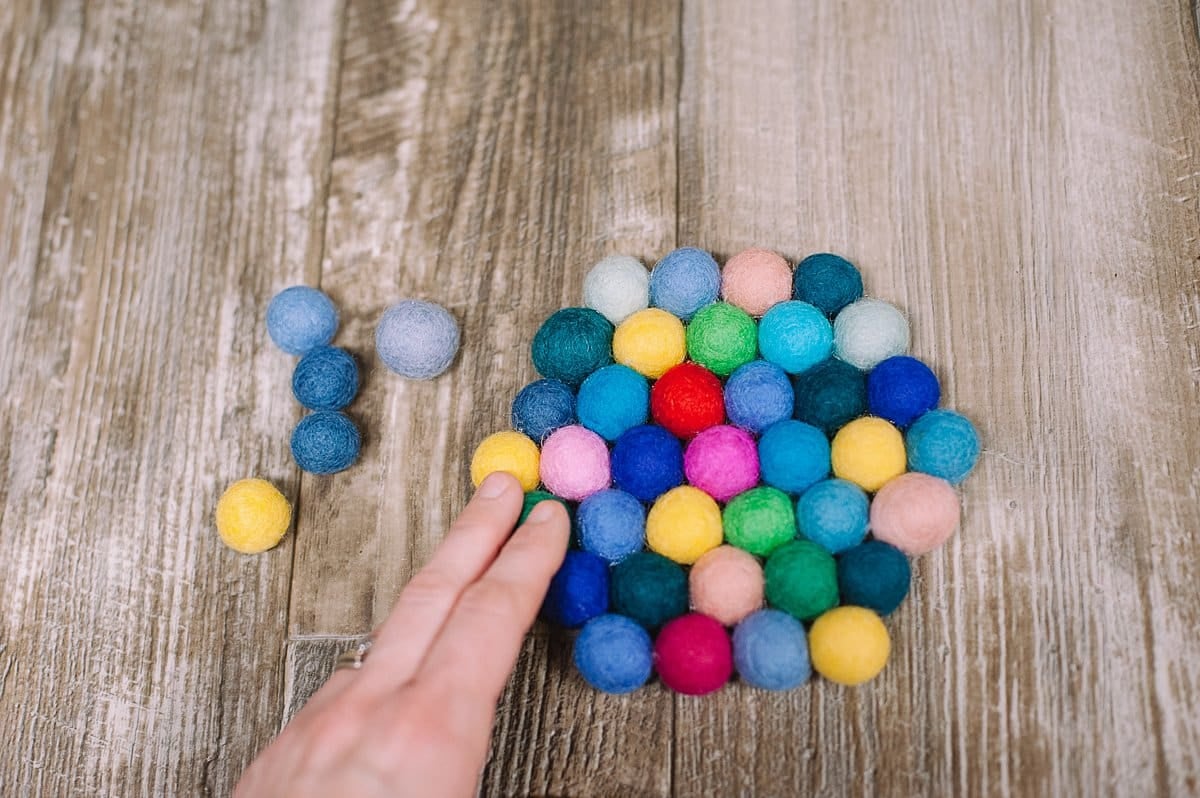
Step 4: Hot glue one more layer of balls around the outside edges of the coaster.
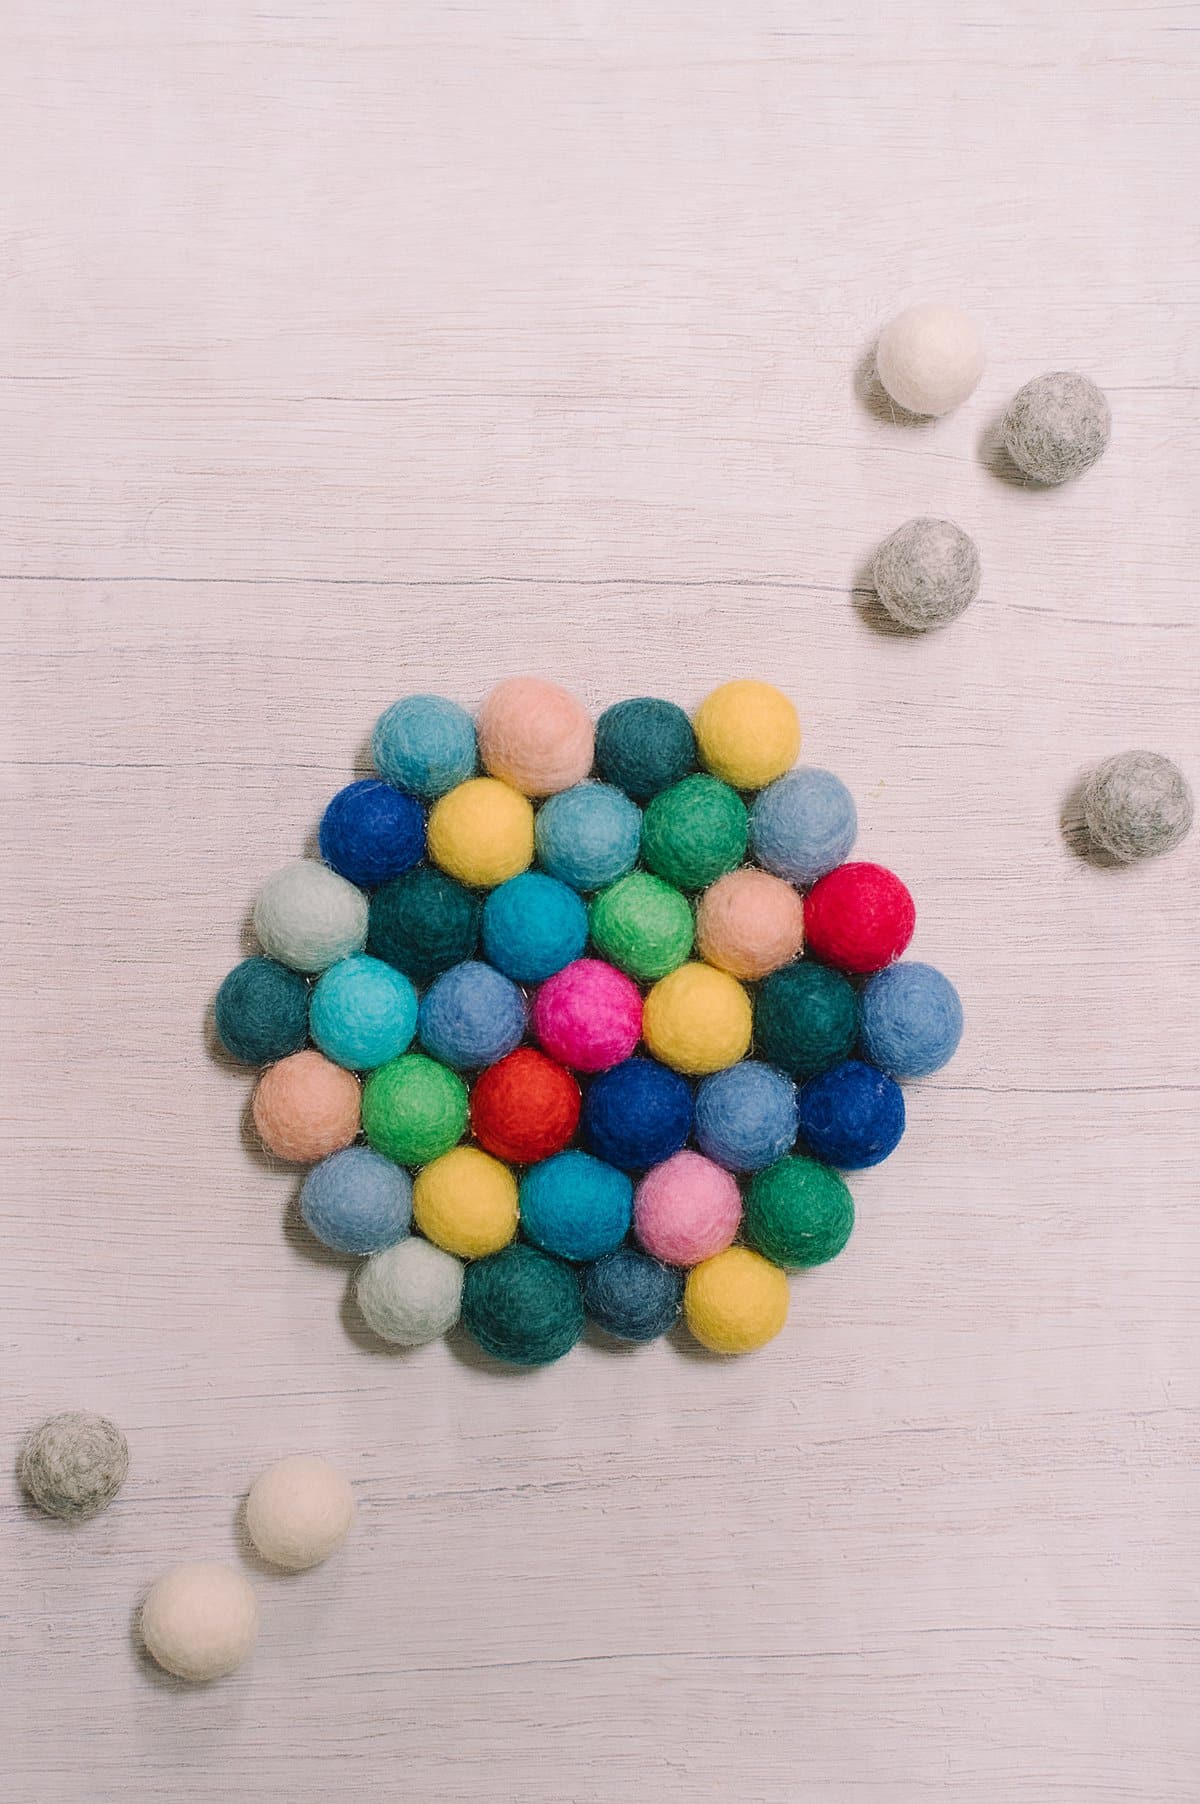
Pay attention to the color layout, and try to keep balls of the same color from touching in the finished coaster.
Once it dries, your coaster is finished!
Felt balls are so fun and easy to work with, and they come in dozens of different colors.
This method of hot gluing them into a hexagon coaster is another awesome felt ball project idea.
The same method can be used to make a trivet - just add another row to make it bigger, and it can also be used to make a placemat for your table or even a rug for your floor!




Leave a Reply