• Skip to main content
  • Skip to primary sidebar
Laura Radniecki
menu icon
go to homepage
  • Fall
  • Craft Index
  • Library
  • Shop
  • Writing
    • Facebook
    • Instagram
    • Pinterest
    • YouTube
  • subscribe
    search icon
    Homepage link
    • Fall
    • Craft Index
    • Library
    • Shop
    • Writing
    • Facebook
    • Instagram
    • Pinterest
    • YouTube
  • ×
    Home » Magnets

    DIY Photo Magnets on Wood Circles with Mod Podge

    Nov 2, 2017 | Updated Jul 26, 2019 | By Laura | This post may contain affiliate links | 4 Comments

    • Facebook
    How to make DIY Photo Magnets with Wood Circles and Mod Podge

    Make cute, easy DIY Photo Magnets using photos, Mod Podge and wood circles, with a magnet on the back! Perfect for your own refrigerator or to give as a handmade gift!
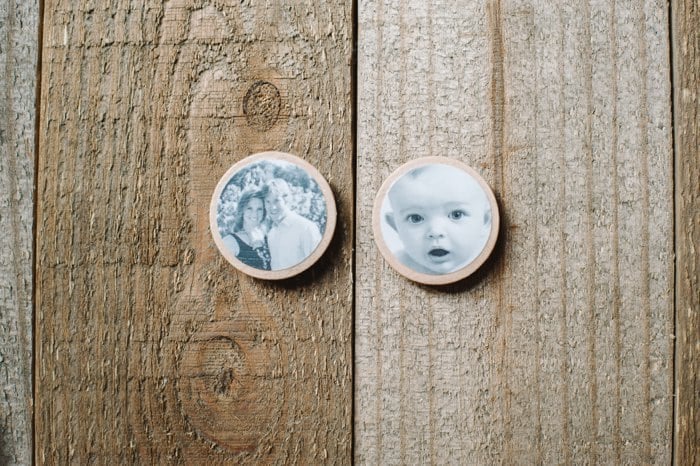
    DIY Photo Magnets Made with Mod Podge on Wood Circles

    Last year, I made a DIY photo match game for my nieces for Christmas. I used small wooden circles, a circle paper punch, Mod Podge and photos, and the result was amazing!

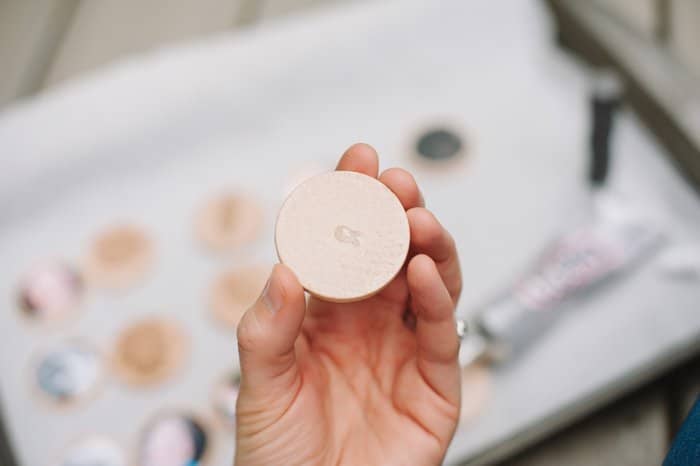
    I loved the little photo discs so much that I decided to make them into magnets for our refrigerator too. The process of making them is the same as it was for the match game, except I added a magnet to the back this time.

    These are an awesome way to make your own fridge pretty, but I think it makes an even better homemade gift!

    How to Make DIY Photo Magnets with Mod Podge and Wooden Circles

    Supplies Needed:

    Wooden circles (the ones I used were slightly larger than these, but this size would work great)
    Circle paper punch
    Photos
    Mod Podge - I used Matte Finish
    Foam brush
    Clear Acrylic Sealer
    Magnets
    Glue -I used E6000

    Step 1. Cut Photos into Circles Using Paper Punch

    Using the circle paper punch, cut your photos into small circles. I focused on people's faces.

    Step 2. Use Mod Podge to Attach Photo to Wooden Circle

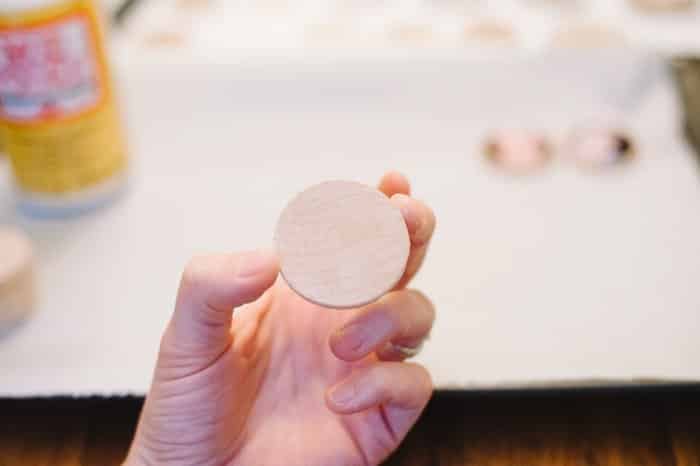
    Using the foam brush, brush one coat of Mod Podge onto a wooden circle.

    Place a photo onto the wet layer of Mod Podge and make sure it's centered on the wooden circle. Set aside and let it dry.

    Repeat for all of the photos and all of the wooden discs.
    DIY Photo Magnets Made with Mod Podge on Wood Circles

    Step 3. Coat Front, Back and Sides with Mod Podge

    Once the Mod Podge is dry and the photo is set in place, carefully brush a layer of Mod Podge around the edges of the disc, holding onto the front and back so you can get the sides. This is kind of tricky and messy, but do your best. You want to seal the edges, but be careful not to smudge the wet parts too much.

    Next, holding the circle flat on your palm, brush another layer of Mod Podge on top of the photo to seal it in.

    Lastly, once the top and sides are dry, brush a coat onto the back of the wooden disc as well. The finished product should have a layer of Mod Podge on the front, back and edges of each disc, with a photo secured to one side.

    Step 4. Seal with Clear Acrylic Sealer

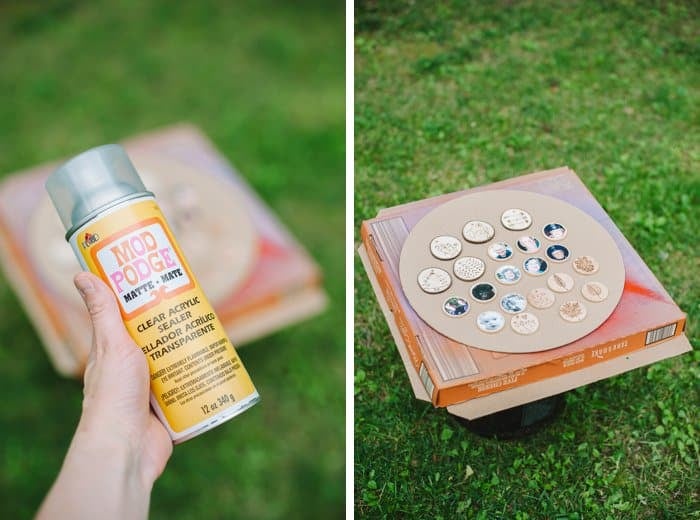
    Even when dry, Mod Podge can be somewhat tacky. When I was making the DIY match game, I read that spraying Mod Podge with Clear Acrylic Sealer removes the stickiness and prevents two Mod Podge'd surfaces from sticking together. I tried it and it worked perfectly!

    For these photo magnets, I decided to coat both sides with sealer to add another layer of protection and to remove any tackiness from the surfaces.
    Wood Burned Christmas Ornaments on Wood Slices | Woodburned Ornaments for Christmas on Tree Slices

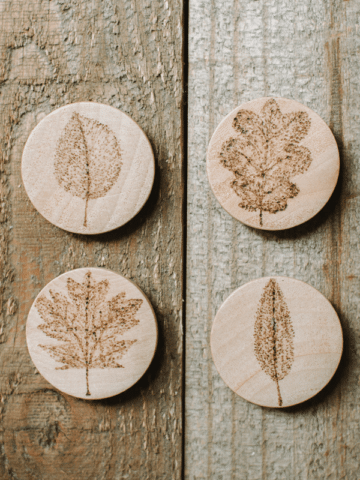
    (Check out the tutorials for the woodburned magnets and woodburned ornaments pictured above too!)

    Step 5. Glue Magnets onto the back

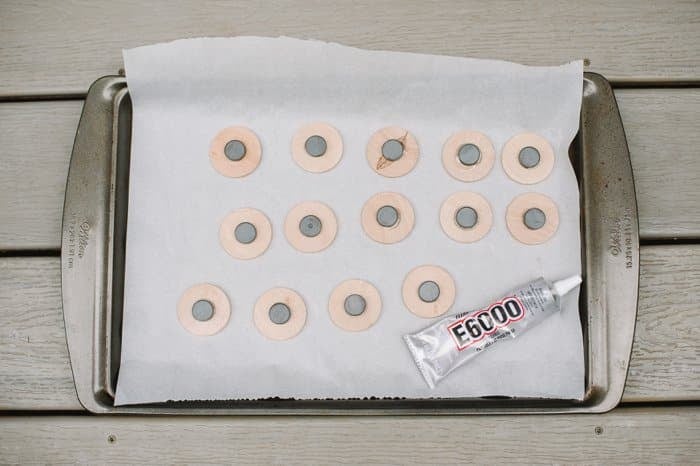
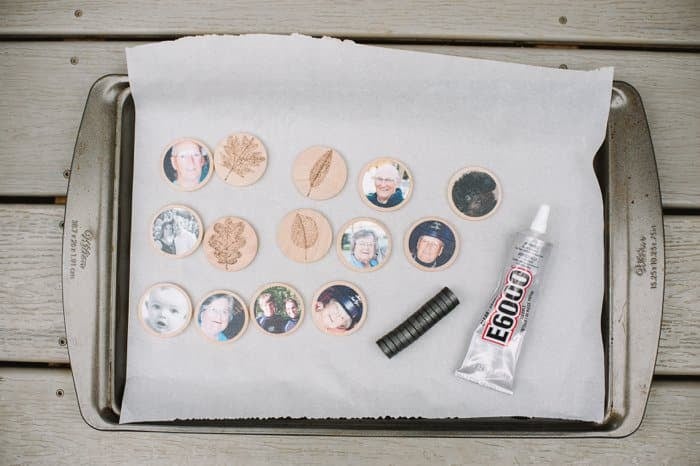
    To glue the magnets onto the back, I used E6000 glue. (Do this part outside or in a well ventilated area because it's stinky glue. But it works great!)

    Using a small drop of E6000 glue, I glued the magnets to the back of the dry photo discs.
    Wood Burned Leaf Magnets on Wood Slices | Wood Burned Leaf Magnets, Magnets with Leaves, Woodburning Gifts

    Wood Burned Leaf Magnets on Wood Slices | Wood Burned Leaf Magnets, Magnets with Leaves, Woodburning Gifts

    Wood Burned Leaf Magnets on Wood Slices | Wood Burned Leaf Magnets, Magnets with Leaves, Woodburning Gifts

    Step 6. Let Photo Magnets Dry and Enjoy!

    Once the glue is dry, they're ready to go!

    My fridge used to be full of random magnets we collected over time, usually promotional ones from different businesses. After making these, I removed all of those and replaced them with these cute, customized magnets! I love looking at them on our refrigerator!
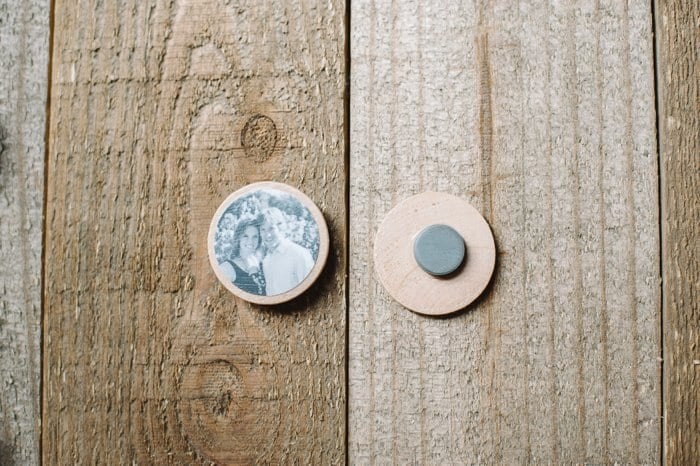
    DIY Photo Magnets Made with Mod Podge on Wood Circles

    These DIY photo magnets would also make an awesome handmade gift for family or friends. I'm especially thinking about people who appreciate sentimental gifts, like grandparents and mamas! Pair them with a set of handmade photo coasters or a DIY canvas photo and they'll be treasured!

    DIY Photo Magnets Made with Mod Podge on Wood Circles

    With these photo magnets and my DIY woodburned magnets, my fridge has had a custom makeover and yours can too!
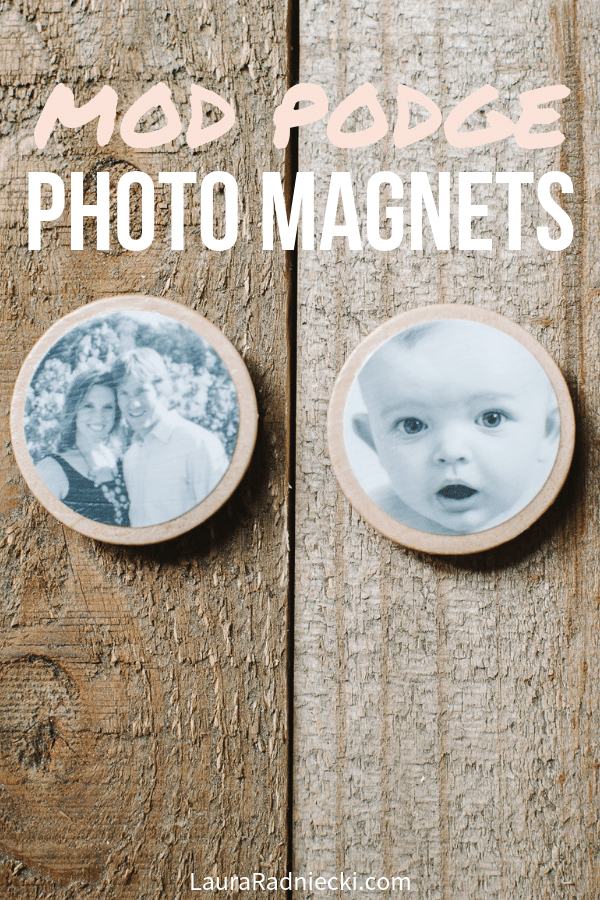
    How to make DIY Photo Magnets with Wood Circles and Mod Podge

    – If you liked this post, I would love if you would share it on Pinterest or Facebook. Thanks & xo! –
    More Easy Magnet Craft Ideas

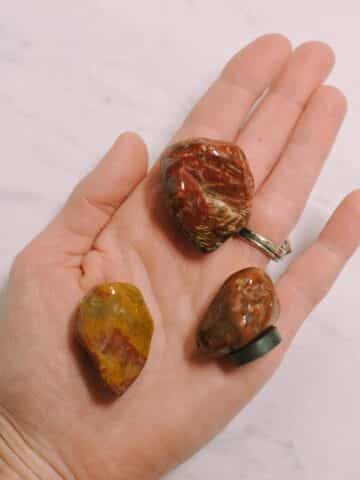
    • How to Make Agate Magnets
      How to Make Agate Magnets
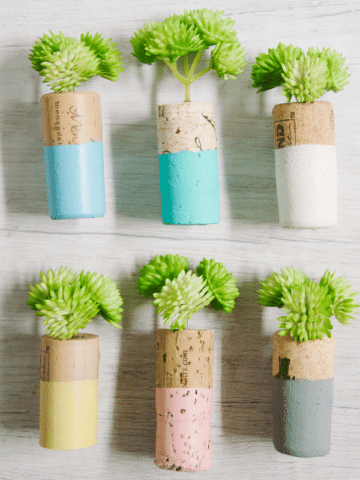
    • How to Make DIY Wine Cork Planter Magnets
      How to Make DIY Wine Cork Planter Magnets
    • Wood Burned Leaf Magnets on Wood Slices | Wood Burned Leaf Magnets, Magnets with Leaves, Woodburning Gifts
      How to Make Wood Burned Leaf Magnets on Wood Slices

    About Laura

    Laura Radniecki is a crafter, writer, and photographer from small-town Minnesota. A lifelong maker, she shares easy step-by-step craft tutorials. She's a wife to her high school sweetheart, mama to their son and daughter, dog mama to their 2 brother + sister toy poodles, and a part-time RV snowbird in Florida.

    Reader Interactions

    Comments

      Leave a Reply Cancel reply

      Your email address will not be published. Required fields are marked *

      Recipe Rating


    1. Linda

      October 17, 2022 at 5:09 pm

      No one ever says..
      Is it """photo "paper"""" or a computer print on "regular paper""""""?

      Reply
      • Laura

        November 11, 2022 at 12:43 pm

        Haha, you are right, Linda!

        Reply
        • Becks

          June 14, 2025 at 10:54 am

          So which is it...? Did you cut real photos (glossy) or did you print the pictures on standard printer paper?

          Reply
          • Laura

            August 27, 2025 at 4:32 pm

            Hi Becks! You can do either! These magnets can be made either way. The best results will be if you either have glossy or matte photographs because the paper is thicker, and the printing will be the most detailed. You can also print photos on your own home printer if it is a decent printer (my current printer is pixelated so the quality would suffer in my case), and you can choose to print on photo paper or else if all you have is regular paper, that's fine too. So - long answer made short - best quality will be with an actual photograph (glossy or matte, it doesn't matter), and least quality will be a printed image on computer paper. But all of them can and do work! I hope that helps!

            Reply

    Primary Sidebar

    Hi, I'm Laura Radniecki!

    I’m here to help you make easy crafts! Around here, you’ll find step-by-step craft tutorials that remove the guesswork, and are easy, fast, and fun. If you are a busy crafter, you are in the right place!

    (I also write when I'm inspired, and share my thoughts on my life + our world here too.)

    .

    More about me →

    Fall Crafts

    • How to make a beeswax dipped leaf garland.
      How to Make a Beeswax Leaf Garland
    • A Halloween wreath made with burlap ribbon with black and orange polka dots on it.
      How to Make a Burlap Halloween Wreath
    • How to Preserve Fall Leaves with Beeswax.
      How to Preserve Fall Leaves with Beeswax
    • Fall earrings made with felt ball pumpkins.
      How to Make Felt Ball Pumpkin Earrings
    • A look at using Matte vs Gloss Mod Podge to preserve fall leaves.
      A Look at Matte vs Gloss Mod Podge Fall Leaves
    • A wooden bowl with plaster easter eggs in it. The plastic eggs are wrapped in yarn and twine to look like DIY acorns.
      DIY Fall Acorns using Yarn-Wrapped Plastic Easter Eggs

    Popular Crafts

    • Purple and red paper cones made with construction paper, laying with a scissors on a table top.
      How to Make a Cone Out of Paper
    • Yellow DIY cornhole bag and scrabble tiles that say "game on".
      How to Make Cornhole Bags
    • Photo showing a wreath made out of jute rope hanging on a wall above a shelf with a plant on it.
      How to Make a Jute Wreath
    • How to Make a Pacifier Clip
      How to Make a Pacifier Clip
    • Learn how to make yarn tassels in this DIY tassel tutorial, showing two methods - one by hand and one using cardboard for making tassels.
      How to Make Yarn Tassels
    • Pinecones laying on a whitewashed wooden surface.
      How to Prepare Pine Cones for Crafts

    Footer

    ↑ back to top

    About

    • About Me
    • Shop
    • Privacy Policy
    • Accessibility

    Newsletter

    • Get craft tutorials, DIY project inspiration, and a first look at anything new by joining our email list. - Sign Up!

    Contact

    • Contact

    As an Amazon Associate, I earn from qualifying purchases.

    Copyright © 2026 Laura Radniecki