
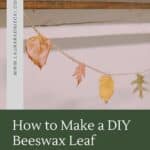

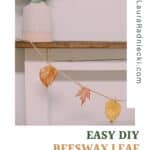
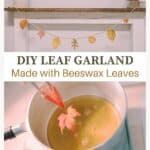

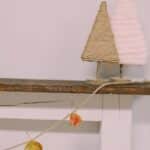
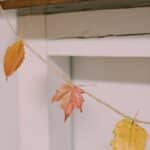
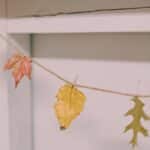
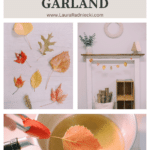
Learn how to make a gorgeous, eco-friendly beeswax leaf garland using colorful fall leaves that are dipped in melted beeswax to preserve them.
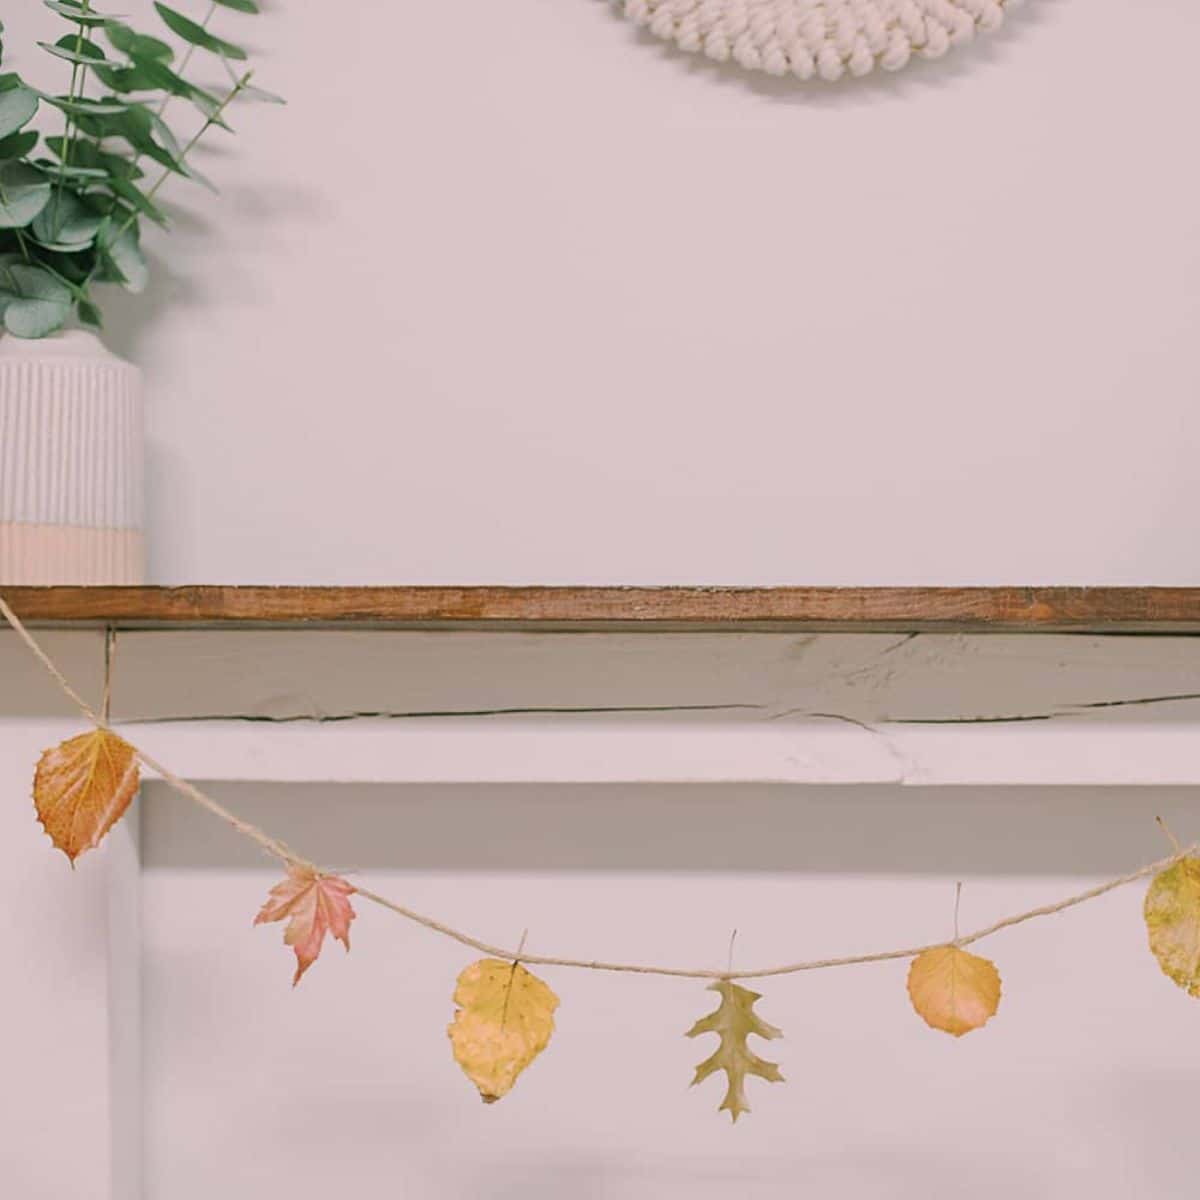
Dipping colorful leaves into melted beeswax is an eco-friendly and beautiful way to preserve fall leaves and make their colors last longer.
We outlined exactly how to preserve leaves with melted beeswax in this tutorial, and used the same melted beeswax technique to make DIY yarn sticks dipped in beeswax.
Now, we are going to use those same wax-dipped fall leaves and make a lovely beeswax leaf garland for the mantel.
Jump to:
Why You'll Love This Project
- Garlands are a super easy way to decorate for a new season or holiday.
- There is nothing quite like the beautiful fall leaves that show up so brilliantly each Fall and then fade as quickly as they come. This garland helps you soak in the fall colors, and preserves the leaves much longer than if they are left bare!
- Beeswax is fun to work with. It's easy to melt, and once you use it for one project, you'll be inspired to see what else you can make with it!
Craft Supplies Needed
- Fall Leaves - The drier the leaves, the better. You can also press them between pages of a book to flatten them for a bit before you dip them in beeswax.
- Beeswax - You can buy it at craft stores or online.
- Pan or Crockpot - You want to get a pan or crockpot that is dedicated to melting beeswax only. Once you use it for beeswax, you won't ever be able to get the wax out. I find my beeswax pans at thrift stores or garage sales.
- Hot Plate or Double Boiler - I used a small hot plate. You could also use a double boiler on the stove.
- Tongs - My tongs have silicone tips on them which makes it easy to get the beeswax off at the end.
- Parchment Paper - This contains the drips of wax and makes cleanup easy.
- Twine - I used thick twine as the hanging string.
- Scissors - A craft room staple!
How to Make a Beeswax Leaf Garland
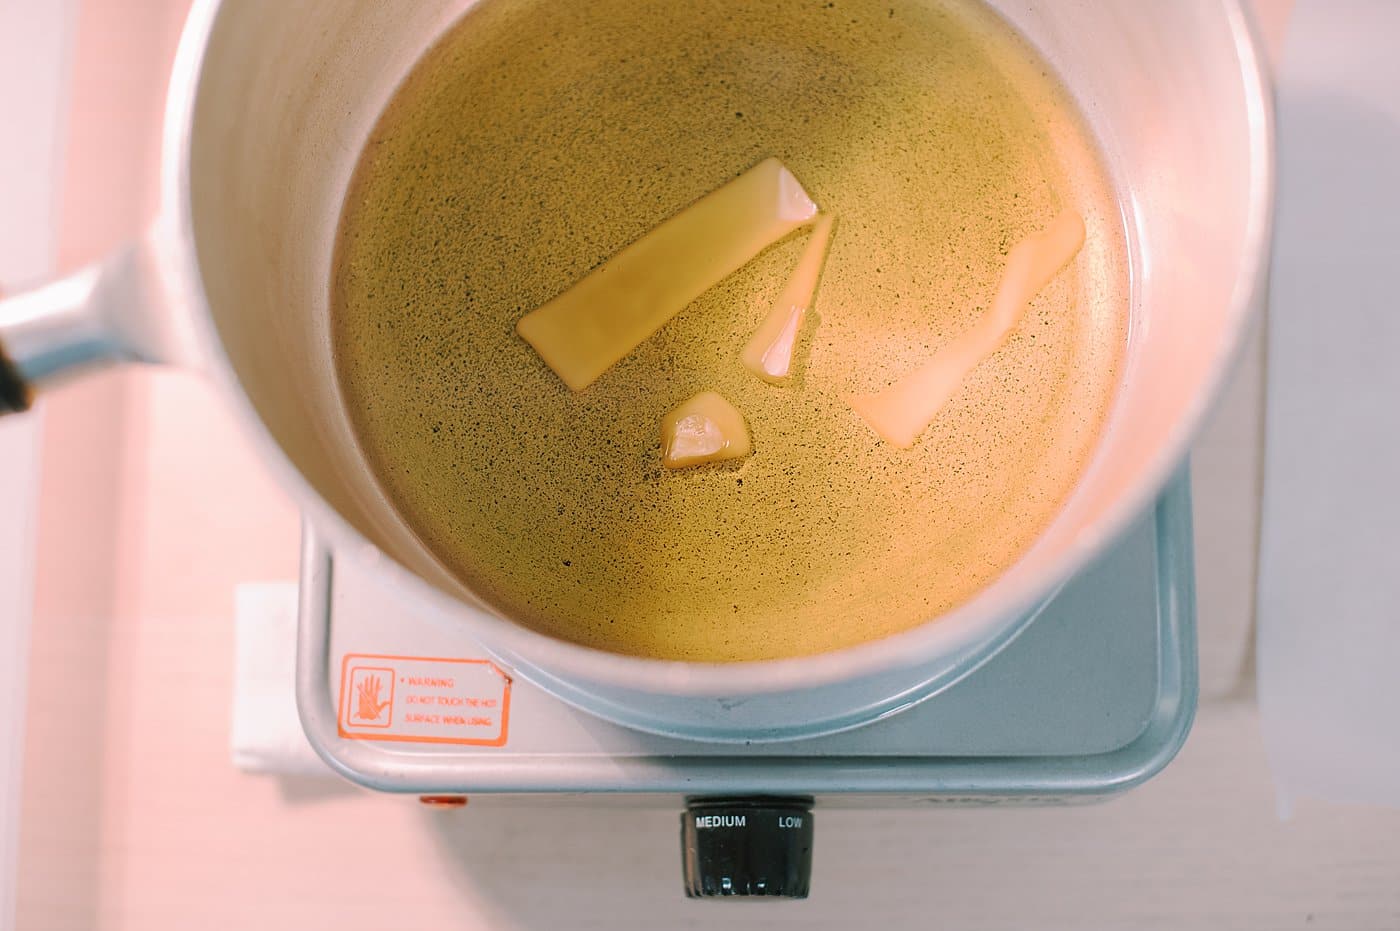
Step 1. Melt beeswax on low heat.
(This detailed tutorial shows how to make beeswax-dipped fall leaves.)
Beeswax can be flammable at high heat so go slow with low heat.
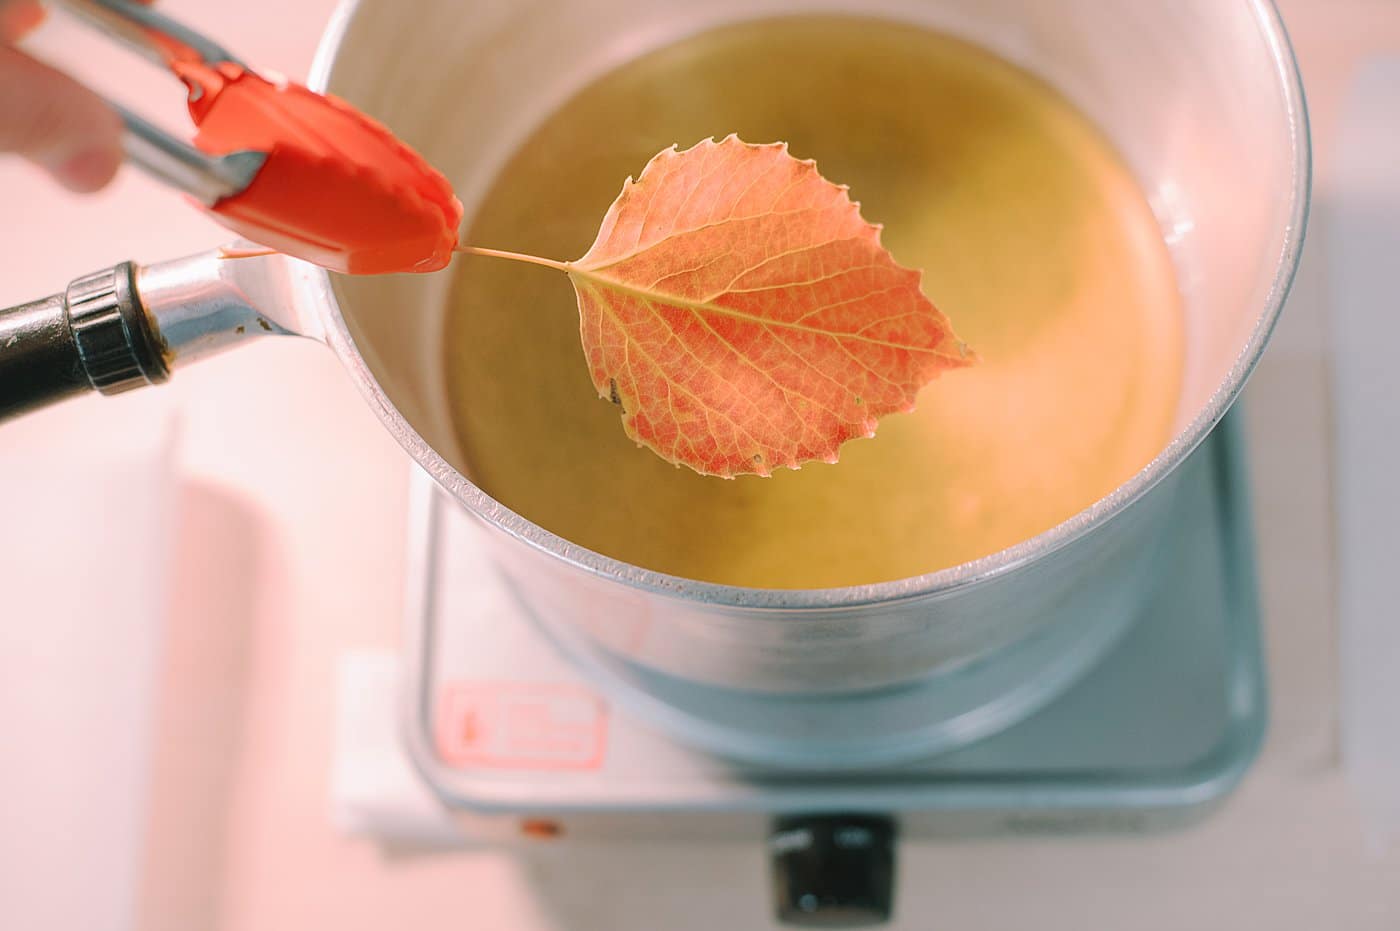
Step 2. Use tongs to dip fall leaves into the melted beeswax.
If the leaves have moisture in them, they will bubble, sizzle, and pop.
Mine were very wet so I only left them in the wax for a second or less before I removed them; just enough to coat both sides.
They started to sizzle and splatter hot wax immediately so I couldn't leave them in for long.
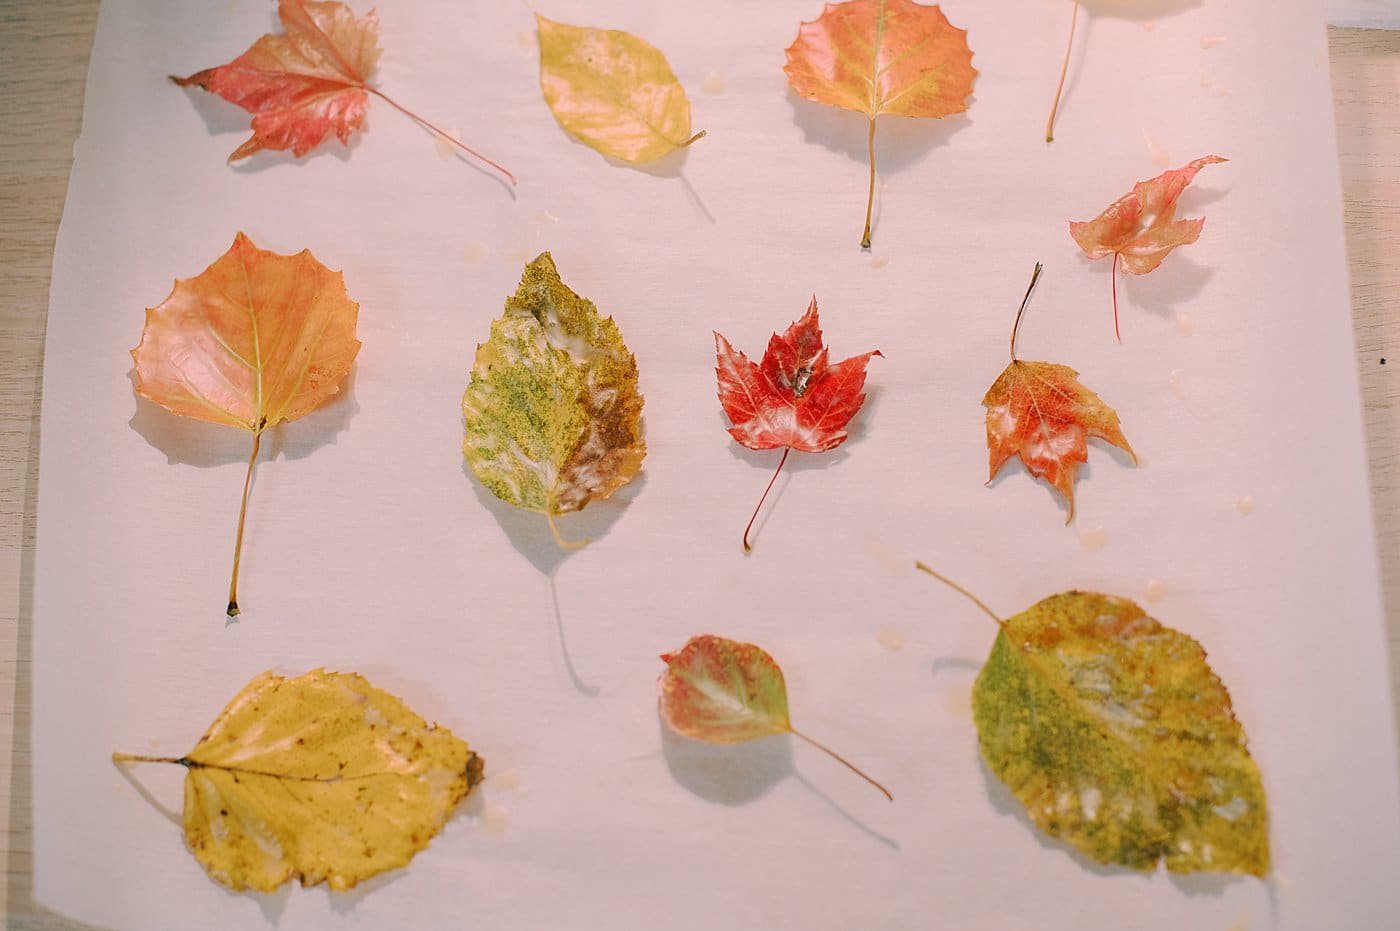
Step 3. Place the dipped leaves on parchment paper to cool and harden.
Repeat for all your leaves.
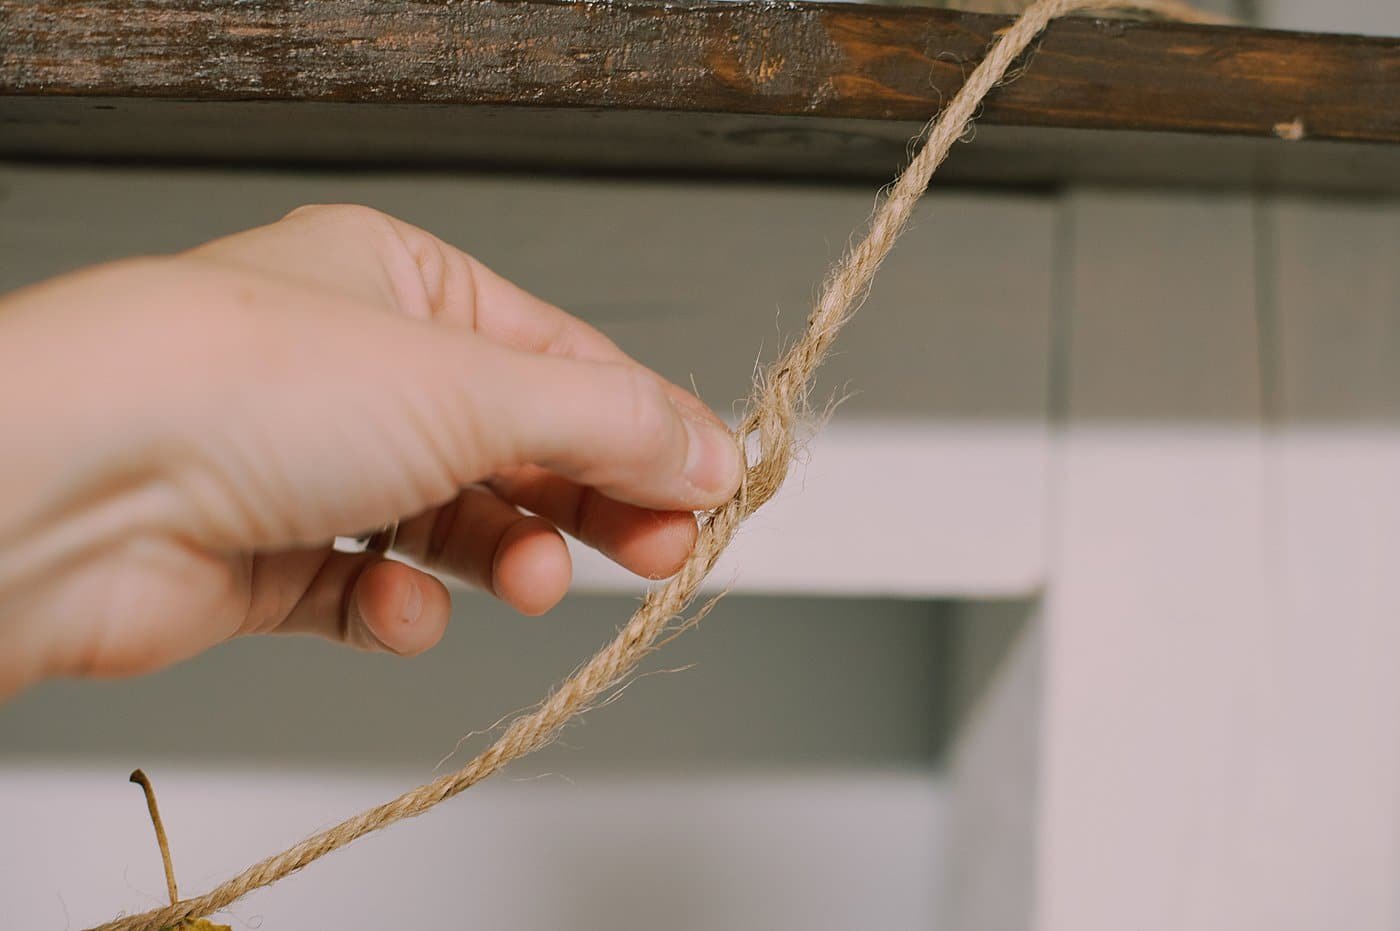
Step 4. Cut a long piece of twine for the garland, tie loops at each end of the twine, and hang it up on the mantel.
If you want to glue the leaves onto the twine, you can do this with a small dab of glue.
Instead, I opted to open up the strands of twine to make a small opening and slide the leaf stem into the hole in the twine.
Then I pinched the twine closed and it "self-sealed" around the leaf.
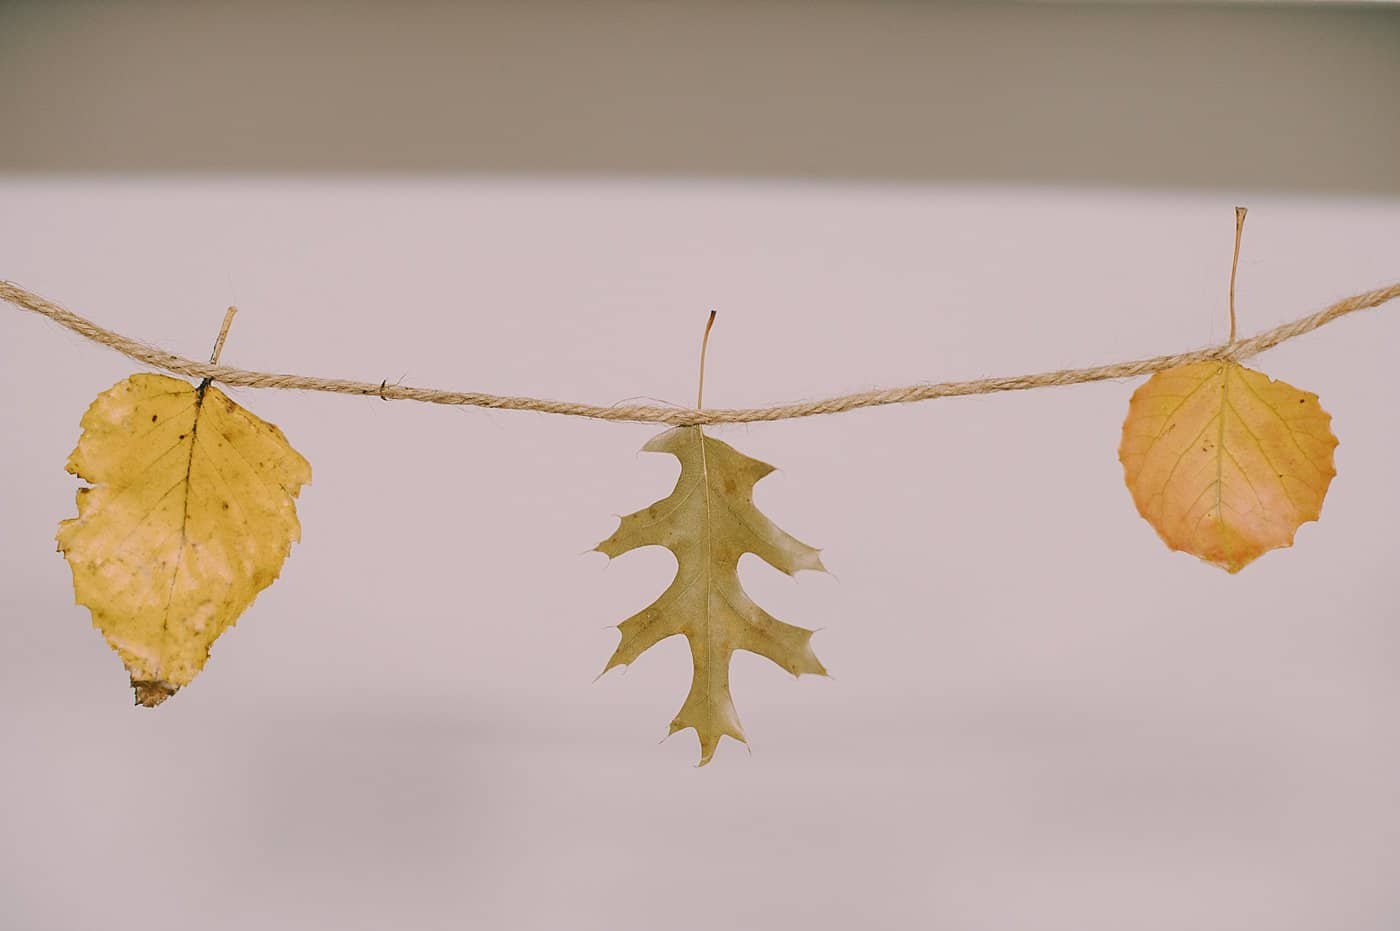
Step 5. Repeat for all of the wax leaves for your garland, spacing them throughout the twine.
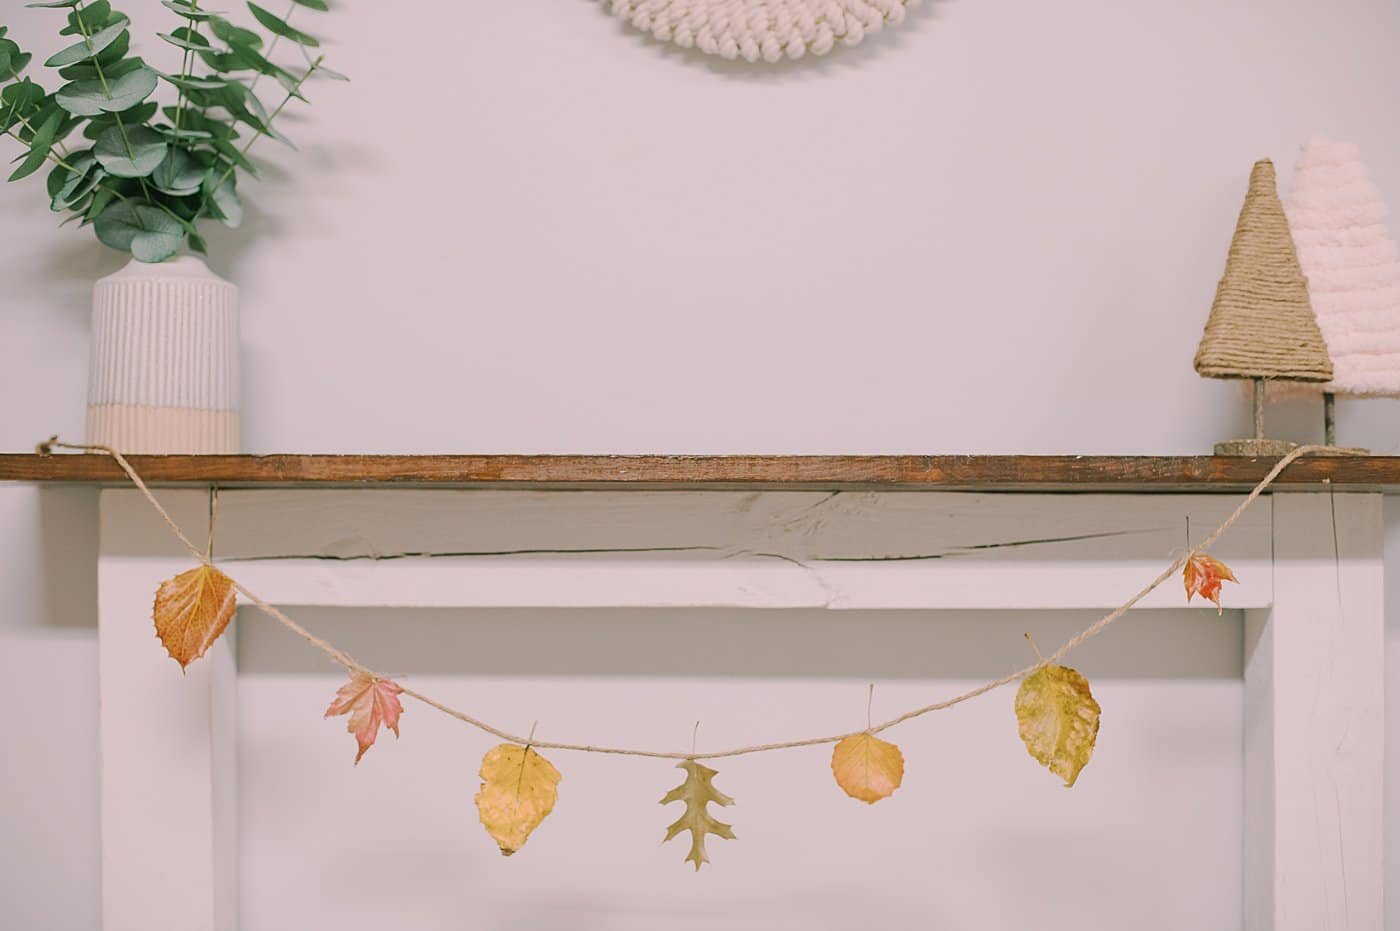
Step 6. Your lovely beeswax leaf garland is done!
PRO TIP: Please handle this with care. This beeswax leaf garland isn't very durable.
A curious child (or anyone, really) could easily pull the leaves out of the twine since they're just resting in between the layers of the twine garland string.
But as long as it is handled with care, it should work fine up on the mantel!
Common Questions
You can find beeswax at any craft store, online retailer, from sellers on Etsy or eBay, or often at local farmers markets too. Or, if you know a local beekeeper, they may have some to sell you too!
Once you melt beeswax in a pan, it becomes nearly impossible to remove it all in the future. If you melt beeswax into a pan, you won't want to use it to cook anymore. That's why I get a pan or crockpot from a garage sale or thrift store, and use that as a "beeswax only" pot.
You are doing nothing wrong. The leaves have moisture in them, and that moisture starts to boil, bubble, and splatter when it's submerged in the hot wax. That is why it's best to use leaves that are as dry as possible, to minimize the splattering. If you can press the leaves between paper towels in the pages of a book for a few days, that should dry them out considerably. But that's also why you want to dip them very quickly; I dipped my leaves into the beeswax for literally one second, just enough to coat both sides of the leaf, before pulling it out of the wax. The splattering will stop as soon as they are removed from the wax.
Preserving fall leaves is a challenge and a worthy one at that.
The leaves turn gorgeous colors each fall, but they quickly dry out, turn brown, and crumble to pieces if left to their own devices.
We've used Mod Podge to preserve fall leaves, and we've also dipped leaves in melted beeswax to keep them colorful.
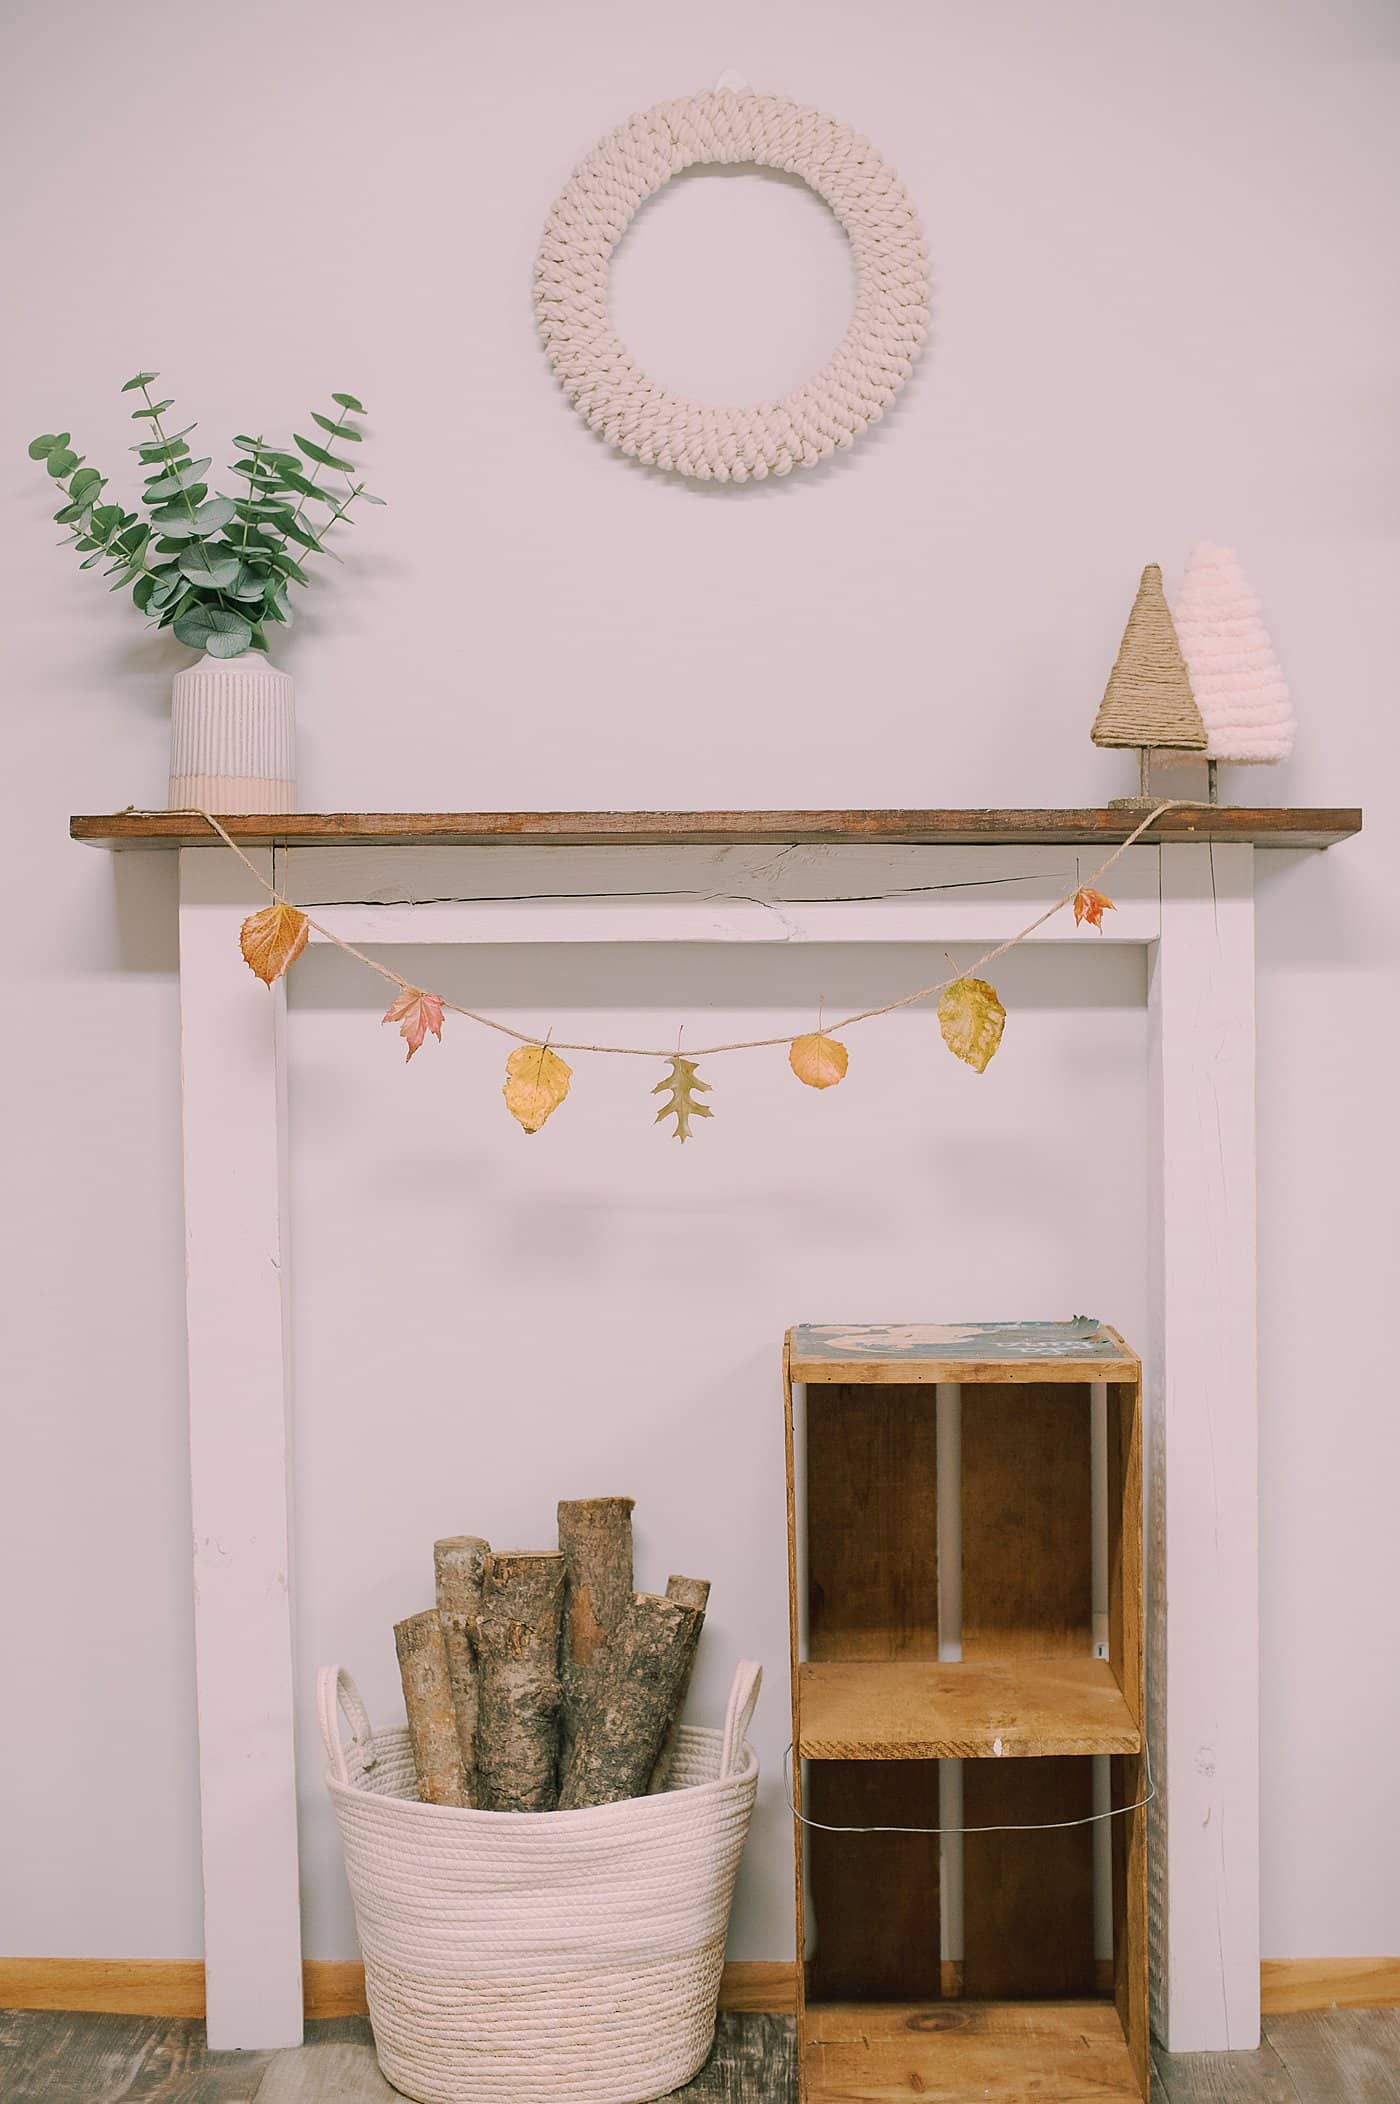
This beeswax leaf garland idea is a way to extend the life of those beautiful wax-dipped leaves and decorate your home in the process.
More Fall Crafts You'll Love

---
⭐️🧶 Did you enjoy this craft and want to see more like it? ✂️ Join our FREE email community and get inspiring craft ideas sent right to your inbox! 🧵 ⭐️
---

How to Make a Beeswax Leaf Garland
Materials
- Fall Leaves
- Beeswax
- Pot or Crockpot
- Hot Plate or Double Boiler
- Tongs
- Parchment Paper
- Twine
- Scissors
Instructions
- Melt beeswax on low heat.(This detailed tutorial shows how to make beeswax-dipped fall leaves.)Beeswax can be flammable at high heat so go slow with low heat.
- Use tongs to dip fall leaves into the melted beeswax.If the leaves have moisture in them, they will bubble, sizzle, and pop.Mine were very wet so I only left them in the wax for a second or less before I removed them; just enough to coat both sides.They started to sizzle and splatter hot wax immediately so I couldn't leave them in for long.
- Place the dipped leaves on parchment paper to cool and harden.Repeat for all your leaves.
- Cut a long piece of twine for the garland, tie loops at each end of the twine, and hang it up on the mantel.If you want to glue the leaves onto the twine, you can do this with a small dab of glue.Instead, I opted to open up the strands of twine to make a small opening and slide the leaf stem into the hole in the twine.Then I pinched the twine closed and it "self-sealed" around the leaf.
- Repeat for all of the wax leaves for your garland, spacing them throughout the twine.
- Your lovely beeswax leaf garland is done!PRO TIP: Please handle this with care. This beeswax leaf garland isn't very durable.A curious child (or anyone, really) could easily pull the leaves out of the twine since they're just resting in between the layers of the twine garland string.But as long as it is handled with care, it should work fine up on the mantel!
Notes
- Press the leaves between the pages of a book for a few days to help remove any moisture and flatten the leaves before dipping them in the wax.
- You can find beeswax at craft stores, online retailers like Amazon, from sellers on Etsy or eBay, at local farmer's markets, or from your local beekeeper!
- Get a designated pot or crockpot to use for melting beeswax at a thrift store or garage sale. Don't use your normal cooking pots because you'll never get the beeswax out!




Leave a Reply