Learn how to make DIY chalkboard signs using chalkboard paint and picture frames in this easy step-by-step craft tutorial with photos!
Chalkboard signs are popular in home decor, and for special occasions like birthdays and the first day of school.
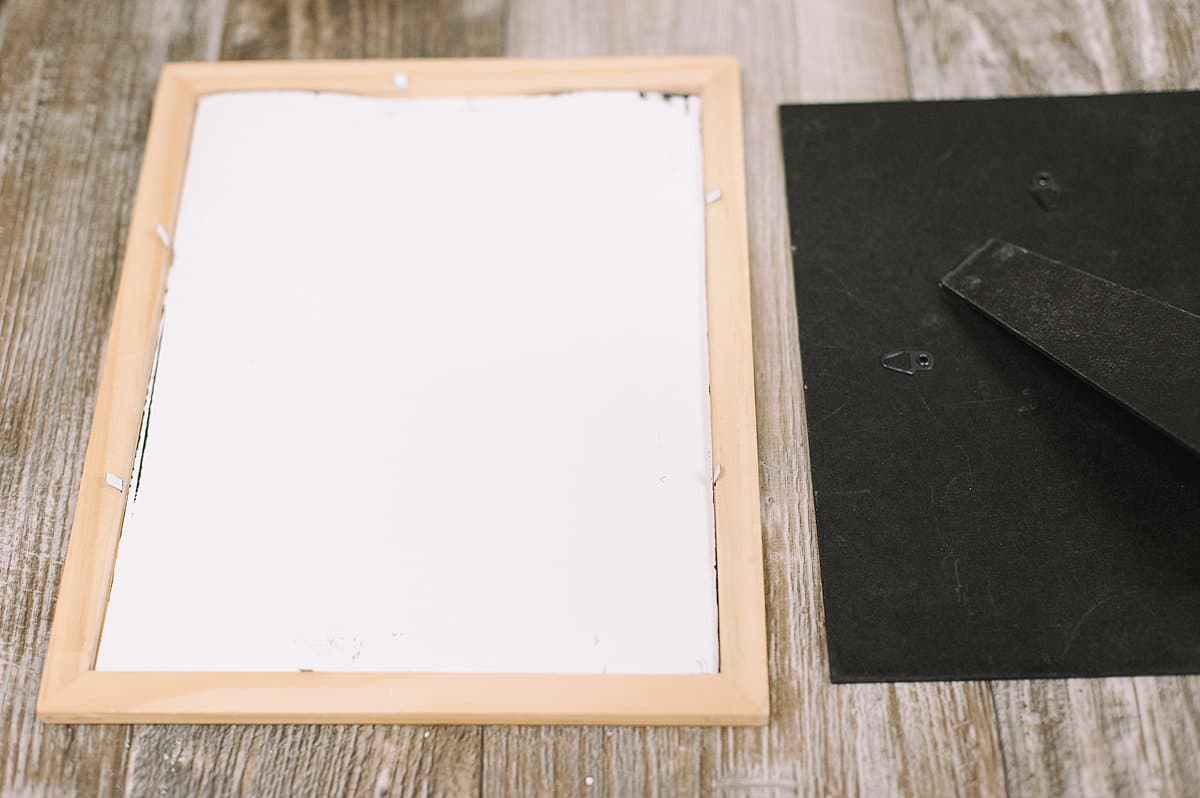
Today we are going to make DIY chalkboard signs using chalkboard paint (we bought ours at the Dollar Tree!) and picture frames we picked up at the thrift store.
Let's see how to do it!

How to Make DIY Chalkboard Signs
Step 1: Gather Supplies
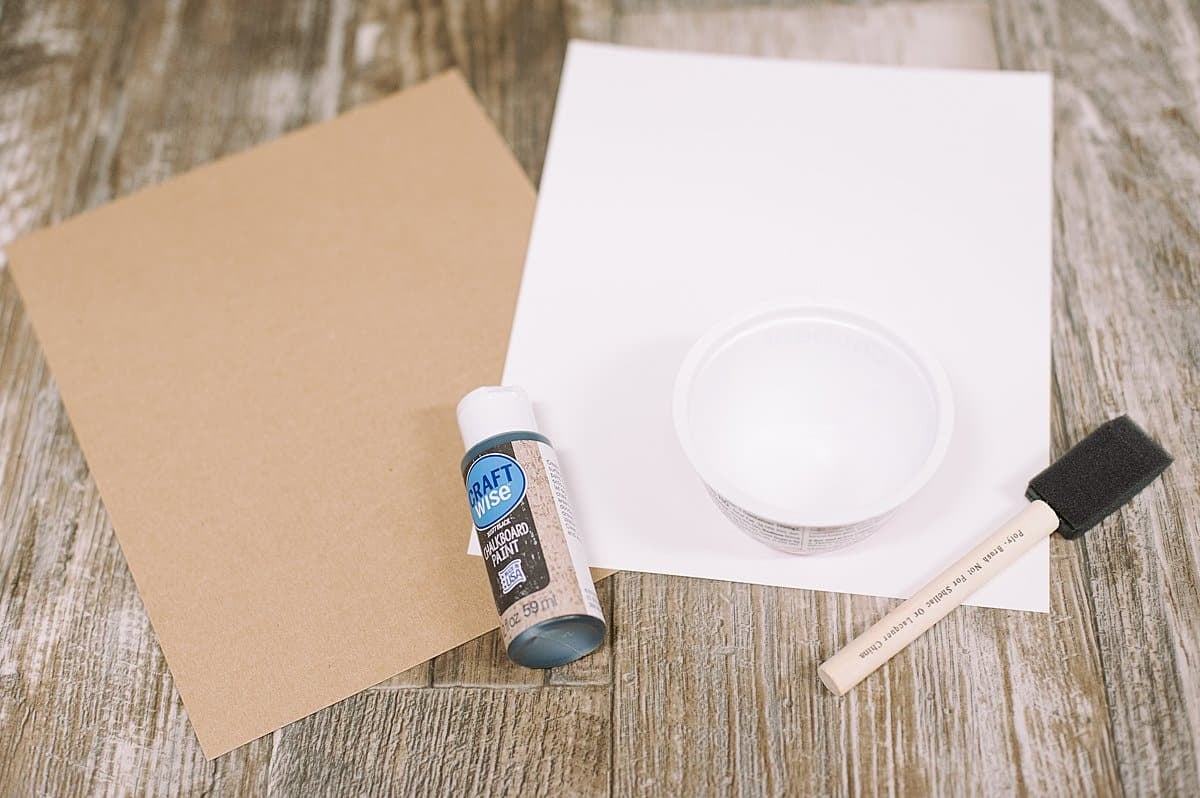
Supplies Needed:
- Picture Frames - we picked our frames up at a local thrift store.
- Cardstock or Cardboard
- Scissors or Paper Cutter
- Chalkboard Paint - we bought a small bottle at the Dollar Tree, but you can buy a bigger can on Amazon, or check your local craft store.
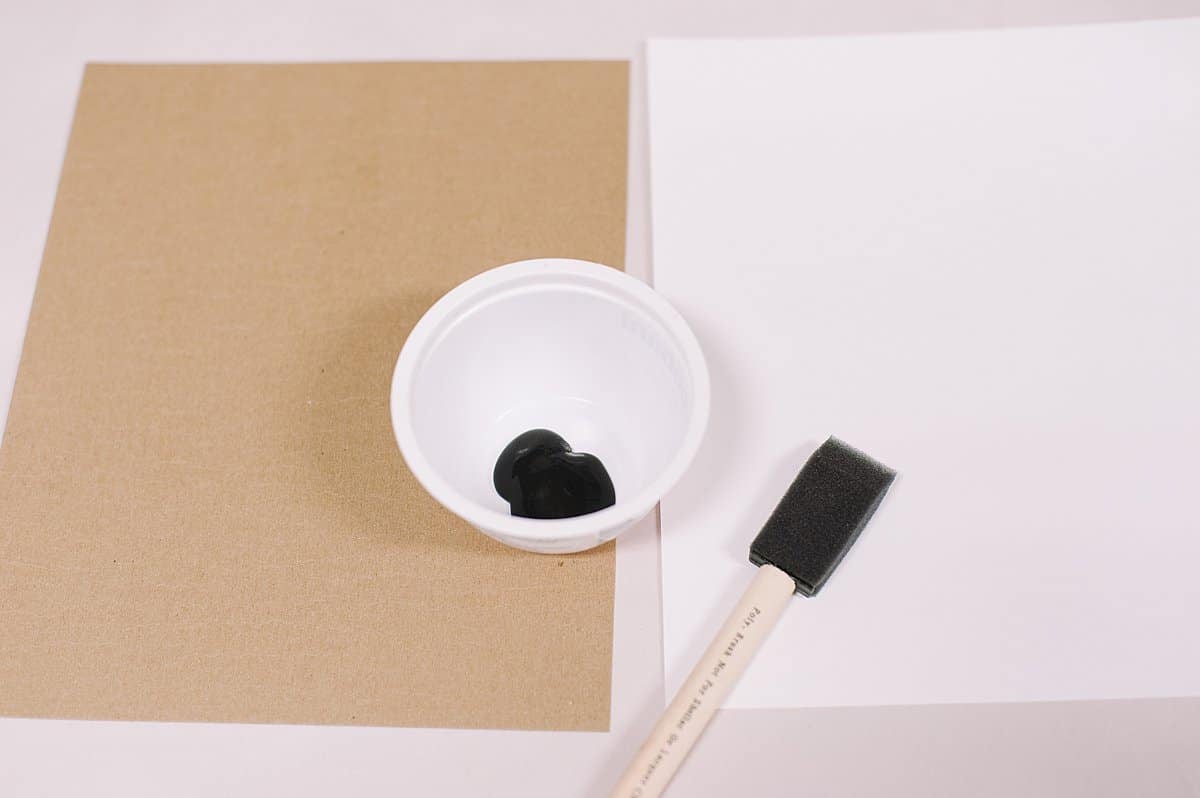
- Container for paint
- Foam Brush
- Chalk
Step 2: Cut cardboard or cardstock with scissors or a paper cutter so it will fit in your frames.
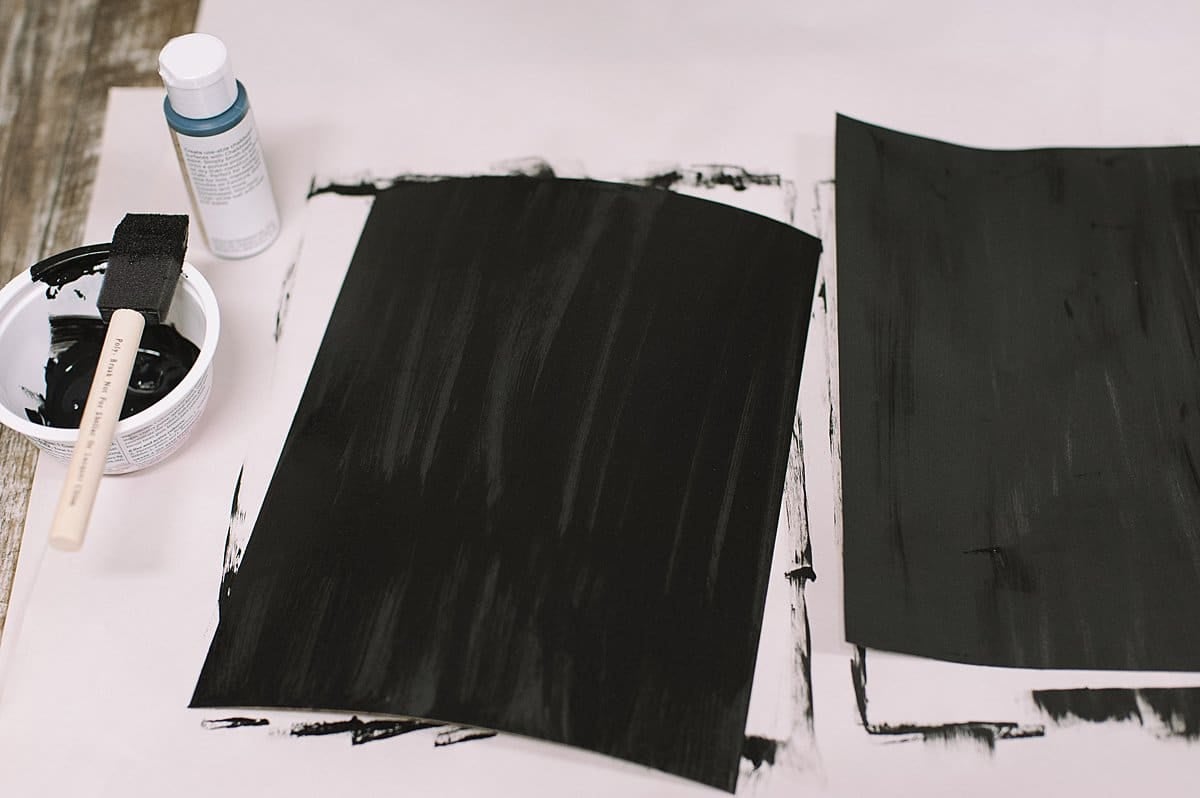
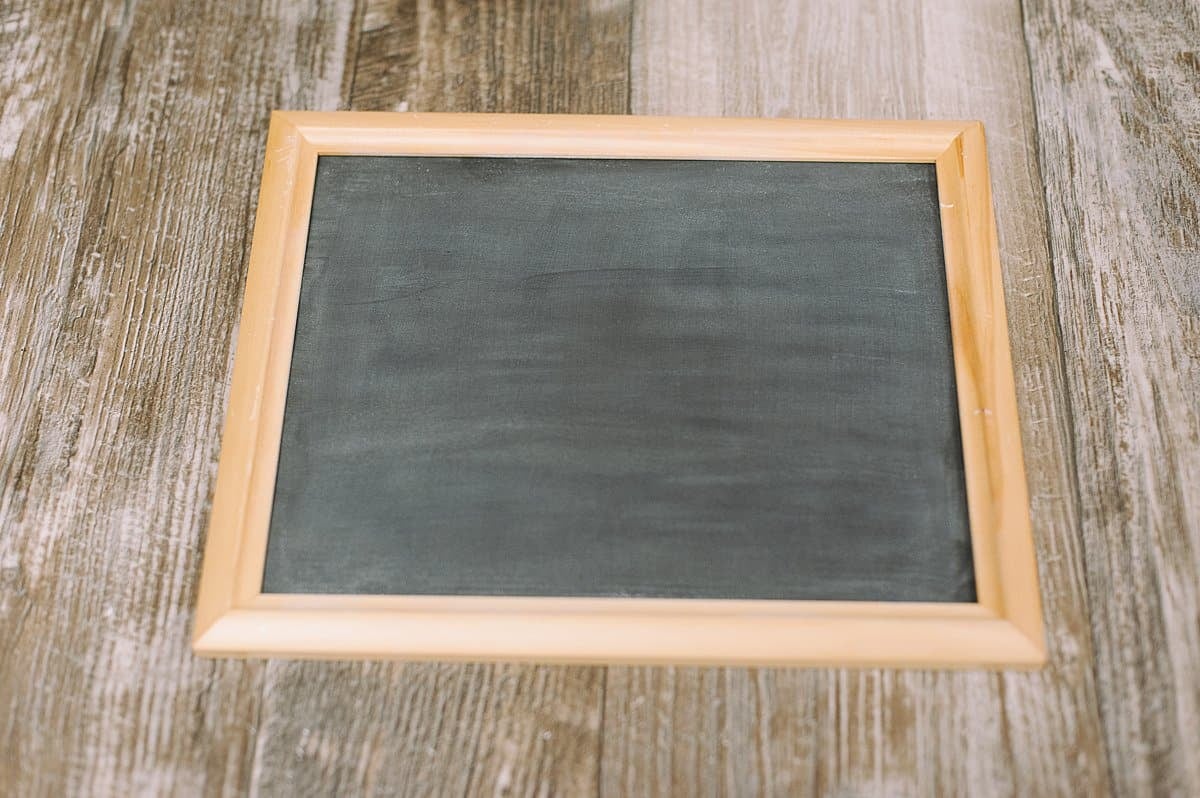
Step 3: Use a foam brush and paint chalkboard paint on the cardboard or cardstock pieces.
Let dry.
Repeat for a second coat to ensure every area is covered.
Let dry again.
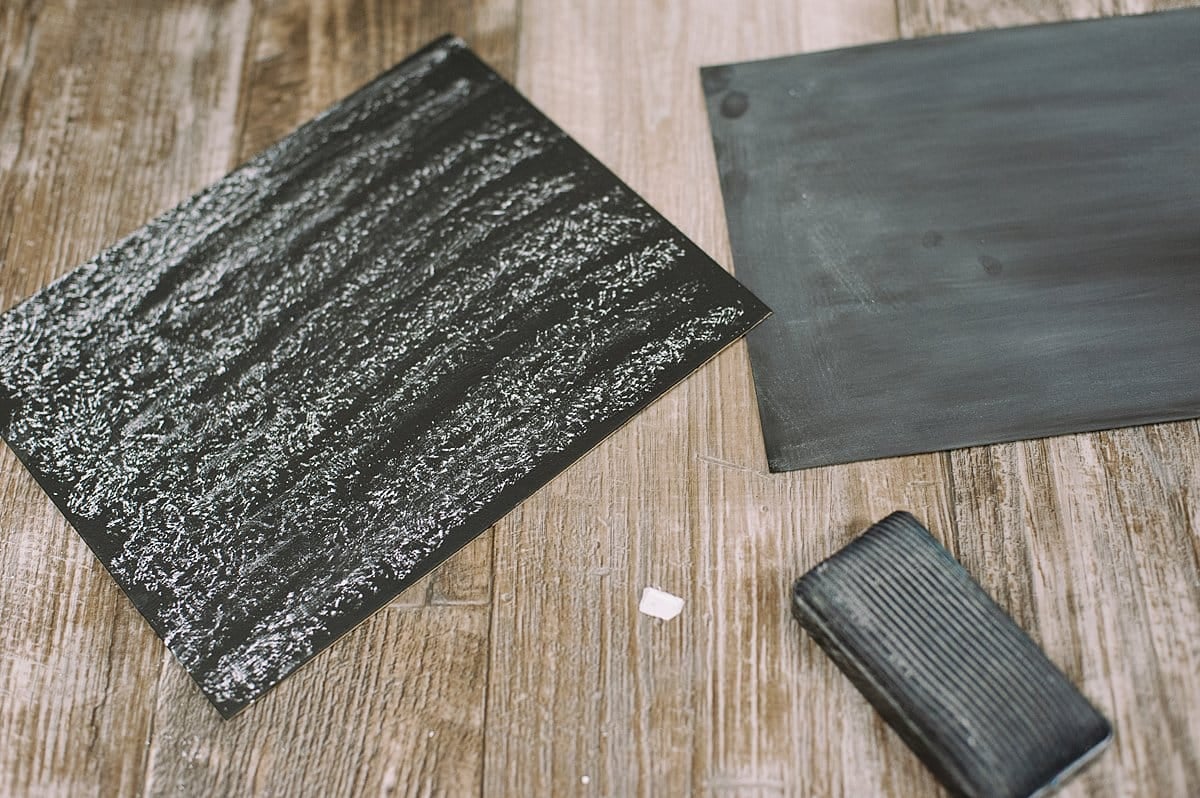
Step 4. Rub chalk all over the chalkboard painted cardboard or cardstock, and erase it.
Step 5: Put the chalkboard-painted cardstock or cardboard back into the picture frame.
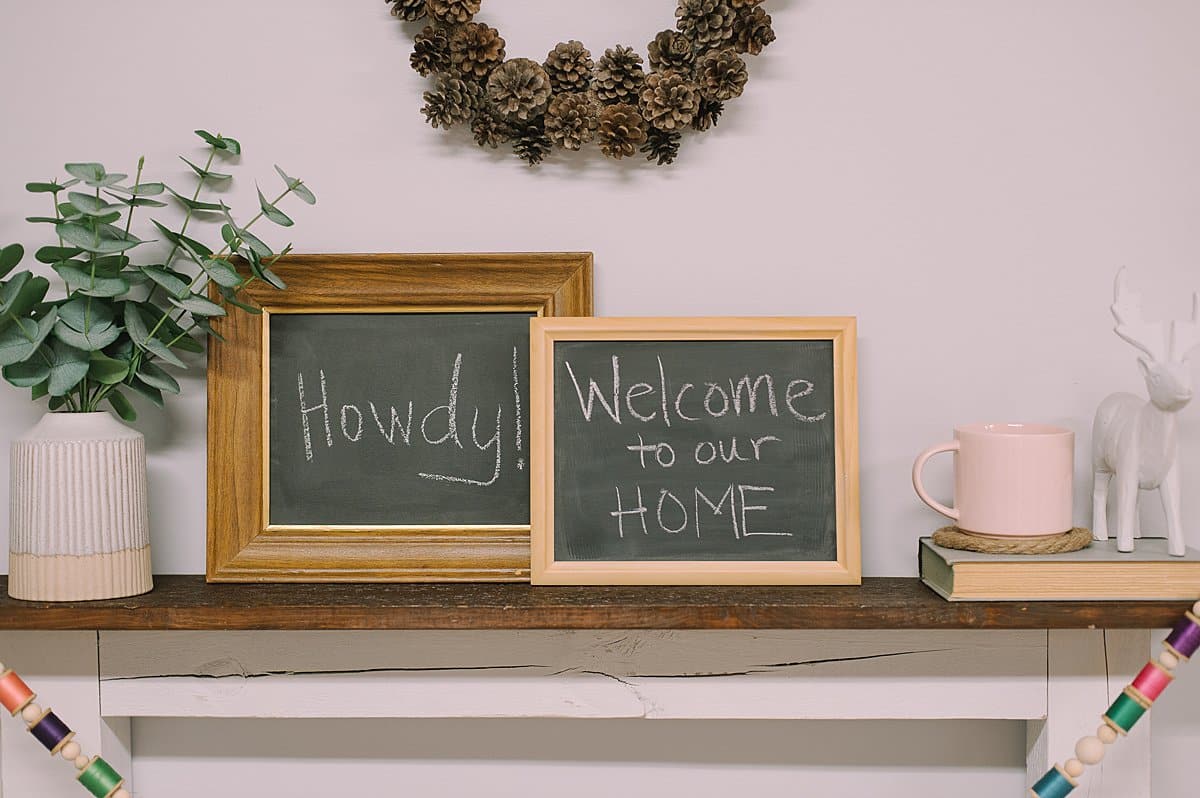
It's done, and ready for you to write your message!
You can use your new DIY chalkboard signs on your mantel or in your home decor.
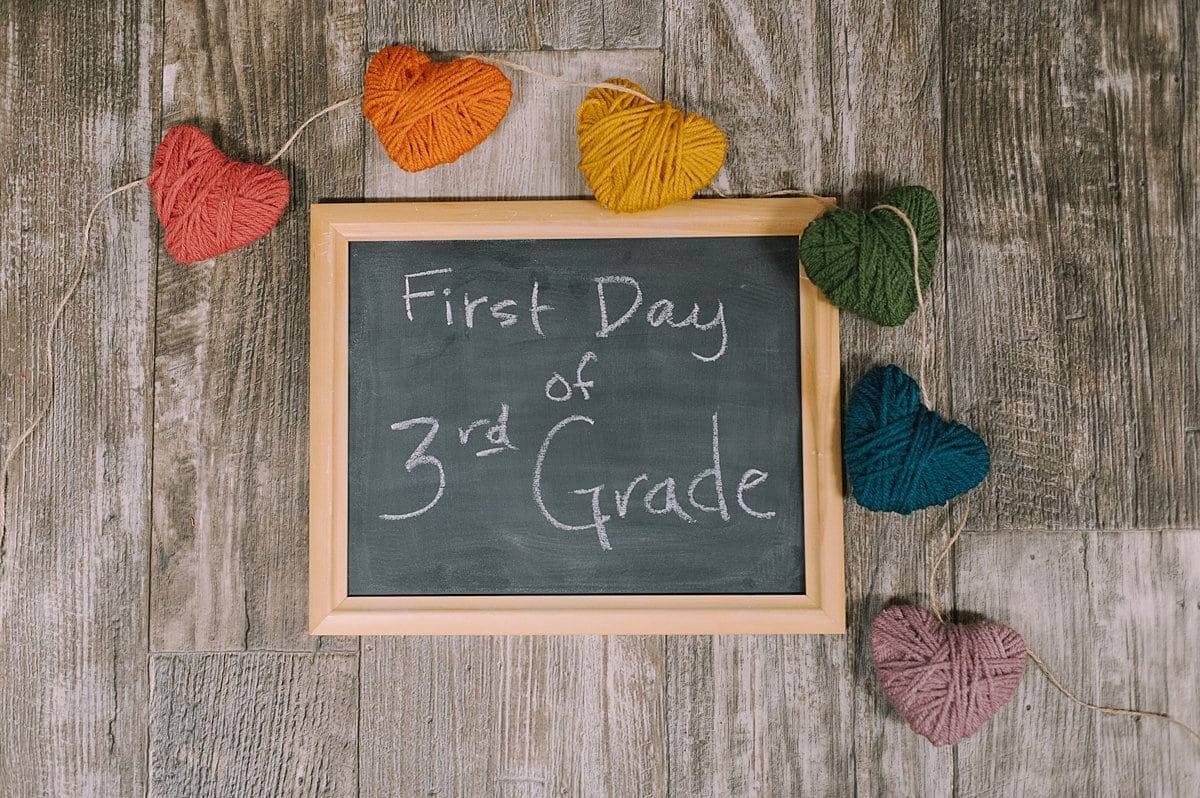
Or you can use it for the first day of school pictures!
- - - - -
Chalkboard paint is a fascinating product, transforming something as simple as a piece of cardboard into a chalkboard full of possibilities.
This craft combines old picture frames or artwork and turns them into new DIY chalkboard signs with the marvelously simple: chalkboard paint!
If you make your own chalkboard signs, let me see!








Leave a Reply