
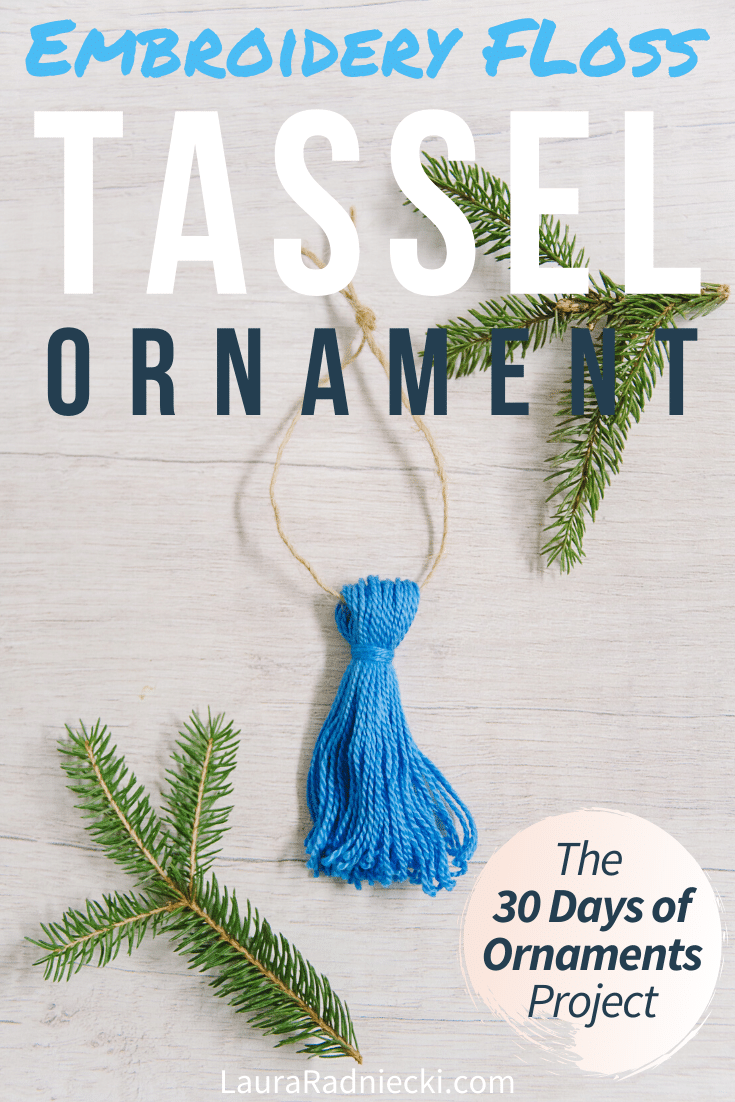
LEARN HOW TO MAKE A MINI EMBROIDERY FLOSS TASSEL ORNAMENT OUT OF A SINGLE BUNDLE OF EMBROIDERY THREAD WITH THESE FAST, EASY, STEP-BY-STEP INSTRUCTIONS.
Embroidery floss tassels are a craft favorite for many reasons: they're fast, easy, and require very few supplies to make.
What's even better is they can be turned into tassel garlands, used as gift embellishments, or even made into jewelry; they're super versatile.
What else can they be made into? Tassel ornaments!
We're kicking off The 30 Days of Ornaments Project, where we will make 30 handmade ornaments over the next 30 days.
We are starting with a mini embroidery floss tassel ornament!
Let's get to it!
Day 1: How to Make a Mini Embroidery Tassel Ornament
DIY Embroidery Floss Tassel Ornament
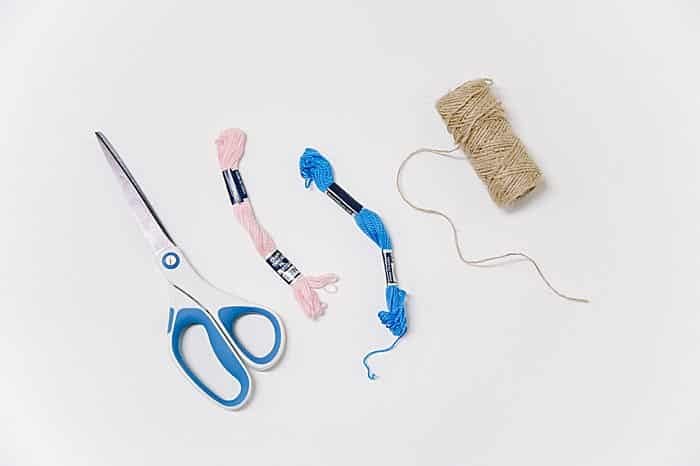
Step 1. Gather supplies.
Supplies needed:
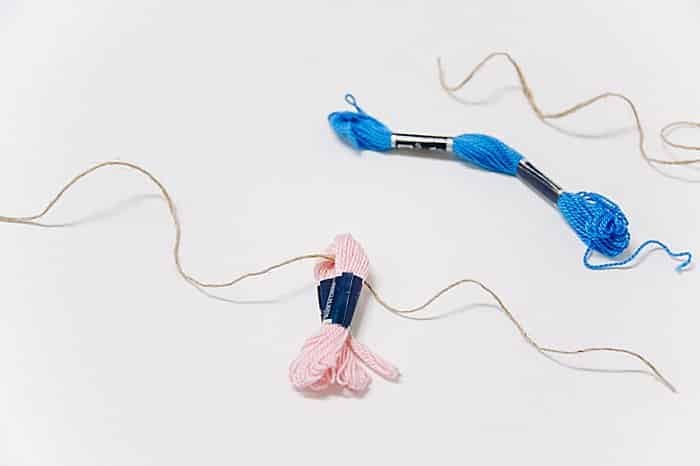
Step 2. Cut hanging string - 10+ inches.
Step 3. Cut embroidery thread string for tassel neck - 10+ inches.
Step 4. Fold embroidery floss bundle in half over hanging string.
Step 5. Tie embroidery thread string around tassel neck and knot.
Step 6. Wrap the two strands around neck of tassel in opposite directions; knot to secure. Trim ends.
Step 7. Cut looped ends at bottom of tassel.
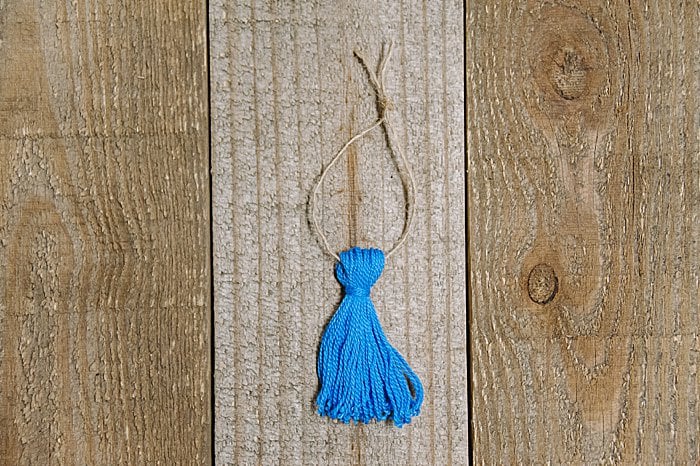
Step 8. Shake tassel, trim if needed, knot hanging string at top.
Step 9. Hang tassel ornament on your Christmas tree!

An embroidery floss tassel is the perfect fast, easy craft project.
You can make them in any color to match your holiday decor, and they can be easily turned into ornaments that look great on your Christmas tree.
If you've been wanting to learn how to make a small, fancy tassel, these DIY embroidery floss tassels are quick and easy, and can be made into a cute Christmas ornament in no time at all!
Save the idea for later by pinning the photo below to Pinterest!
. . . . . .


Leave a Reply