• Skip to main content
  • Skip to primary sidebar
Laura Radniecki
menu icon
go to homepage
  • Fall
  • Craft Index
  • Library
  • Shop
  • Writing
    • Facebook
    • Instagram
    • Pinterest
    • YouTube
  • subscribe
    search icon
    Homepage link
    • Fall
    • Craft Index
    • Library
    • Shop
    • Writing
    • Facebook
    • Instagram
    • Pinterest
    • YouTube
  • ×
    Home » Wood

    How to Stain Wood with Paint

    Jan 12, 2023 | Updated Dec 4, 2024 | By Laura | This post may contain affiliate links | 2 Comments

    • Facebook
    How to Stain Wood with Craft Paint

    Learn how to stain wood with paint by diluting the craft paint and brushing it on like a typical stain in this step-by-step craft tutorial!

    Raw wood can be trendy and rustic, but there's something beautiful about staining wood and bringing out the wood grain.

    What happens when you want to stain wood, but don't have any stain? Paint to the rescue!

    Today, we will learn how to stain wood with paint; a technique we used to make stained wood ornaments, stained wooden animals, and mini chalkboards.

    Here's how to do it!

    How to Stain Wood with Craft Paint

    How to Stain Wood with Paint

    Step 1: Gather Supplies

    Supplies Needed:

    • Paint - we are using acrylic craft paint in brown and black.
    • Water
    • Container - to mix paint in
    • Foam Brush
    • Clean Rag or Paper Towel
    • Wood Objects to Stain

    Step 2: Put paint in containers.

    We are going to make two different colors of brown paint, but we only have one shade of brown and then black paint.

    First, we put a little brown paint into each of two recycled containers.

    how to stain wood with paint

    Step 3: Put a few drops of black paint into one of the browns.

    add black paint to brown to make it a darker shade of brown

    Mix the black into the brown, creating a darker shade of brown.

    Add a few more black drops if it's still too light.

    darker brown paint made by adding black

    Step 4: Add a little water to each container.

    dilute paint with water to make it more like stain

    Stir to mix.

    The paint should seem diluted and water, but still pigmented.

    Step 5: Brush watered-down paint onto raw wood with a foam brush.

    how to stain wood with paint

    Step 6: Use a clean rag or paper towel to wipe off any excess.

    wipe of excess paint from wood

    Step 7: Repeat for the second color of diluted paint.

    how to stain wood with paint

    Wipe off any excess with clean rag or paper towel.

    wipe off extra paint from wood

    You can use this same method of brushing on watered-down paint and wiping off any excess to "stain" any raw wooden object.

    Here we are using two raw wood animal figurines from the Dollar Tree.

    how to stain wood with paint

    how to stain wood with paint

    If you accidentally wipe off too much paint, you can brush more on and gently wipe off any excess again.

    how to stain wood with paint

    how to stain wood with paint

    The paint will lighten up a bit as it dries, but the color will remain similar.

    Who knew diluted paint would act very similar to wood stain??

    The added bonus is craft paint is easier to find, cheaper, and smells better than most stains! Plus, it cleans up easily too.

    How to Stain Wood with Craft Paint

    More Easy Wood Craft Ideas

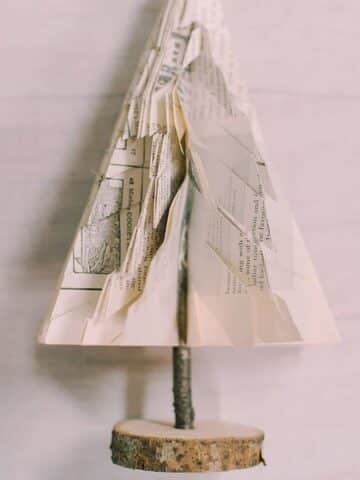
    • How to Make Book Page Trees.
      How to Make Book Page Trees
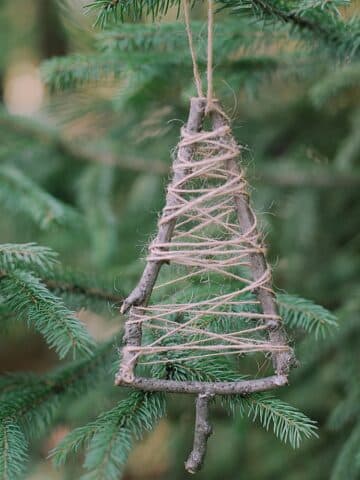
    • Elevate your holiday decor with a Twine-Wrapped Stick Tree Ornament. Craft it effortlessly with our step-by-step guide.
      How to Make a Twine-Wrapped Stick Tree Ornament
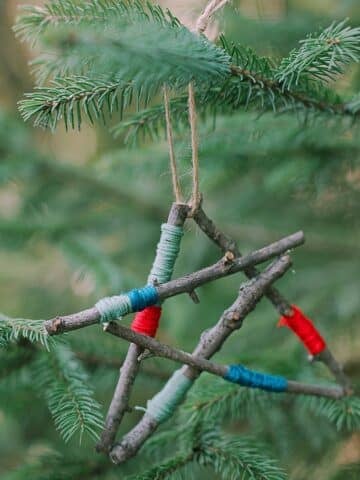
    • Create a dazzling Star Ornament with embroidery floss-wrapped sticks using our simple guide. Elevate your holiday decor this season!
      How to Make a Star Ornament out of Embroidery Floss Wrapped Sticks
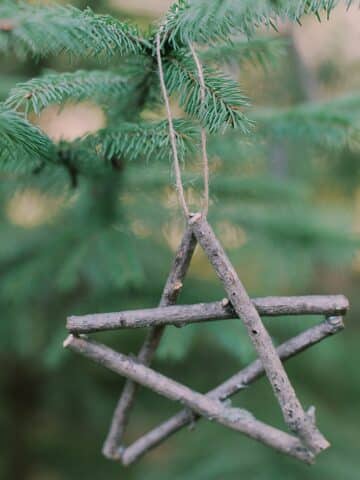
    • Craft rustic Stick Christmas Ornaments with our step-by-step guide. Add natural charm to your holiday decor this season!
      How to Make Stick Christmas Ornaments

    About Laura

    Laura Radniecki is a crafter, writer, and photographer from small-town Minnesota. A lifelong maker, she shares easy step-by-step craft tutorials. She's a wife to her high school sweetheart, mama to their son and daughter, dog mama to their 2 brother + sister toy poodles, and a part-time RV snowbird in Florida.

    Reader Interactions

    Comments

      Leave a Reply Cancel reply

      Your email address will not be published. Required fields are marked *

      Recipe Rating


    1. Mike Macey

      May 07, 2025 at 11:58 am

      Thank you, Laura. I plane old cedar privacy fence to make frames with backing (same fence) for vintage tin signs, boxes for stuff, picture frames, and wall art. Having owned an entry-level gallery and custom mat and framing store, I want to start opaque painting and staining with Folk Art acrylics. Do you have any suggestions for stenciling on a raw, weathered fence? Have you worked with old privacy fence and pallets?

      Reply
      • Laura

        May 07, 2025 at 5:34 pm

        Hi Mike! I haven't worked with privacy fence in particular, but I have stenciled on rough wood before. It might be a little less precise but that kind of fits the weathered, distressed look of reclaimed wood. The stencil process is the same, just make sure to dab vertically and to press the stencil down so it limits paint seeping underneath the edges of whatever you are stenciling. I hope that helps! It sounds like you have some really cool projects you've done!

        Reply

    Primary Sidebar

    Hi, I'm Laura Radniecki!

    I’m here to help you make easy crafts! Around here, you’ll find step-by-step craft tutorials that remove the guesswork, and are easy, fast, and fun. If you are a busy crafter, you are in the right place!

    (I also write when I'm inspired, and share my thoughts on my life + our world here too.)

    .

    More about me →

    Fall Crafts

    • How to make a beeswax dipped leaf garland.
      How to Make a Beeswax Leaf Garland
    • A Halloween wreath made with burlap ribbon with black and orange polka dots on it.
      How to Make a Burlap Halloween Wreath
    • How to Preserve Fall Leaves with Beeswax.
      How to Preserve Fall Leaves with Beeswax
    • Fall earrings made with felt ball pumpkins.
      How to Make Felt Ball Pumpkin Earrings
    • A look at using Matte vs Gloss Mod Podge to preserve fall leaves.
      A Look at Matte vs Gloss Mod Podge Fall Leaves
    • A wooden bowl with plaster easter eggs in it. The plastic eggs are wrapped in yarn and twine to look like DIY acorns.
      DIY Fall Acorns using Yarn-Wrapped Plastic Easter Eggs

    Popular Crafts

    • Purple and red paper cones made with construction paper, laying with a scissors on a table top.
      How to Make a Cone Out of Paper
    • Yellow DIY cornhole bag and scrabble tiles that say "game on".
      How to Make Cornhole Bags
    • Photo showing a wreath made out of jute rope hanging on a wall above a shelf with a plant on it.
      How to Make a Jute Wreath
    • How to Make a Pacifier Clip
      How to Make a Pacifier Clip
    • Learn how to make yarn tassels in this DIY tassel tutorial, showing two methods - one by hand and one using cardboard for making tassels.
      How to Make Yarn Tassels
    • Pinecones laying on a whitewashed wooden surface.
      How to Prepare Pine Cones for Crafts

    Footer

    ↑ back to top

    About

    • About Me
    • Shop
    • Privacy Policy
    • Accessibility

    Newsletter

    • Get craft tutorials, DIY project inspiration, and a first look at anything new by joining our email list. - Sign Up!

    Contact

    • Contact

    As an Amazon Associate, I earn from qualifying purchases.

    Copyright © 2026 Laura Radniecki