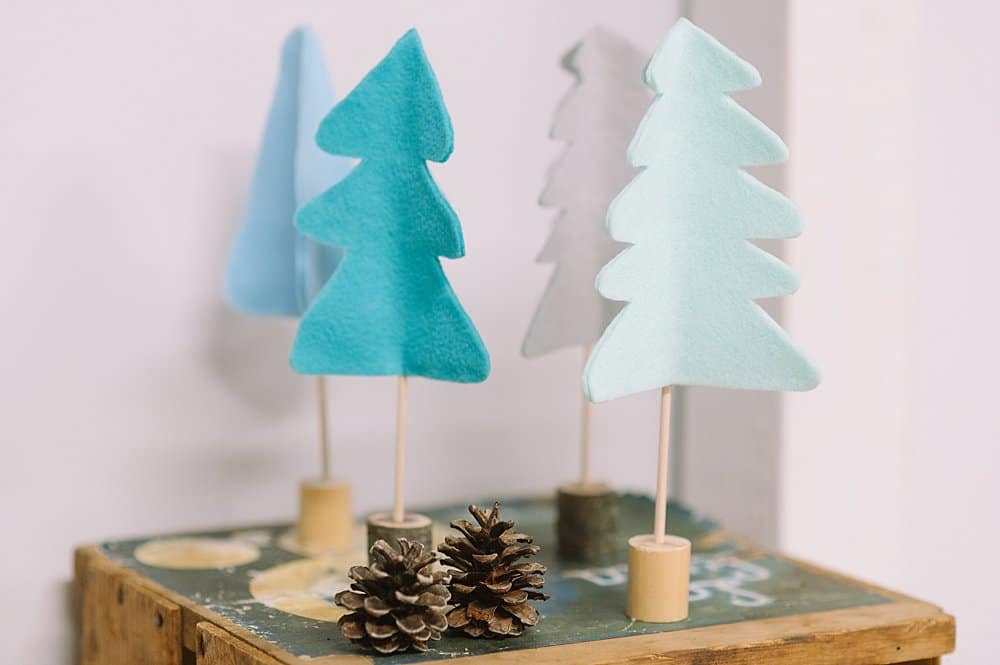
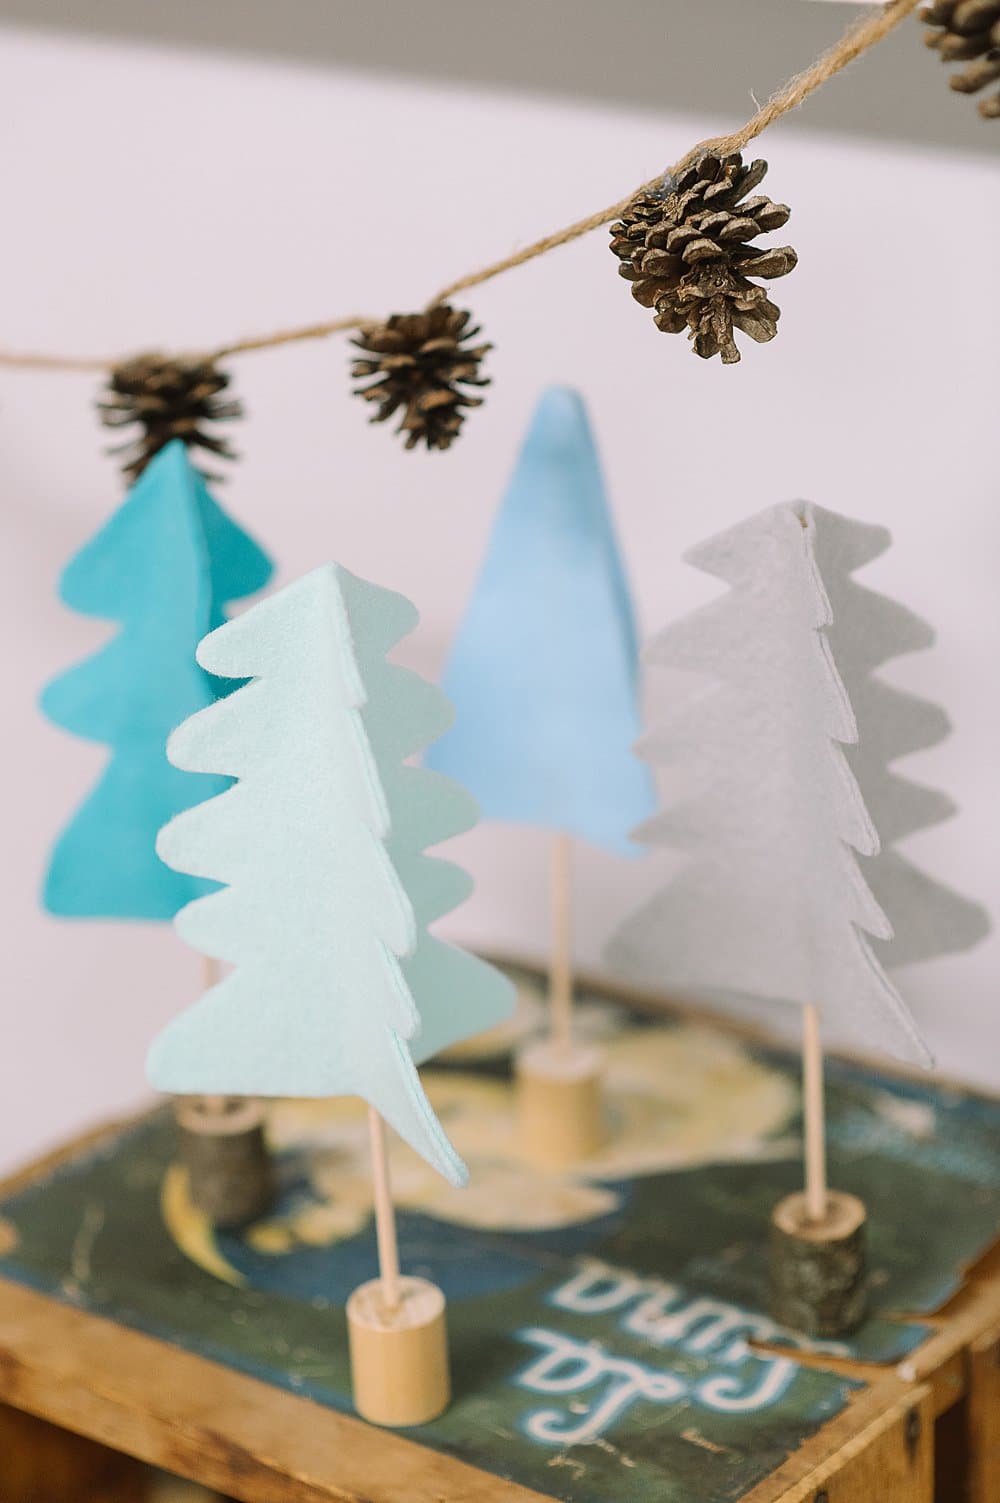
Learn how to make felt trees for the holidays inspired by minimalist, Scandinavian decor using felt, wooden dowels, and wood cylinders for the bases.
Christmas trees can be made using a wide variety of materials from yarn or wood to paper or twine.
Here is another version: felt trees for Christmas!
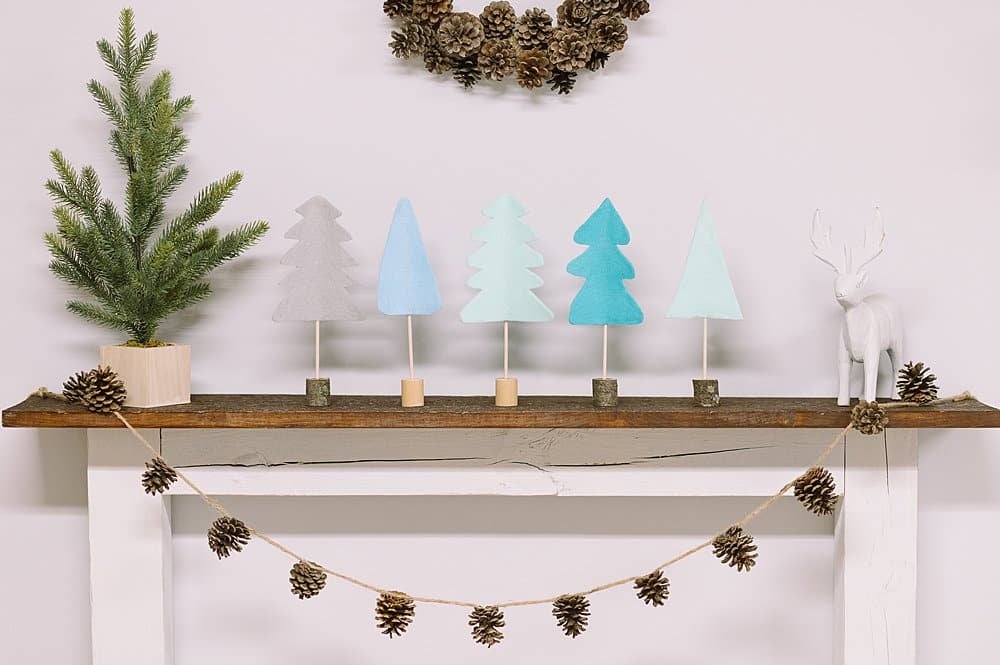
We are going to make Scandinavian-inspired, minimalist felt trees that you'll love to display on your mantel!
Here's how to make them!
How to Make Felt Trees for the Holidays
Step 1: Gather Supplies
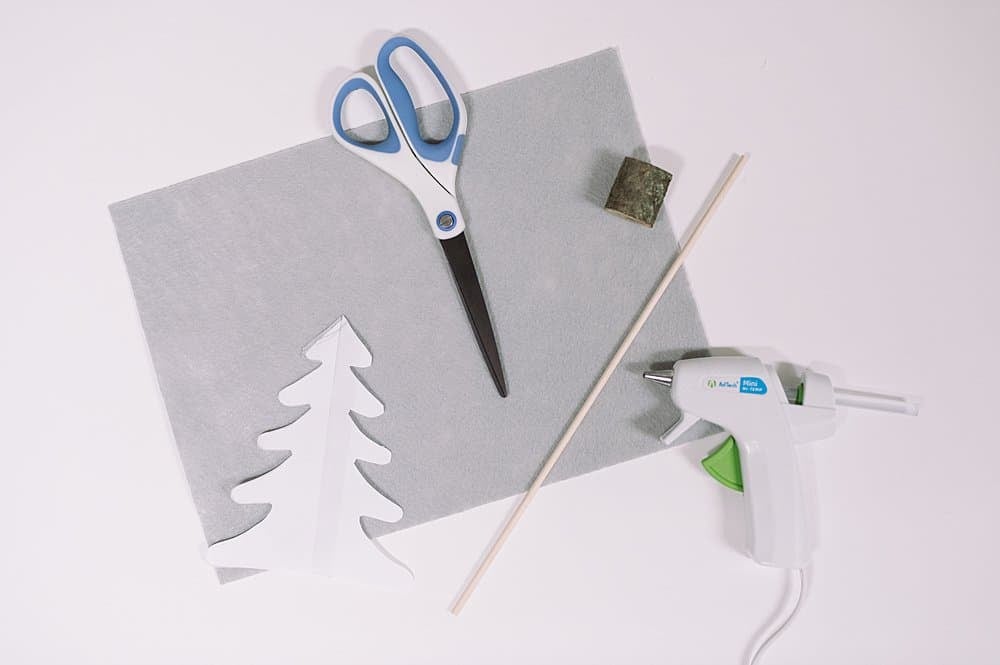
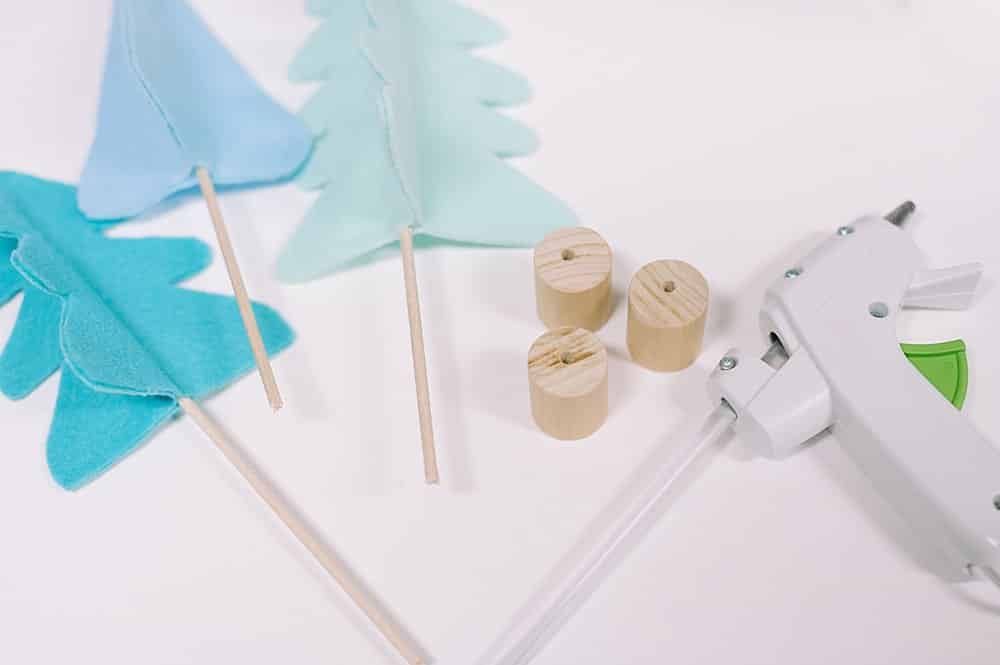
Supplies Needed:
- Felt
- Christmas Tree Patterns - available FREE in our Resource Library
- Scissors
- Hot Glue Gun and Glue
- Wood Dowels
- Wood Cylinders - with a dowel-sized hole drilled in the middle. You can use sections of tree branches or chunks of a wood closet rod for the base, or you might be able to find them on Amazon like these, but the selection was slim!
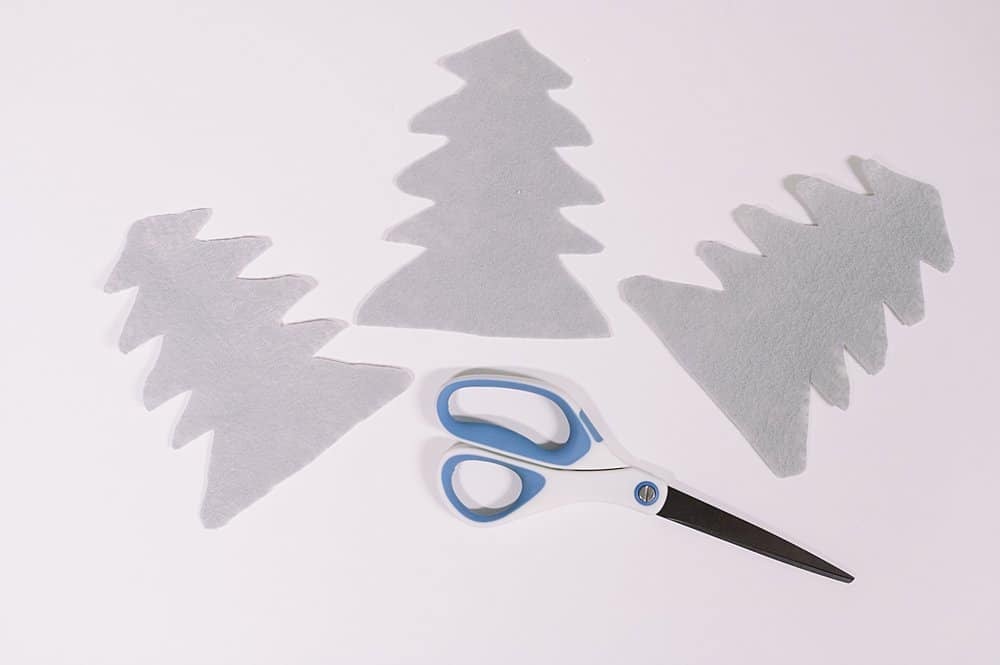
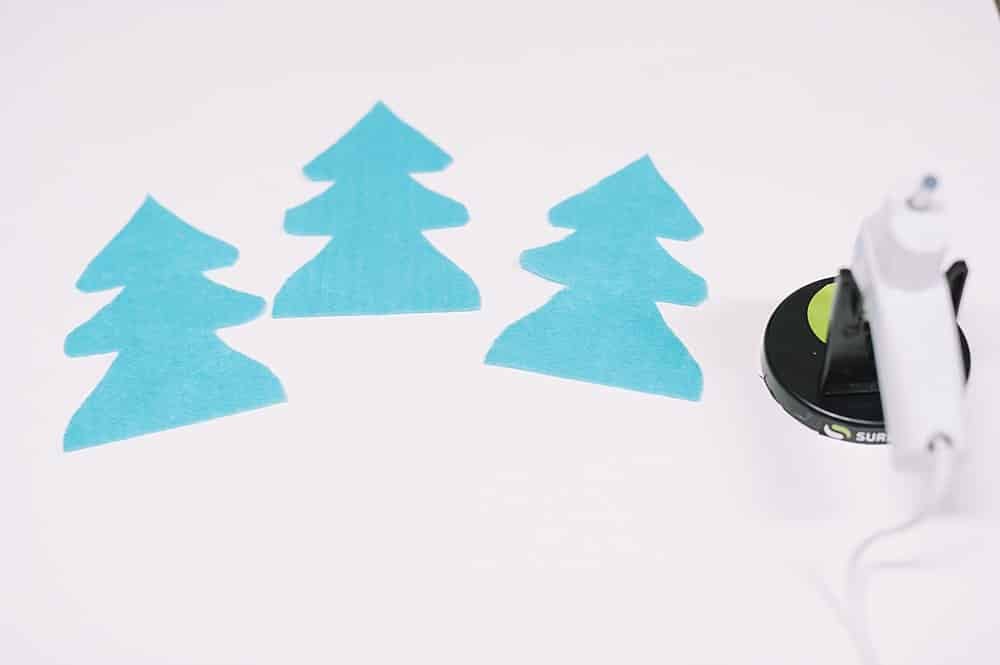
Step 2: Cut out three identical trees from the felt.
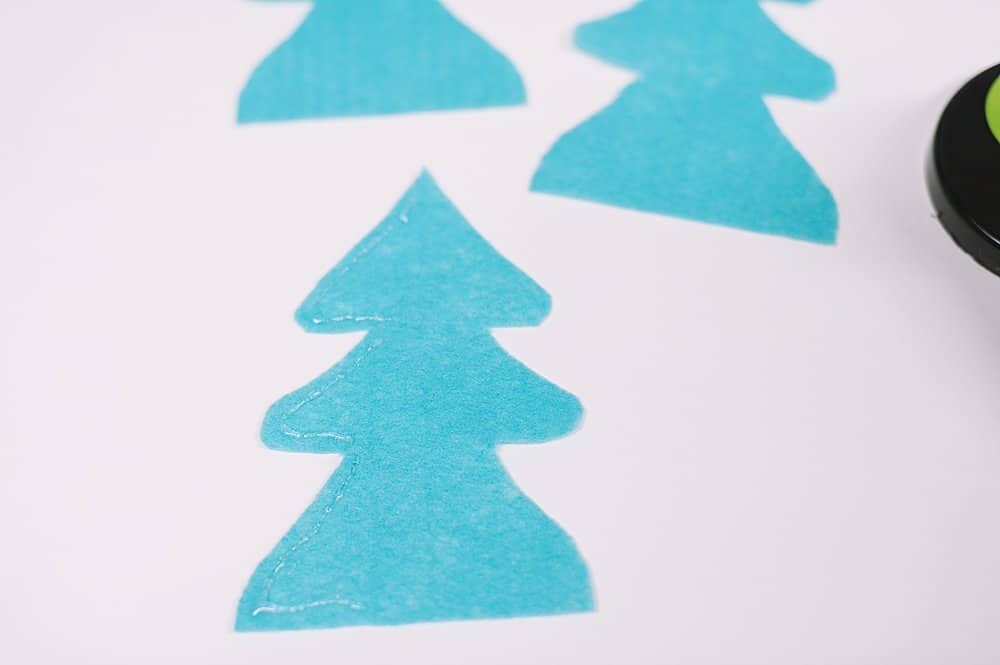
Step 3: To assemble the felt trees, start by putting hot glue along the LEFT half's edge, as shown below.
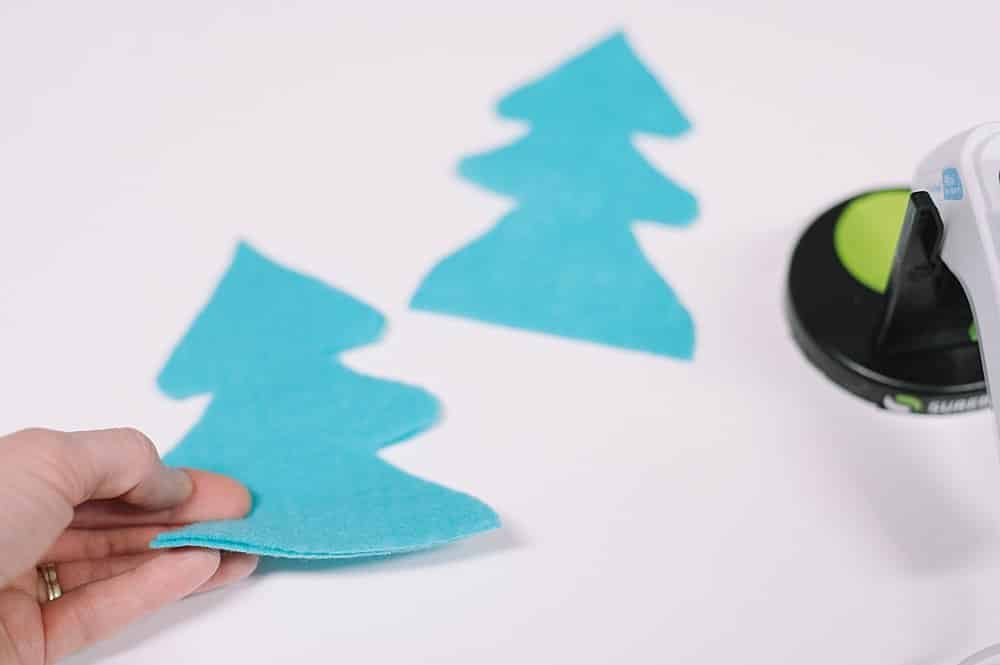
Step 4: Place a second felt tree on top of the first.
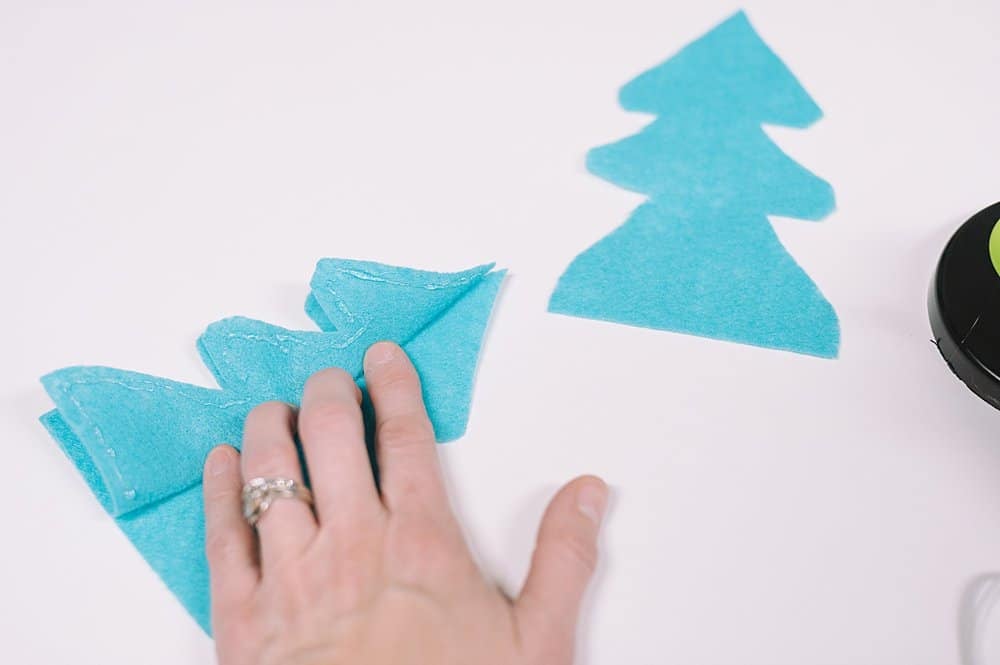
Step 5: Once the glue from step 3 is dry, fold the right side of the second piece of felt backward to expose the underside.
Put hot glue along the edge of the exposed underside of the 2nd felt piece, as pictured below.
Step 6: Place the third piece of felt on top of the stack, and let the glue dry.
Step 7: Glue the dowel inside the felt stack, in the middle of the bottom felt tree.
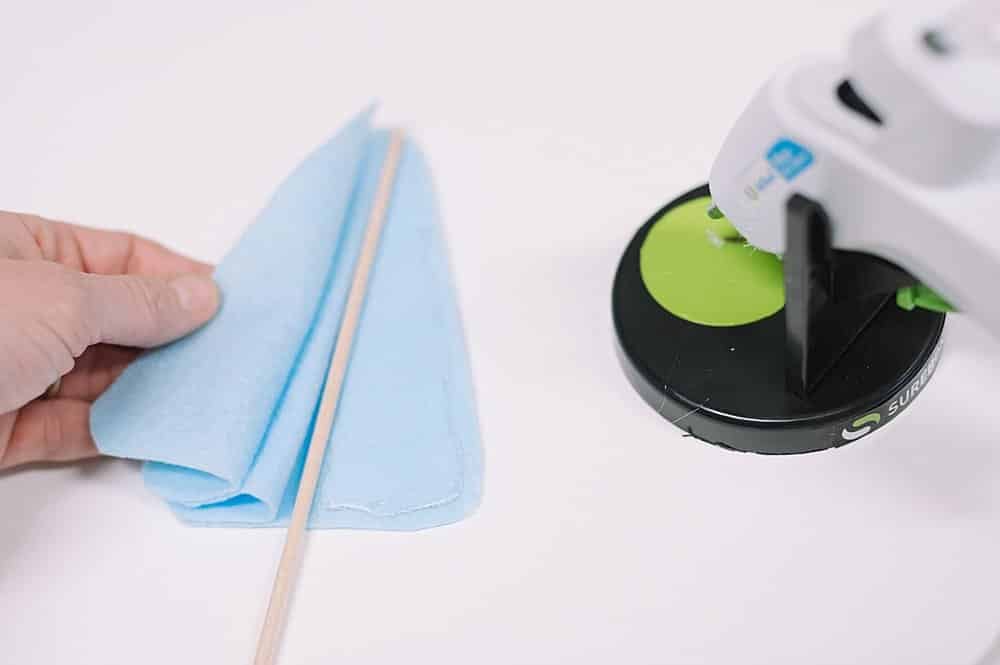
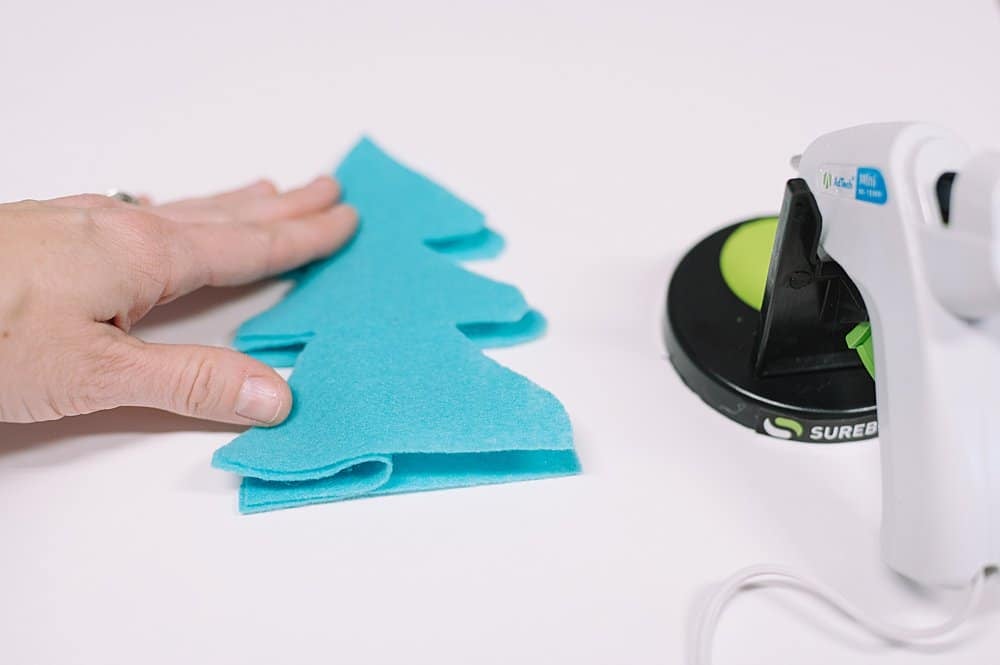
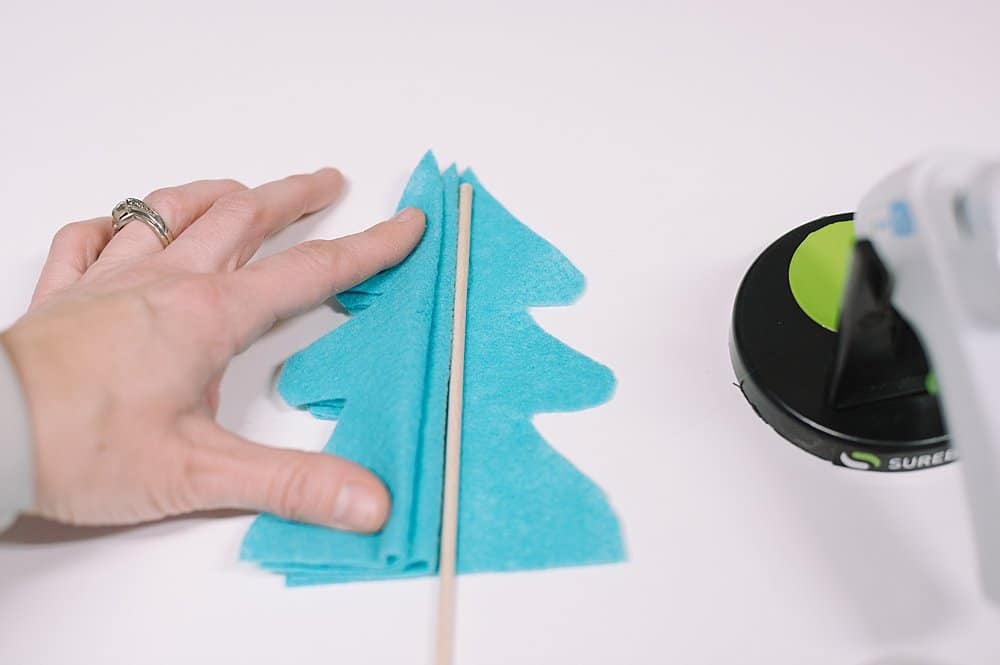
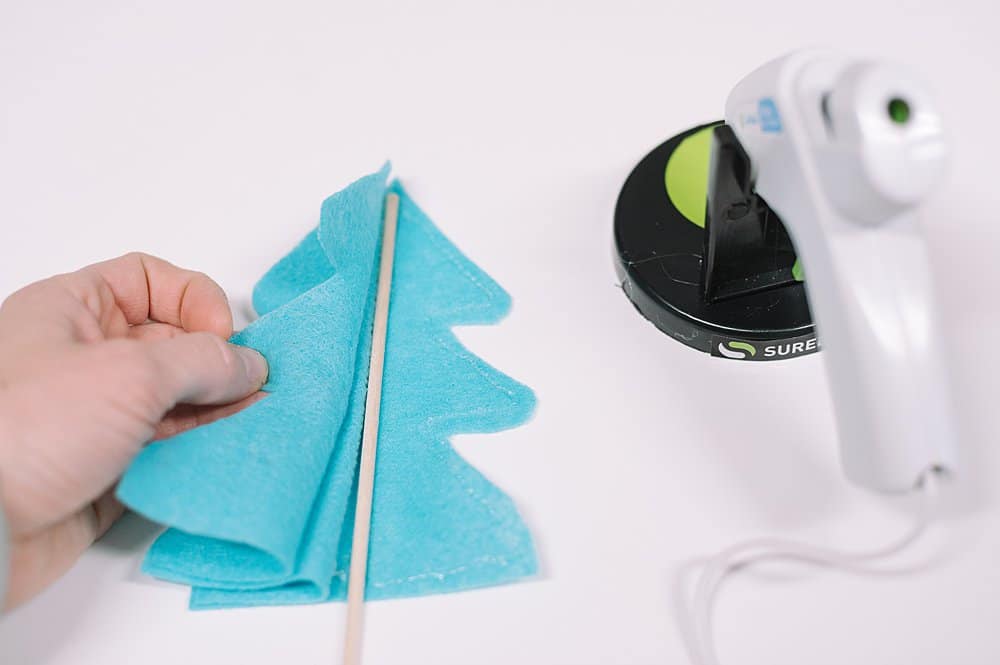
Step 8: Draw a line of hot glue along the RIGHT edge of the 1st felt tree on the bottom.
Glue the top tree to the bottom tree by bringing the edge you're holding (like pictured below) and lining it up with the glue on the right side of the bottom layer.
Step 9: Add hot glue around the tree's base where it meets the dowel to secure the felt to the wood.
Repeat the same process for all other felt trees you are making:
- Glue on the left side of the first tree.
- The second tree is laid down on top of the glue.
- Hot glue along the exposed edge of the second tree's underside.
- The third felt tree is laid on top of the stack.
- Hot glue the wooden dowel in the middle of the stack to make a tree trunk.
- Put hot glue along the right edge of the bottom felt tree, the one you just glued the dowel to.
- Connect the edge of the tree you are holding to the edge with the hot glue on it.
- Put hot glue into the bottom of the felt tree to secure it.
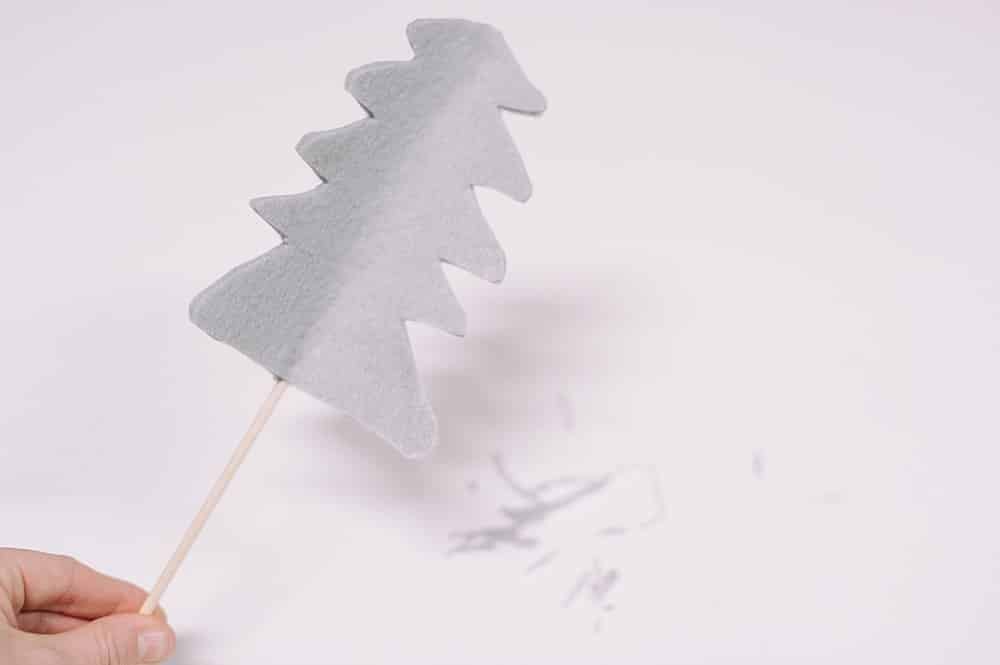
Step 10: Trim the edges of the felt so all of the tree's edges line up.
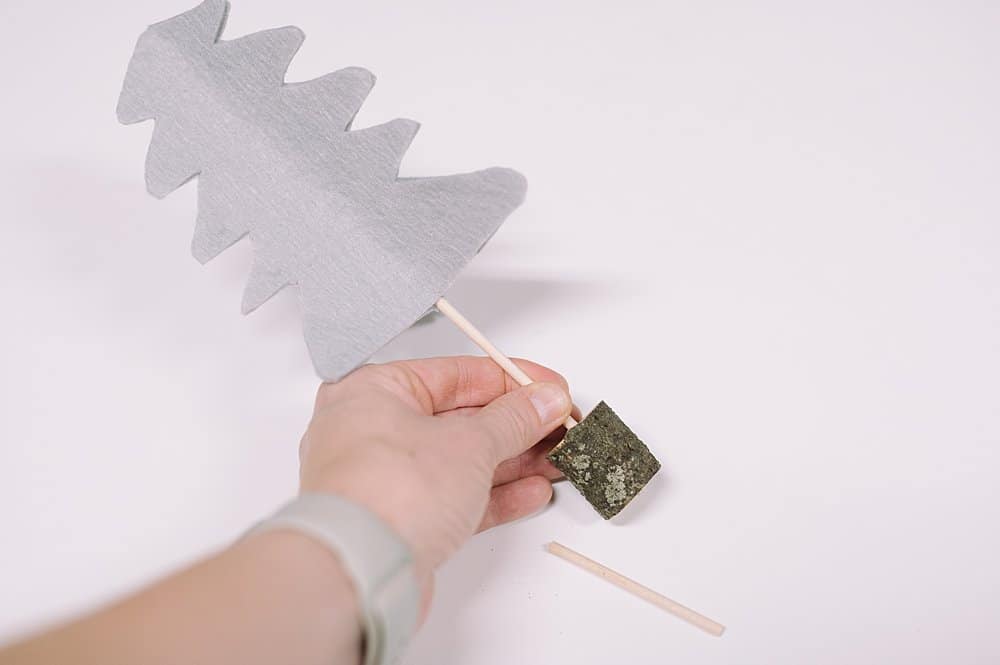
Step 11: Determine how tall you want your tree to me, and shorten the wooden dowel if needed.
I used 12" wooden dowels, and it made my trees look a little too tall and gangly.
I broke off the bottom section of each dowel so they were closer to 10" instead.
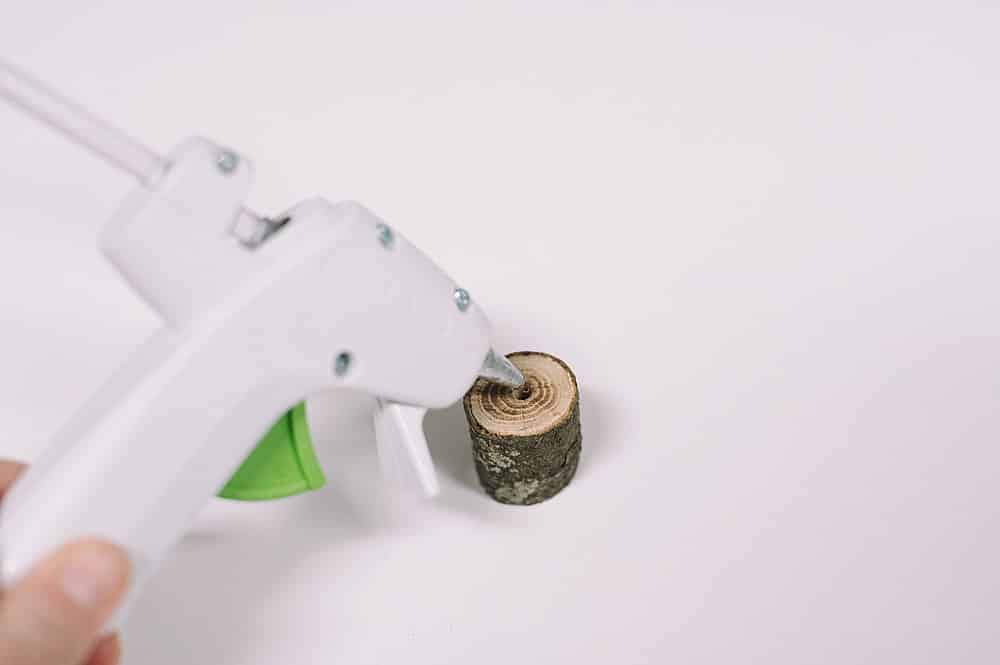
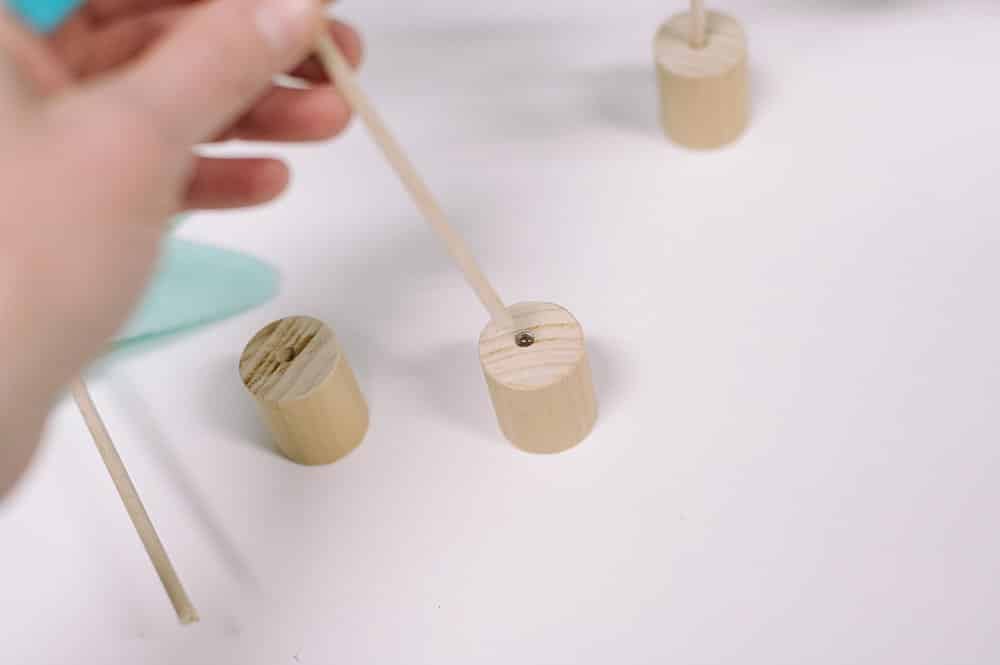
Step 12: Add hot glue into the hole in your wood cylinder base.
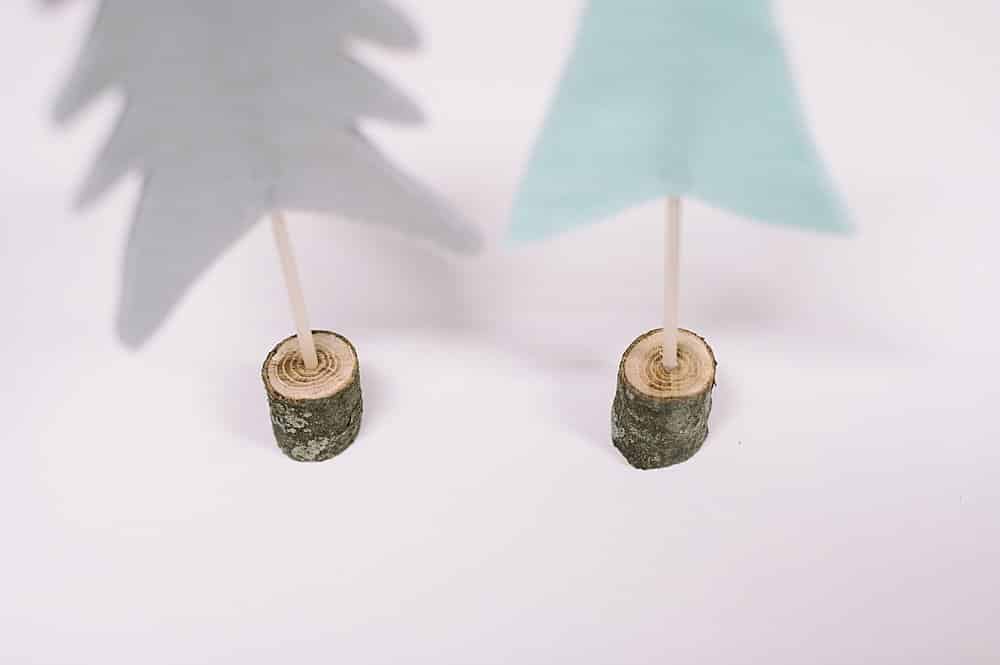
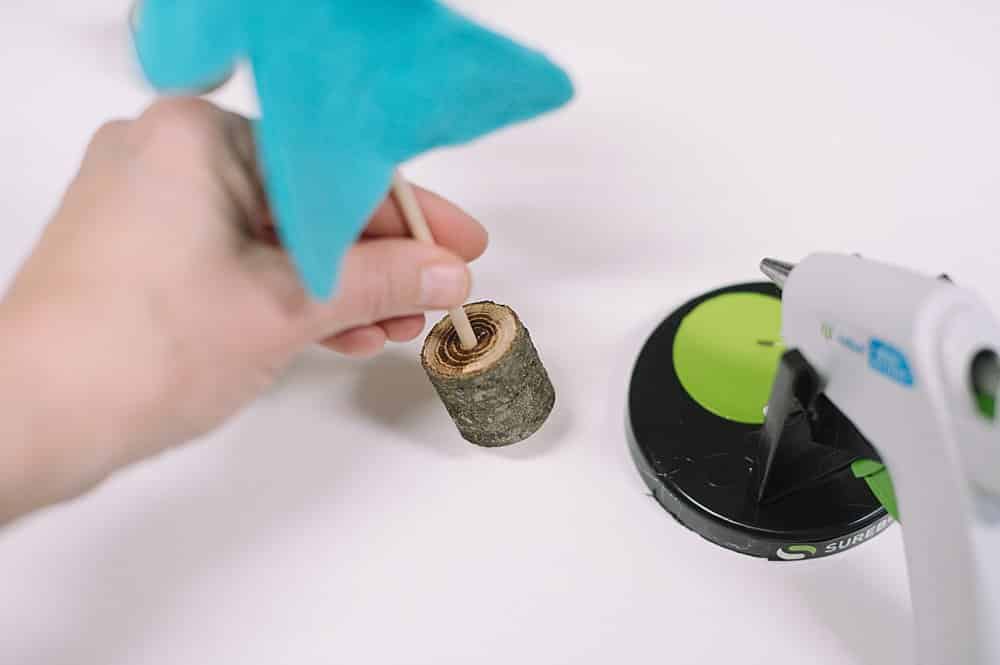
Step 13: Insert the wooden dowels into the wood cylinder bases.
That's it!
You can use the same process to make felt trees of any shape, like felt hearts for Valentine's Day!
The only criteria for your tree shape is it needs to be symmetrical; the left and right sides need to be the same.
This allows you to create the 3D tree and have all the edges line up.
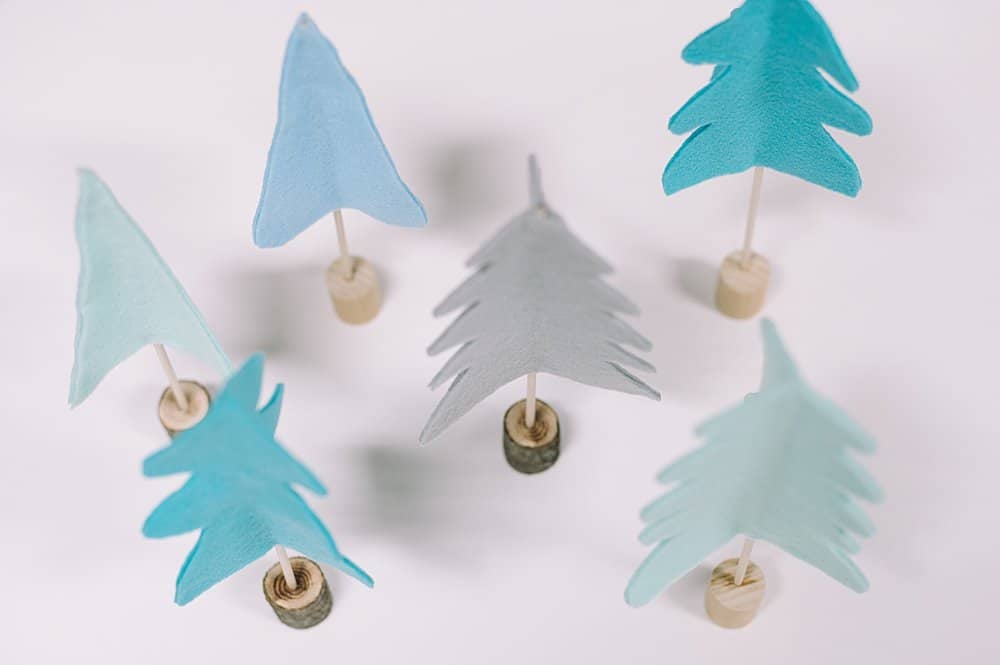
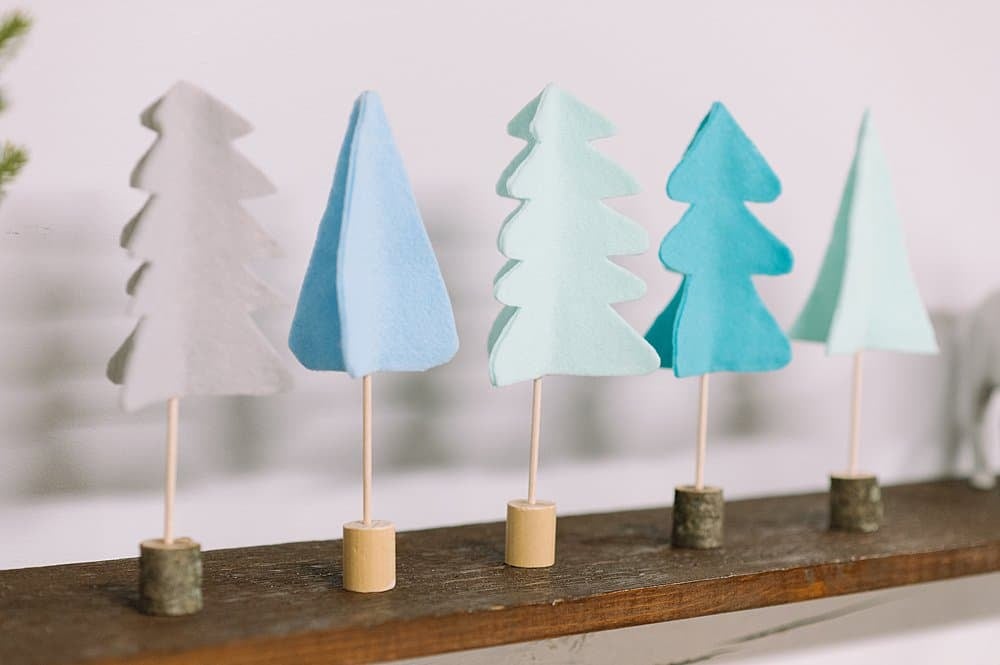
These trees are so fun to make, and they are the perfect minimal Christmas decoration too.
If you like Scandinavian decor, these felt trees are the perfect complement for your home.
Felt trees are a fun variation of traditional Christmas tree decor, and they're easy to make and customize. They make a good kids' craft for Christmas too.
Choose your favorite felt colors and the tree shapes you like best. If you don't have any felt fabric or want to try using something different, you can use book pages to make DIY paper trees too!













Leave a Reply