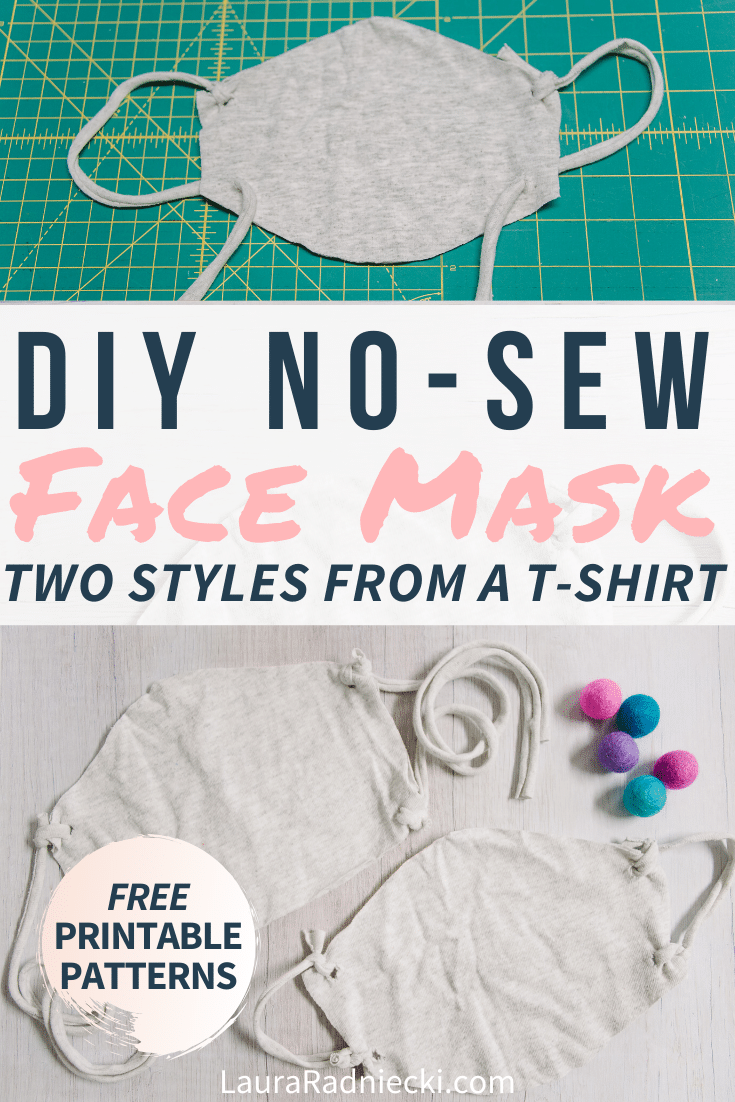
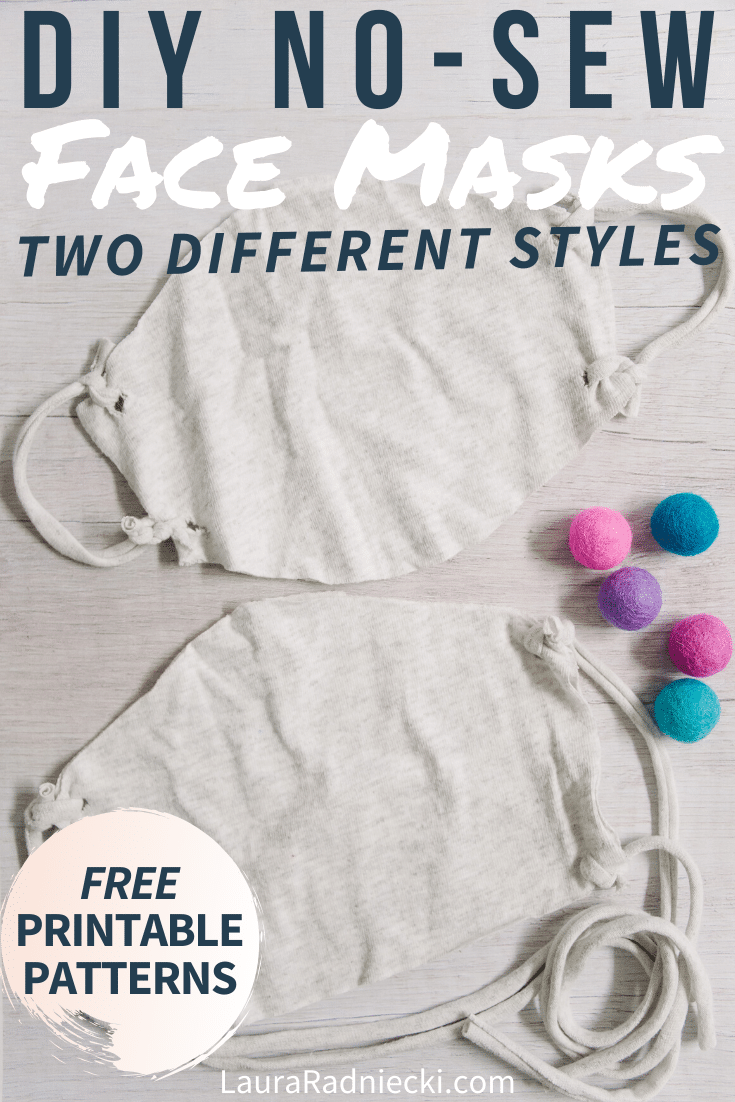
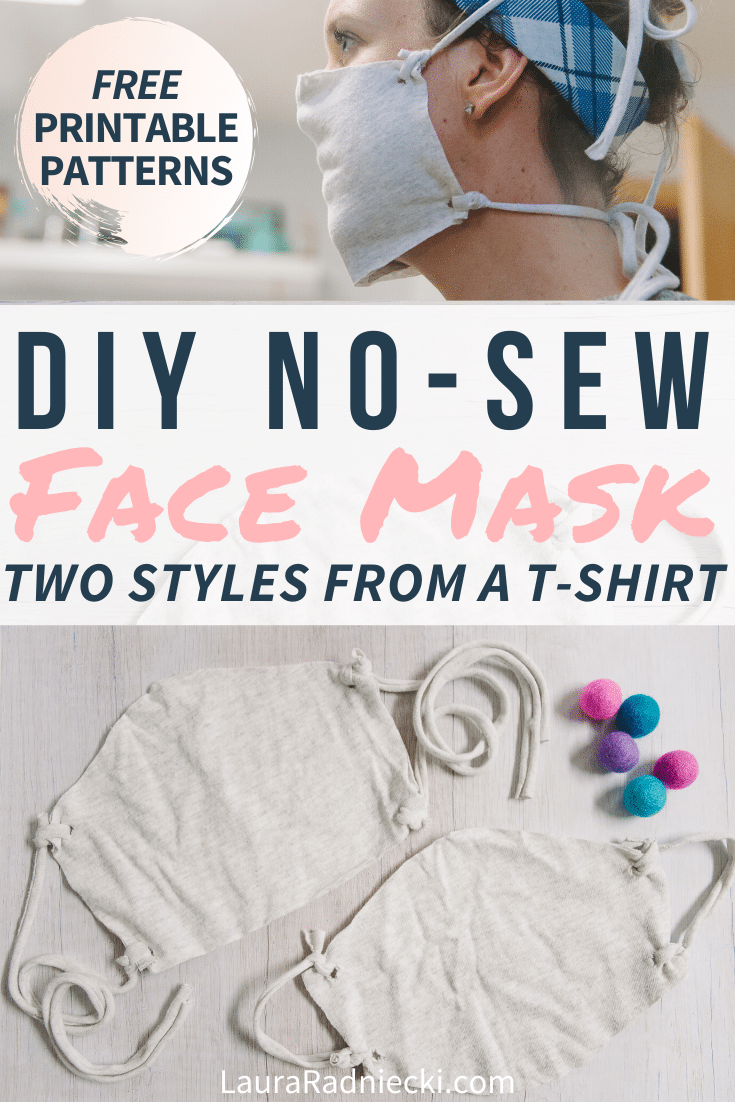
CAN'T SEW? NO PROBLEM! HERE'S HOW TO MAKE A DIY NO-SEW FACE MASK USING AN OLD T-SHIRT. THERE ARE TWO STYLES TO CHOOSE FROM: A TIE BACK OR AN EAR LOOP OPTION.
Face masks are quickly becoming the norm everywhere, and will likely be here to stay for awhile.
Many people are sewing their own face masks, but what if you don't know how to sew?
Can you make a face mask if you don't know how to sew?
YES!
Yes, you can make a face mask without sewing.
Today, we’re going to make two different styles of no-sew face masks using nothing but an old t-shirt and a pair of scissors.
One style of no sew masks has ties that go around the head, and the other mask has ear loops that go around the ears.
Here’s how to make them!
How to Make a DIY No-Sew Face Mask from an Old T-Shirt
Step 1. Gather Supplies.
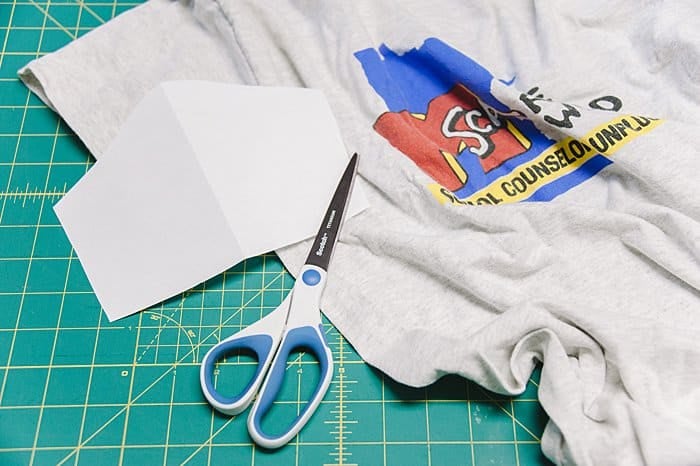
Supplies Needed:
- T-Shirt
- Scissors
- No-Sew Face Mask Templates - (FREE in the Resource Library)
NOTE: The general process for making the two different styles of no-sew face masks is the same; we will just be using a different pattern for each one.
Here's the general method we will be following for each face mask:
- Make ties or loops
- Cut fabric
- Snip holes in four corners
- Tie ties or loops
- Test, trim, done!
How to Make a No-Sew DIY Face Mask with Ties
Step 2. Cut 1" strips from t-shirt to make ties.
Lay the t-shirt out flat on your work surface.
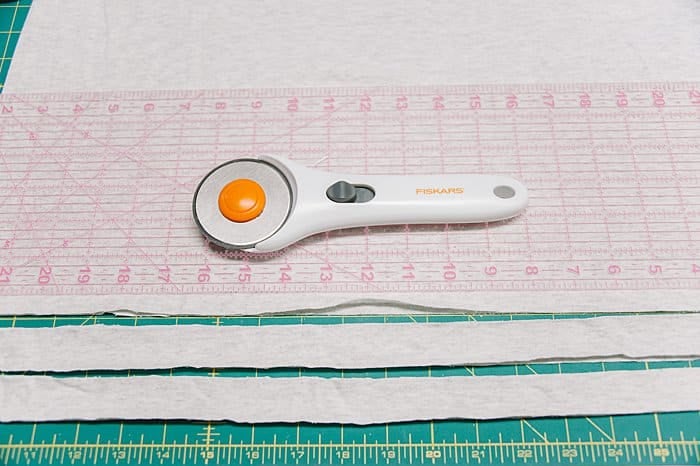
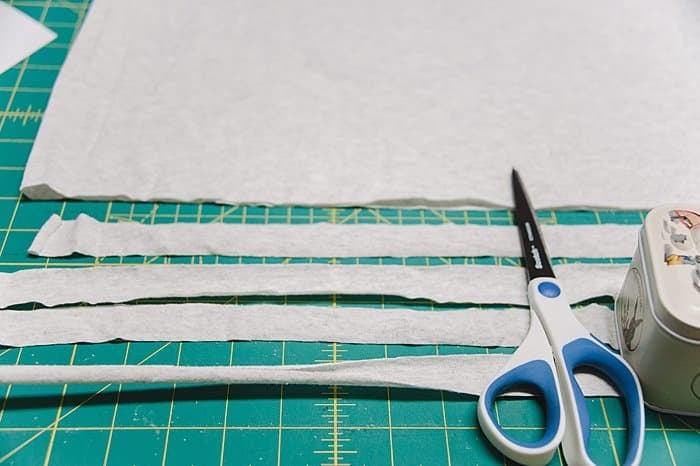
Using scissors (or a rotary cutter and cutting mat if you have one), cut 1" strips from the bottom of the t-shirt.
Cut two 1" strips.
Cut the double-layer 1" strips apart so you now have 4 single layer 1" strips of t-shirt material.
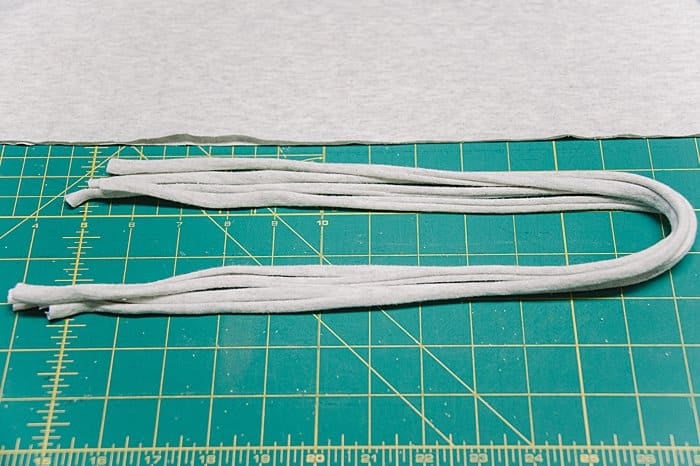
Hold one strip at each end and pull on it. It will begin to curl in on itself as you pull.
Continue to pull on each strip until you have four tightly rolled pieces of fabric that will be used as ties for the no sew facemask.
Step 3. Cut out face mask pattern from two layers of t-shirt material.
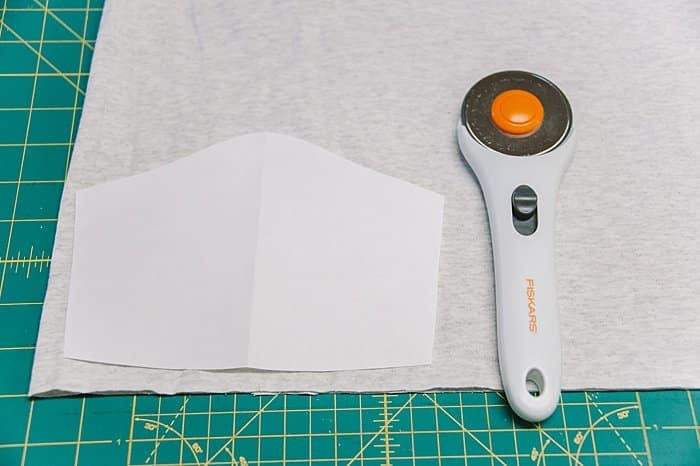
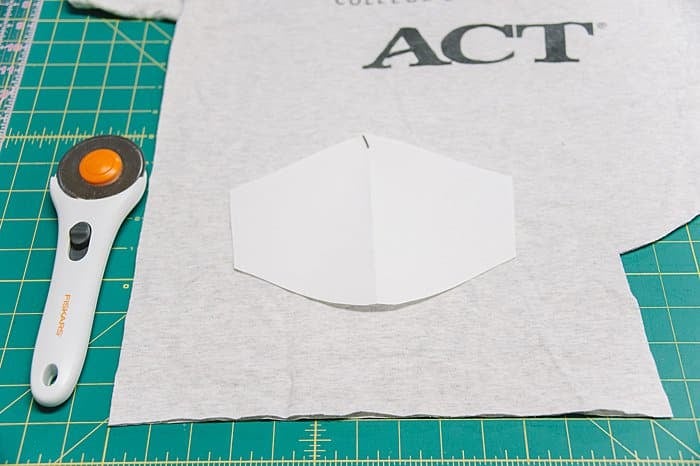
Print and cut out the No-Sew Face Mask with Ties Pattern to use as a template.
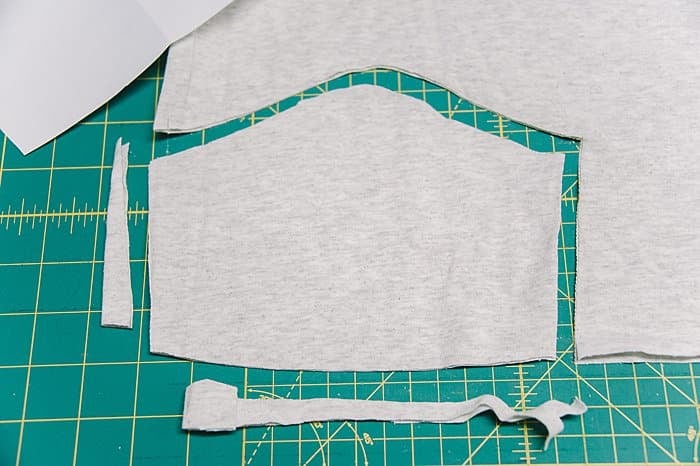
Lay it on top of the t-shirt, and cut it out.
(I use a rotary cutter and cutting mat whenever possible, but a scissors works just fine!)
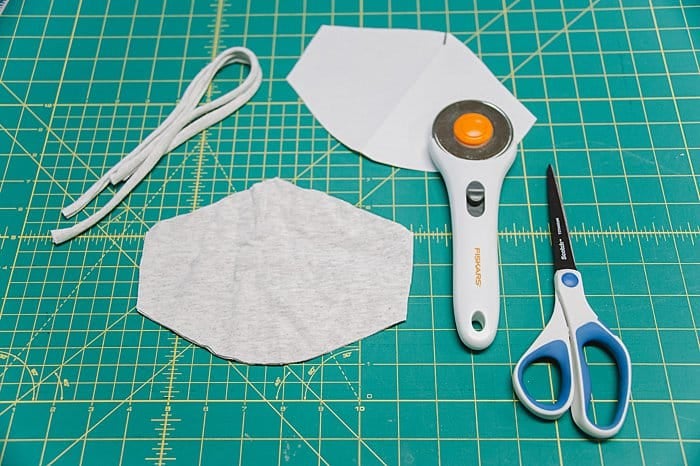
You should now have two identical-shaped layers of the face mask pattern stacked one on top of the other.
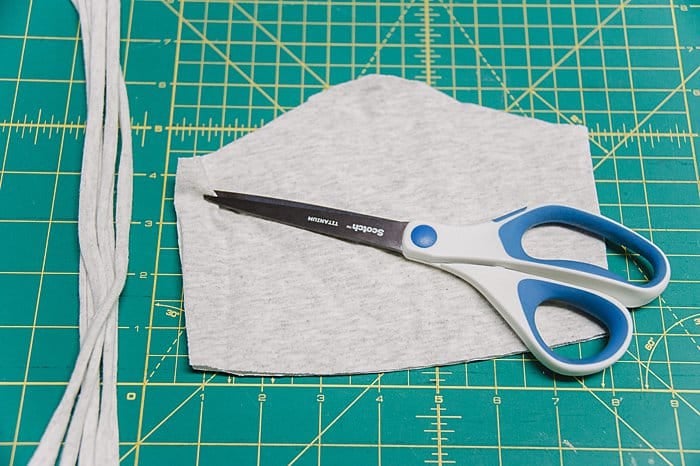
Step 4. Carefully cut a small hole in each corner of the mask, about ½" from the edge.
Using a sharp scissors, carefully cut a small hole or slit in each corner of the face mask.
You do NOT want to cut too close to the edge.
Cut the small slit ½" or ¾" away from the edges.
Repeat for all four corners, and make sure the hole goes through both face mask layers.
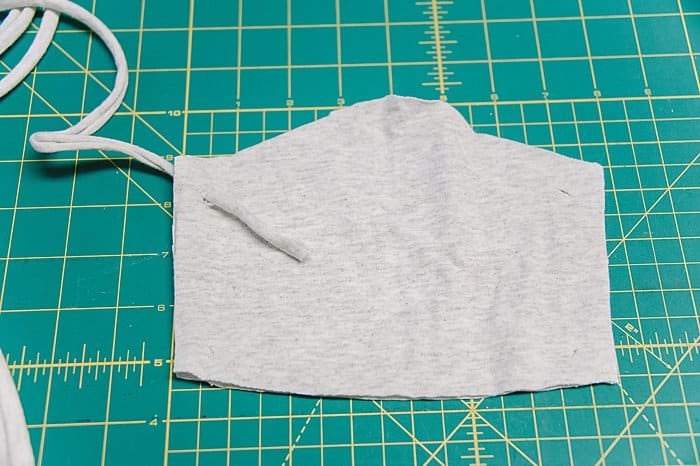
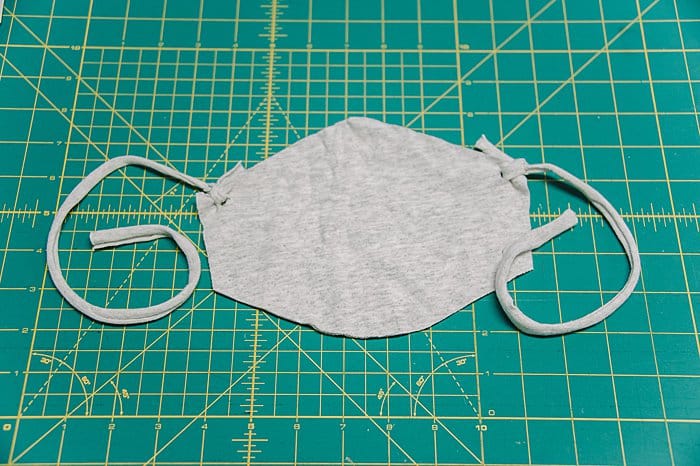
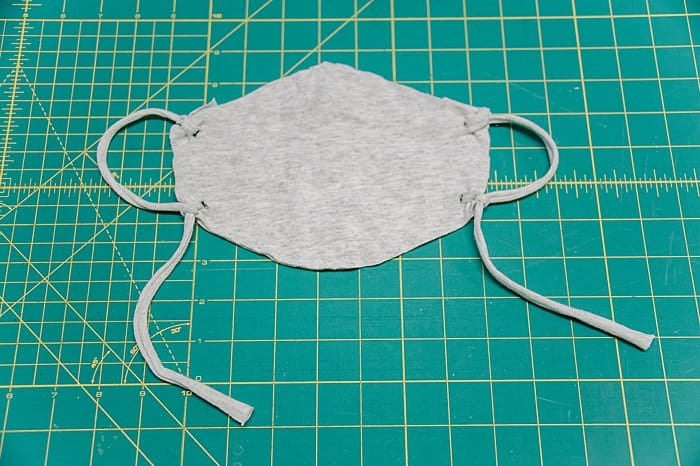
Step 5. Push tie through small hole in mask, knot to secure. Repeat for all four corners.
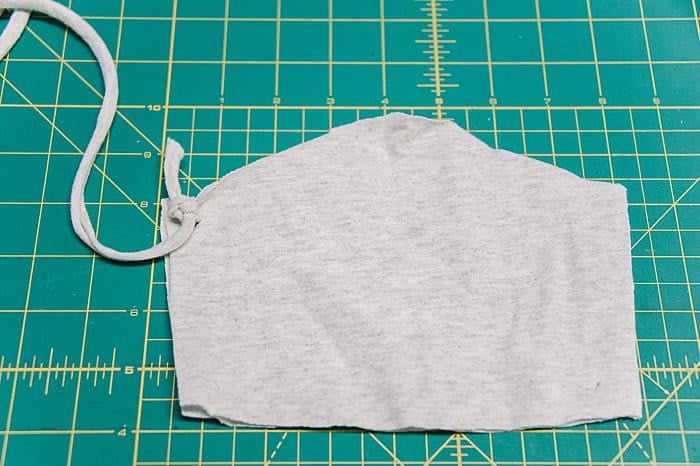
Take one of the ties and push it through the small hole in the two layers of the mask.
Tie several knots and pull to test how secure it is.
Make sure the knot is tight.
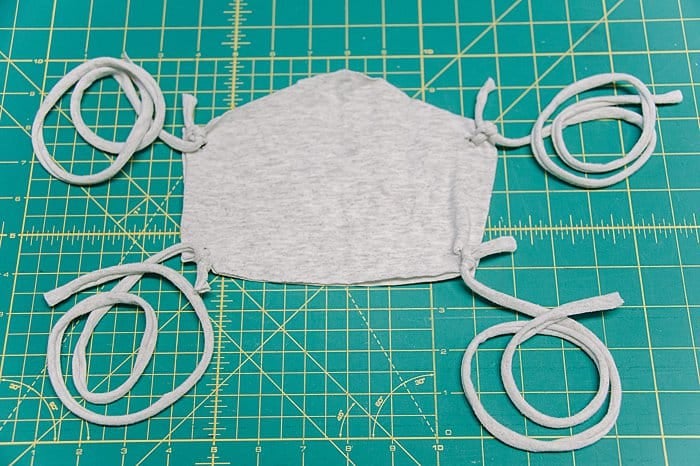
Repeat for all four corners of the mask with the four ties.
Step 6. Test the mask, trim the ties, and you are done!
Once you've tested all four of the knots and made SURE they are tight, you can trim off the excess bit of ties closer to the knots.
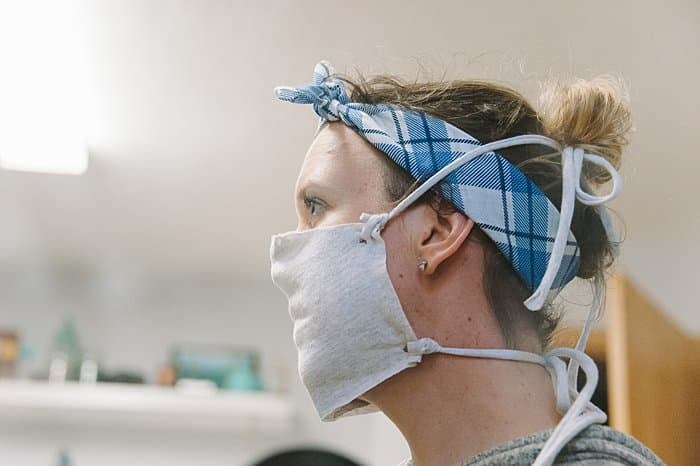
You're ready to try on your no-sew face mask with ties!
Position it however feels most comfortable, and tie bows behind your head and behind your neck.

The top ties will need to be longer to fit all the way around to the back of your head, but the two ties on the bottom only need to reach around your neck, so can be shorter.
How to Make a No-Sew DIY Facemask with Ear Loops
Step 2. Cut 1" strips from t-shirt to make ties.
For the Ear Loop mask, you will need two ties (instead of four in the previous version.)
Cut one 1" strip from the bottom of the t-shirt, cut it apart into two single layers of 1" fabric, and pull to roll into two strips.
Step 3. Cut out face mask pattern from two layers of t-shirt material.
Print and cut out the No-Sew Face Mask with Ear Loops Pattern to use as a template.
Lay it on top of the t-shirt, and cut it out.
You should now have two identical layers of the facemask pattern, and two ties to use to make your ear loop no sew mask.
Step 4. Cut small holes into four corners of the mask ½" from the edge.
Cut small holes or slits in the four corners of the mask (both layers) with scissors, making sure you are not too close to the edge.
The small holes should be ½" to ¾" from the edges.
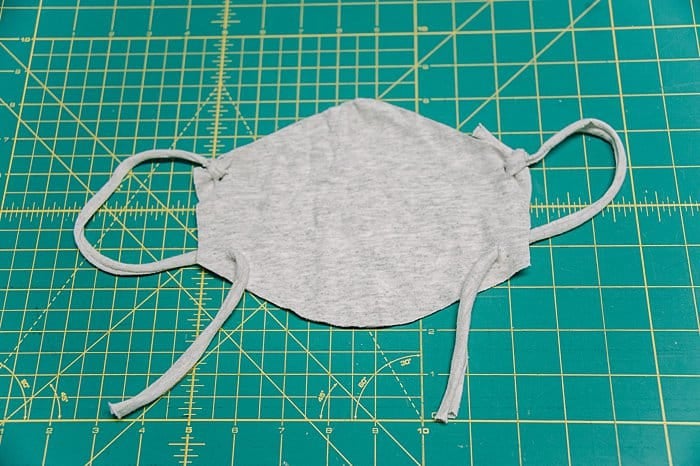
Slide tie through top hole and knot tight. Repeat on the top hole on the other side of the mask.
Step 5. Thread the other end of the left tie into the left hole on the bottom of the face mask. Repeat on the right side.
Thread the other end of the left tie through the left hole on the bottom of the face mask.
Thread the end of the right tie through the right hole on the bottom of the face mask.
Pull the ties through to create ear loops, but DO NOT tie them yet.
Try on your mask to test the fit, and figure out how tight the ear loops need to be.
Once you get the ear loops tight enough to give a comfortable, snug fit to your mask, you can knot the ties at the two bottom holes as well.
Make SURE the knots are tight, and trim off any excess.
Your no-sew ear loop face mask is done!
If you have the ability or means to sew a face mask, the end result will fit better and look better.
But many people don't know how to sew, or CAN'T sew. (Lack of supplies, time etc.)
You can still make a DIY face mask without sewing, and all you need is an old t-shirt.
Pick your favorite style: a face mask with ties or a face mask that goes around the ears... the choice is yours!
And you'll be able to make several masks from one t-shirt.
Get those scissors ready, and get to work on your DIY no-sew face masks!
- - -



Leave a Reply