
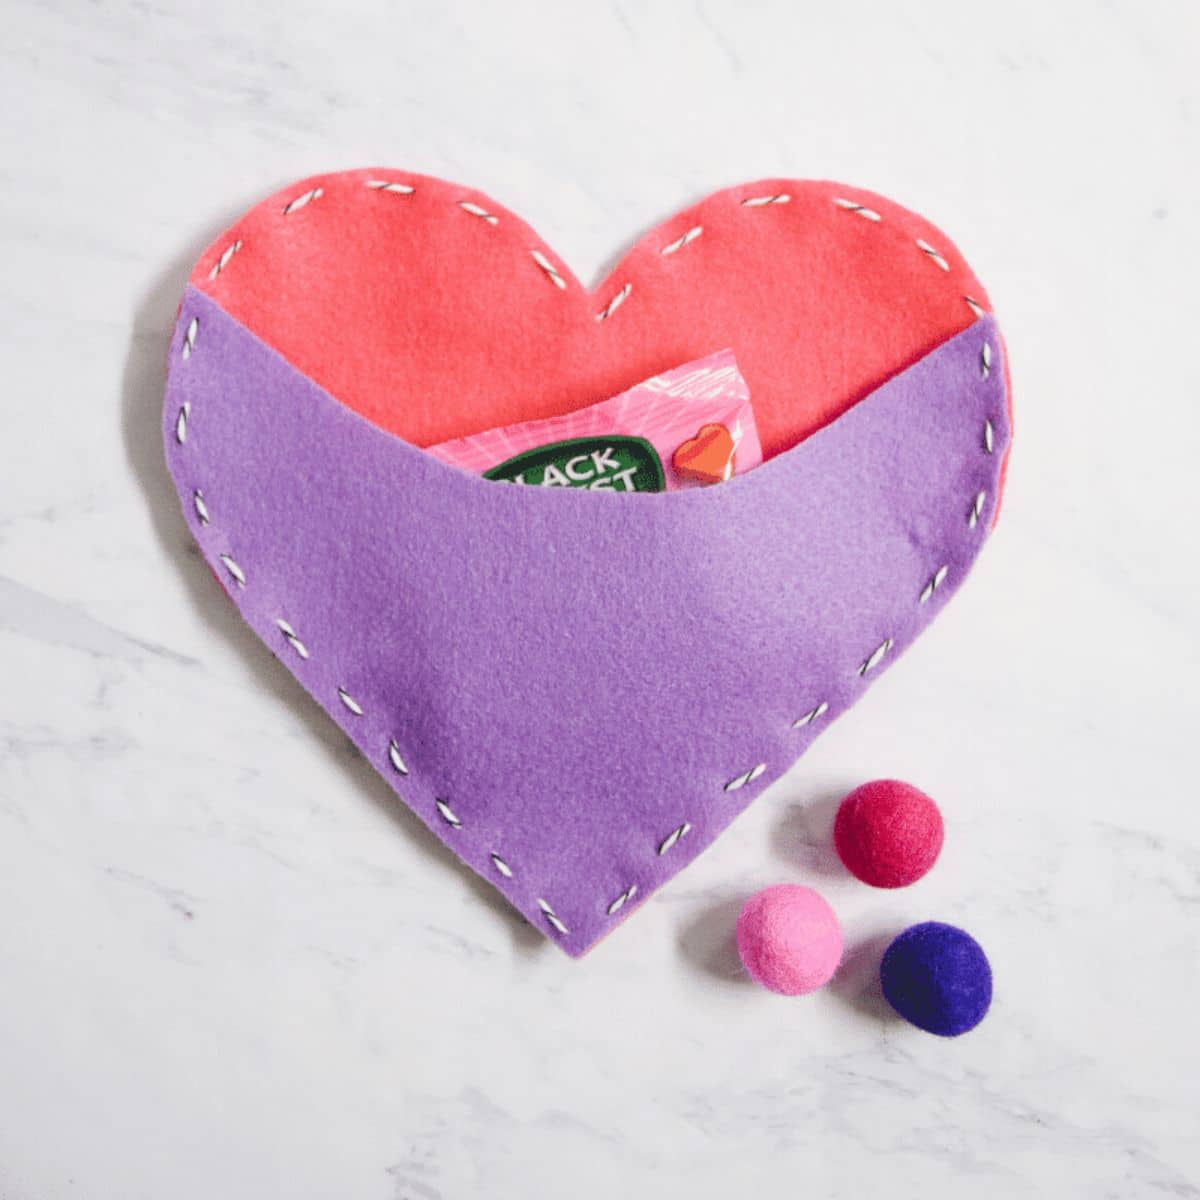
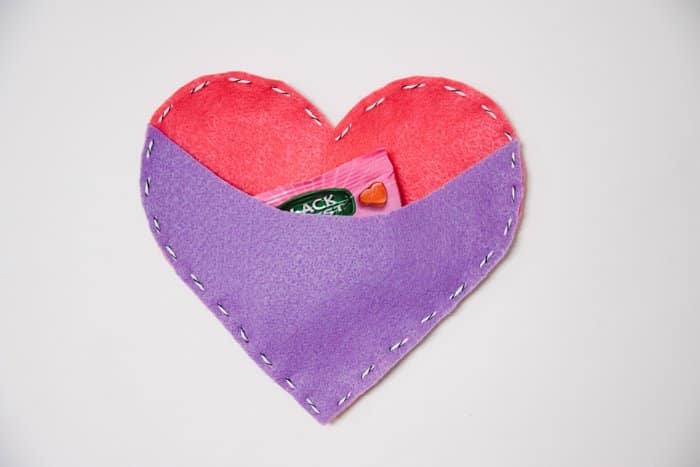
Looking for ideas for felt Valentine's Day crafts? Here's a DIY felt heart treat pouch that's hand-sewn; the perfect project for kids or adults!
Felt is a fun, versatile craft supply.
It is cheap to buy, comes in tons of colors, and doesn’t fray when you cut it.
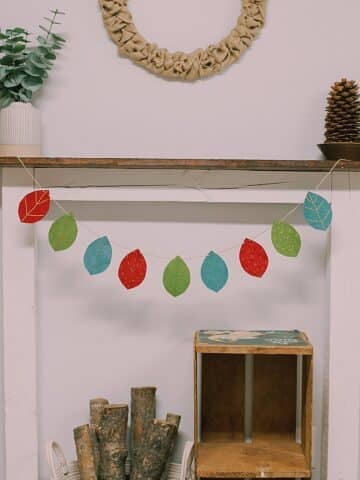
We used felt to make an easy Valentine’s Day Heart Garland that is the perfect addition to the mantle.
Now, we’re going to use felt and baker’s twine to make a cute heart pouch that is ready for a Valentine’s Day treat!
Let's make it!
Jump to:
Why You'll Love This Craft
- Felt is a fantastic supply to use for crafts because it's easy to work with, cuts smoothly, and comes in a ton of different colors.
- You can buy felt at any craft store or online retailer. It comes in precut rectangles or you can buy it on the bolt in the fabric section.
- This felt heart is perfect for middle-aged kids who want to be involved in making Valentine's Day treats for their friends. They can do the whole project themselves, from cutting to sewing to picking the treat and stuffing it inside!
Craft Supplies Needed
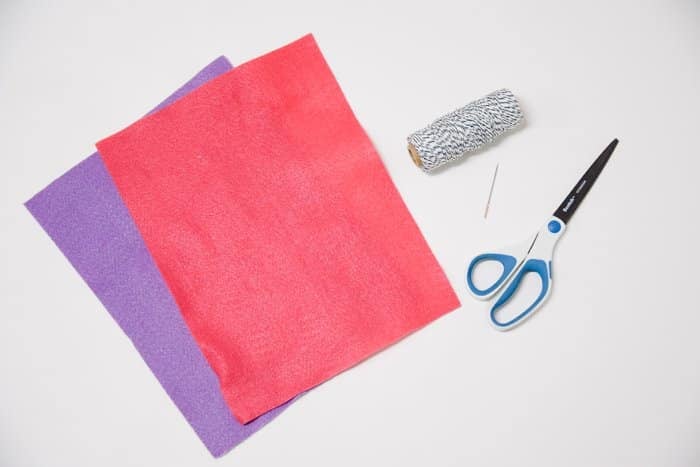
- Felt - You can buy precut rectangles of felt or buy it off the bolt in the fabric section. Choose whatever colors you want your treat pouches to be!
- Bakers Twine - I love the white and black pattern of this Baker's Twine. You could also use thread, embroidery floss, or very thin cotton string.
- Embroidery Needle - It should have a big enough eye to fit the string.
- Scissors - Sharp scissors make it very easy to cut felt.
- Heart Pouch Templates - Free in The Resource Library!
DIY Felt Heart Treat Pouch for Valentine’s Day
Step 1. Print out the heart pouch templates from the Resource Library, and cut them out.
Step 2. Using the two template pieces, cut out two felt pieces in colors of your choice.

Step 3. Cut a long section of baker’s twine, and thread the embroidery needle.
You’re ready to hand-stitch the two felt pieces together!
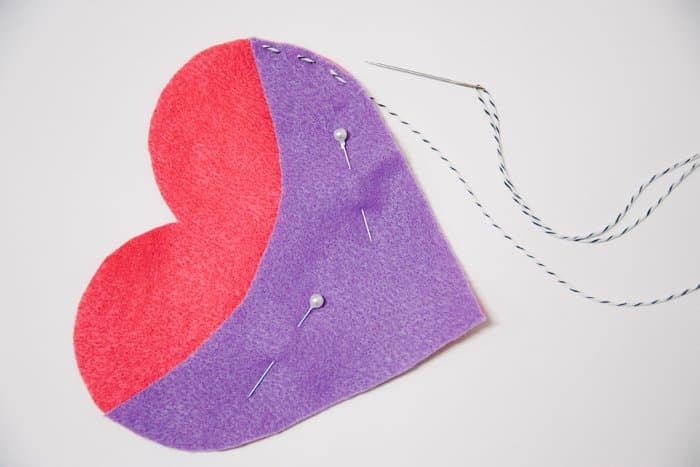
Step 4. Use a pin or two to hold the felt pieces together so they don’t slide around while hand-sewing them together.
Using a simple running stitch, sew around the edge of the heart with the baker’s twine and needle.

Step 5. Continue around the whole perimeter of the heart.
Knot and trim the excess twine when you're finished.
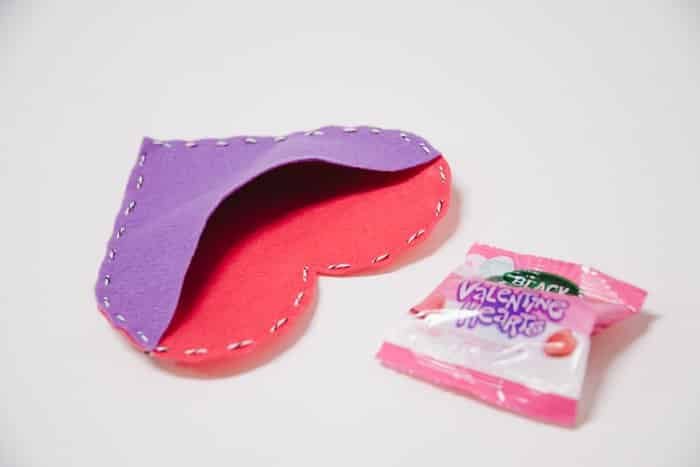
Step 6. Check to ensure there aren’t any stray threads and everything is secure.
You have now made a cute heart pouch where you can slide in a treat of your choice!
Common Questions
Felt is sold at craft stores and online retailers like Amazon. You can buy pre-cut felt rectangles or felt from the bolt in the fabric section. Felt varies in what it's made of, as well as how stiff or soft it is. Cheap felt is often stiff, rough, and rigid. Higher-end felt is usually softer and more pliable.
The most important factor is to pick colors you like!
Start with sharp scissors! When you are cutting felt, make sure you are using sharp scissors, and then cut slowly and steadily. This will help you cut smooth edges.
You can also use small snips to clean up any rough edges once you've cut out your shapes.
You can add a small piece of candy or something small like a pack of fruit snacks to the inside pocket of the treat pouch. You can also add stickers, small toys, or anything else that will fit.
You can make this treat pouch simple and sweet like we did in the photos above, or you can make it fancy by adding embellishments, stencils, or even rhinestones!
The choice is yours!
The felt heart pouch comes together easily, and could even be a great way for older kids to practice hand stitching if they want to help you make it.
It’s a fun Valentine’s Day craft idea, and will leave you wanting to make more than one!
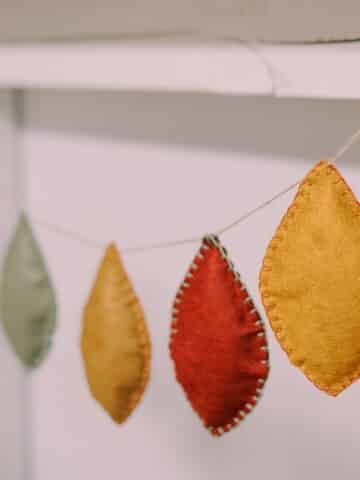
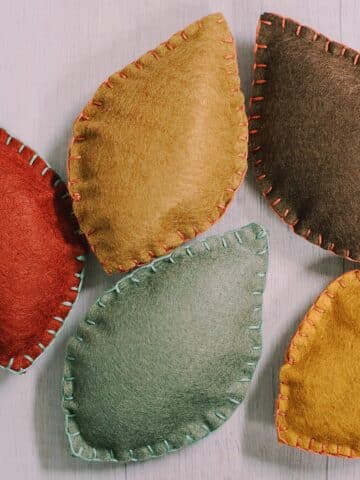
More Felt Crafts You'll Love
---
⭐️🧶 Did you enjoy this craft and want to see more like it? ✂️ Join our FREE email community and get inspiring craft ideas sent right to your inbox! 🧵 ⭐️
---

DIY Felt Heart Treat Pouch for Valentine's Day
Materials
- Felt
- Baker's Twine
- Embroidery Needle
- Scissors
- Heart Pouch Template From our Free Resource Library!
Instructions
- Print out the heart pouch templates from the Resource Library, and cut them out.
- Using the two template pieces, cut out two felt pieces in colors of your choice.
- Cut a long section of baker’s twine, and thread the embroidery needle.You’re ready to hand-stitch the two felt pieces together!
- Use a pin or two to hold the felt pieces together so they don’t slide around while hand-sewing them together.Using a simple running stitch, sew around the edge of the heart with the baker’s twine and needle.
- Continue around the whole perimeter of the heart.Knot and trim the excess twine when you're finished.
- Check to ensure there aren’t any stray threads and everything is secure.You have now made a cute heart pouch where you can slide in a treat of your choice!
Notes
- Find felt at any craft store or online retailer like Amazon. It comes in pre-cut rectangles or you can buy it off the bolt in the fabric section. Choose whichever colors you like best.
- Use sharp scissors to get smooth edges when you cut out the heart shapes.
- Add a small piece of candy or snack to the inside pouch of the heart for a Valentine's Day treat!


Leave a Reply