

Are you looking for an easy fall craft for kids? Look no further! Check out this easy leaf rubbing craft; it's the perfect fall kids' craft project for little hands.

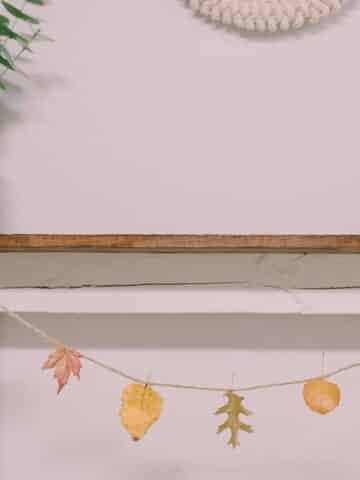
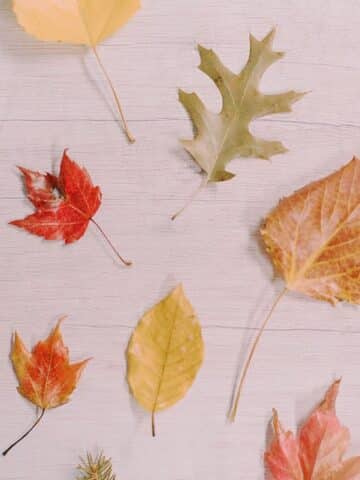
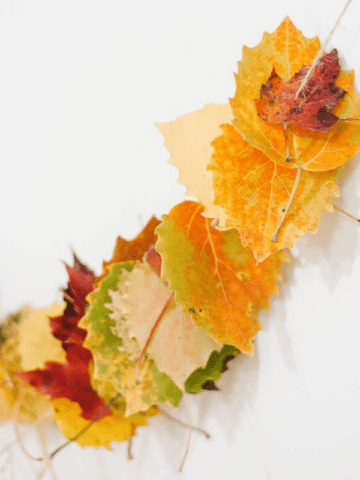
Fall leaves make me go a little wild with craft ideas. This season, we've made a leaf garland, a leaf wall hanging, leaf monsters for kids, and I preserved leaves with Mod Podge and dipped fall leaves in beeswax.
The last item on my "To Do With Fall Leaves" list was to try Leaf Rubbing with my son.
We gathered our supplies, attempted the leaf rub... and were kind of disappointed.
As it turns out, we learned what NOT to do when trying a leaf rub project, and then we were able to try again.
So we've got all the details for you on leaf-rubbing crafts for kids, as well as what NOT to do if you want a successful project.
Here's what we discovered!
Jump to:
Why You'll Love This Craft
- Fall leaves are so brilliant and beautiful, they are just pleading to be used for crafts. This gives you yet another project to do with them!
- This project is the perfect kids' craft because it uses kid-safe supplies, and is easy and fun for little hands to do.
- Leaf rubbing uses crayons which means this project is a way to use up the many crayons you have lying around your house! (You have a zillion crayons too, right??)
Craft Supplies Needed
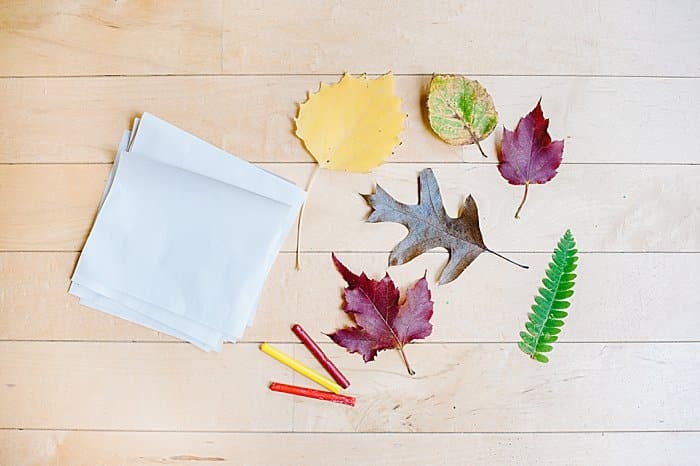
- Leaves - We are using colorful fall leaves, but this project can be made with ANY leaves, no matter the season!
- Paper - Use sturdy printer paper instead of flimsy paper like we tried here.
- Crayons - This is the perfect way to use all those random crayons every house seems to collect.
Easy Leaf Rubbing for Kids
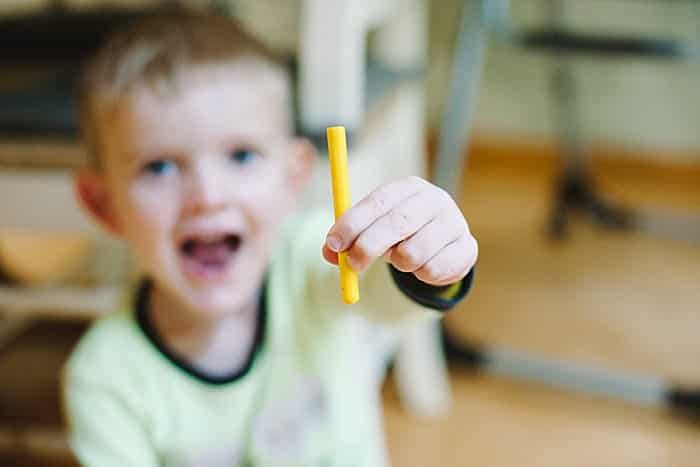
Step 1. Peel the paper wrapper off the crayons so the whole crayon is exposed.
IMPORTANT TIP: Light colors like the yellow crayon in the photo don't show up well. Dark colors work better, but we figured this out the hard way.
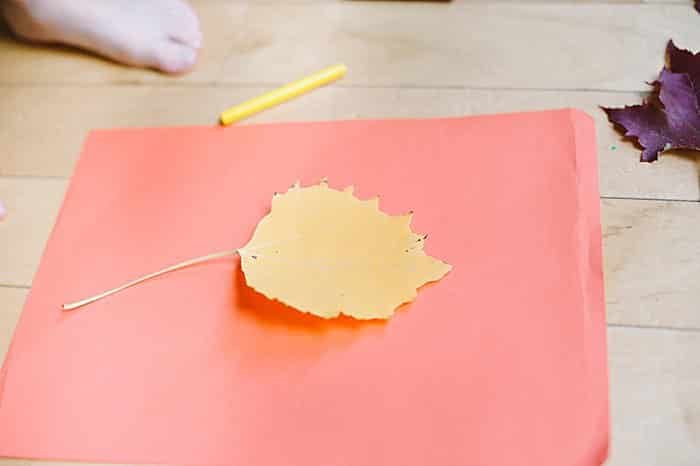
Step 2. Choose your leaf and lay it down on your work surface.
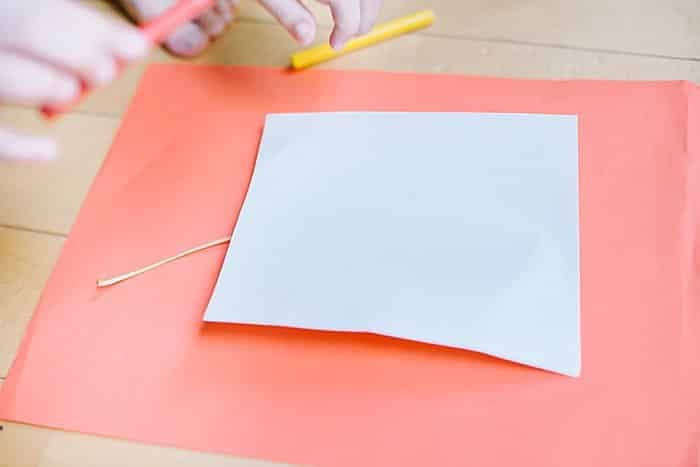
Step 3. Cover the leaf with a piece of paper.
IMPORTANT TIP: As my son and I discovered, small pieces of flimsy, lightweight paper like the ones shown in our photos don't work well.
Instead, choose thick, sturdy paper like an 8 ½" x 11" piece of printer paper. The larger size gives you more room to hold down the paper while you rub over the leaf with the crayon.
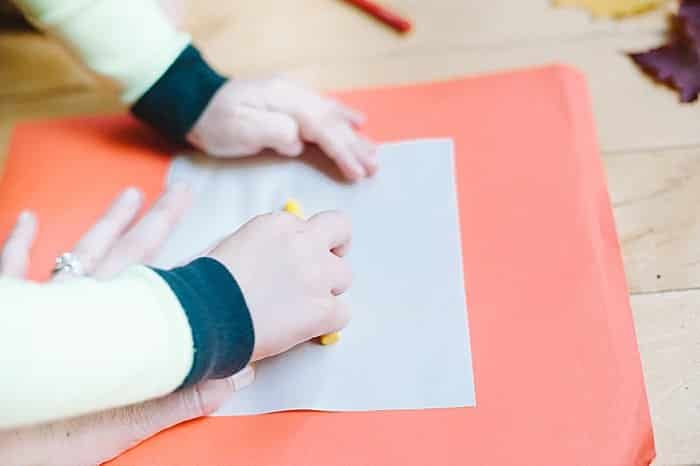
Step 4. While holding the paper in place, rub over the leaf with a crayon.
Watch the leaf shape beneath appear!
Continue to rub over all sections of the leaf as the shape appears.
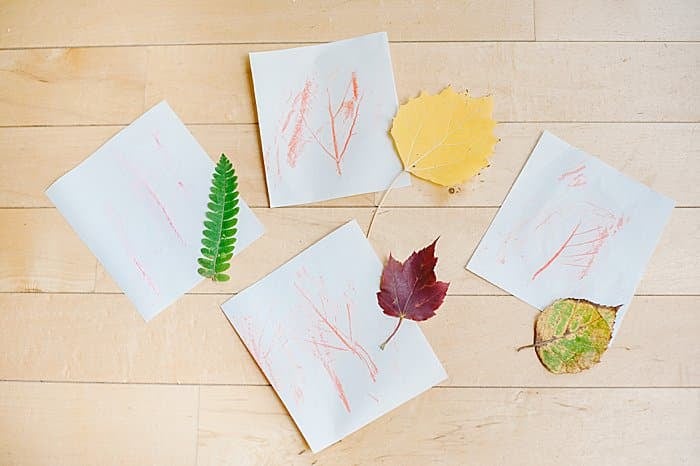
Step 5. Continue for all of your leaves.
Because of the flimsy paper and small paper size, my young son had a harder time doing these leaf rubs.
But even so, you can still see the general outlines and the veins in each of his leaves.
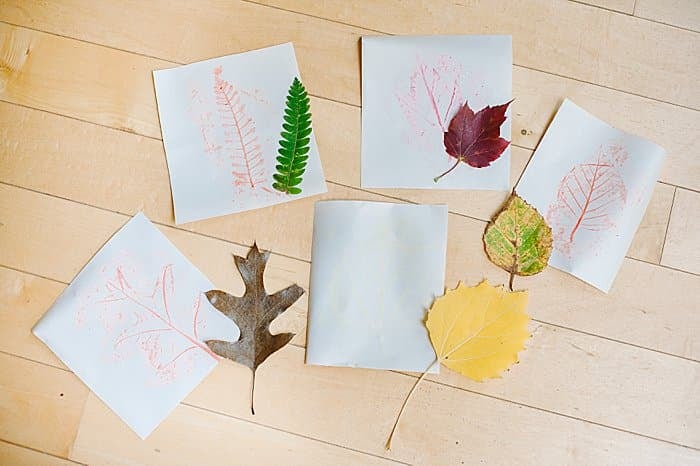
I tried it myself too!
Tips for a Successful Leaf Rubbing Project:
Through our trial and error using the wrong supplies, we discovered what a difference it makes when you do a leaf rub project using the right supplies!
- Big, Sturdy Paper - Use sturdy paper that is big enough to hold securely in place while rubbing. 8.5"x11" printer paper works well.
- Dark Crayons - Use dark-colored crayons so the leaf rubs are visible on white paper.
- No Paper Movement - Hold the paper securely in place (or tape it down!) while your kiddo rubs over the leaf with the crayon. You don't want the paper to move.
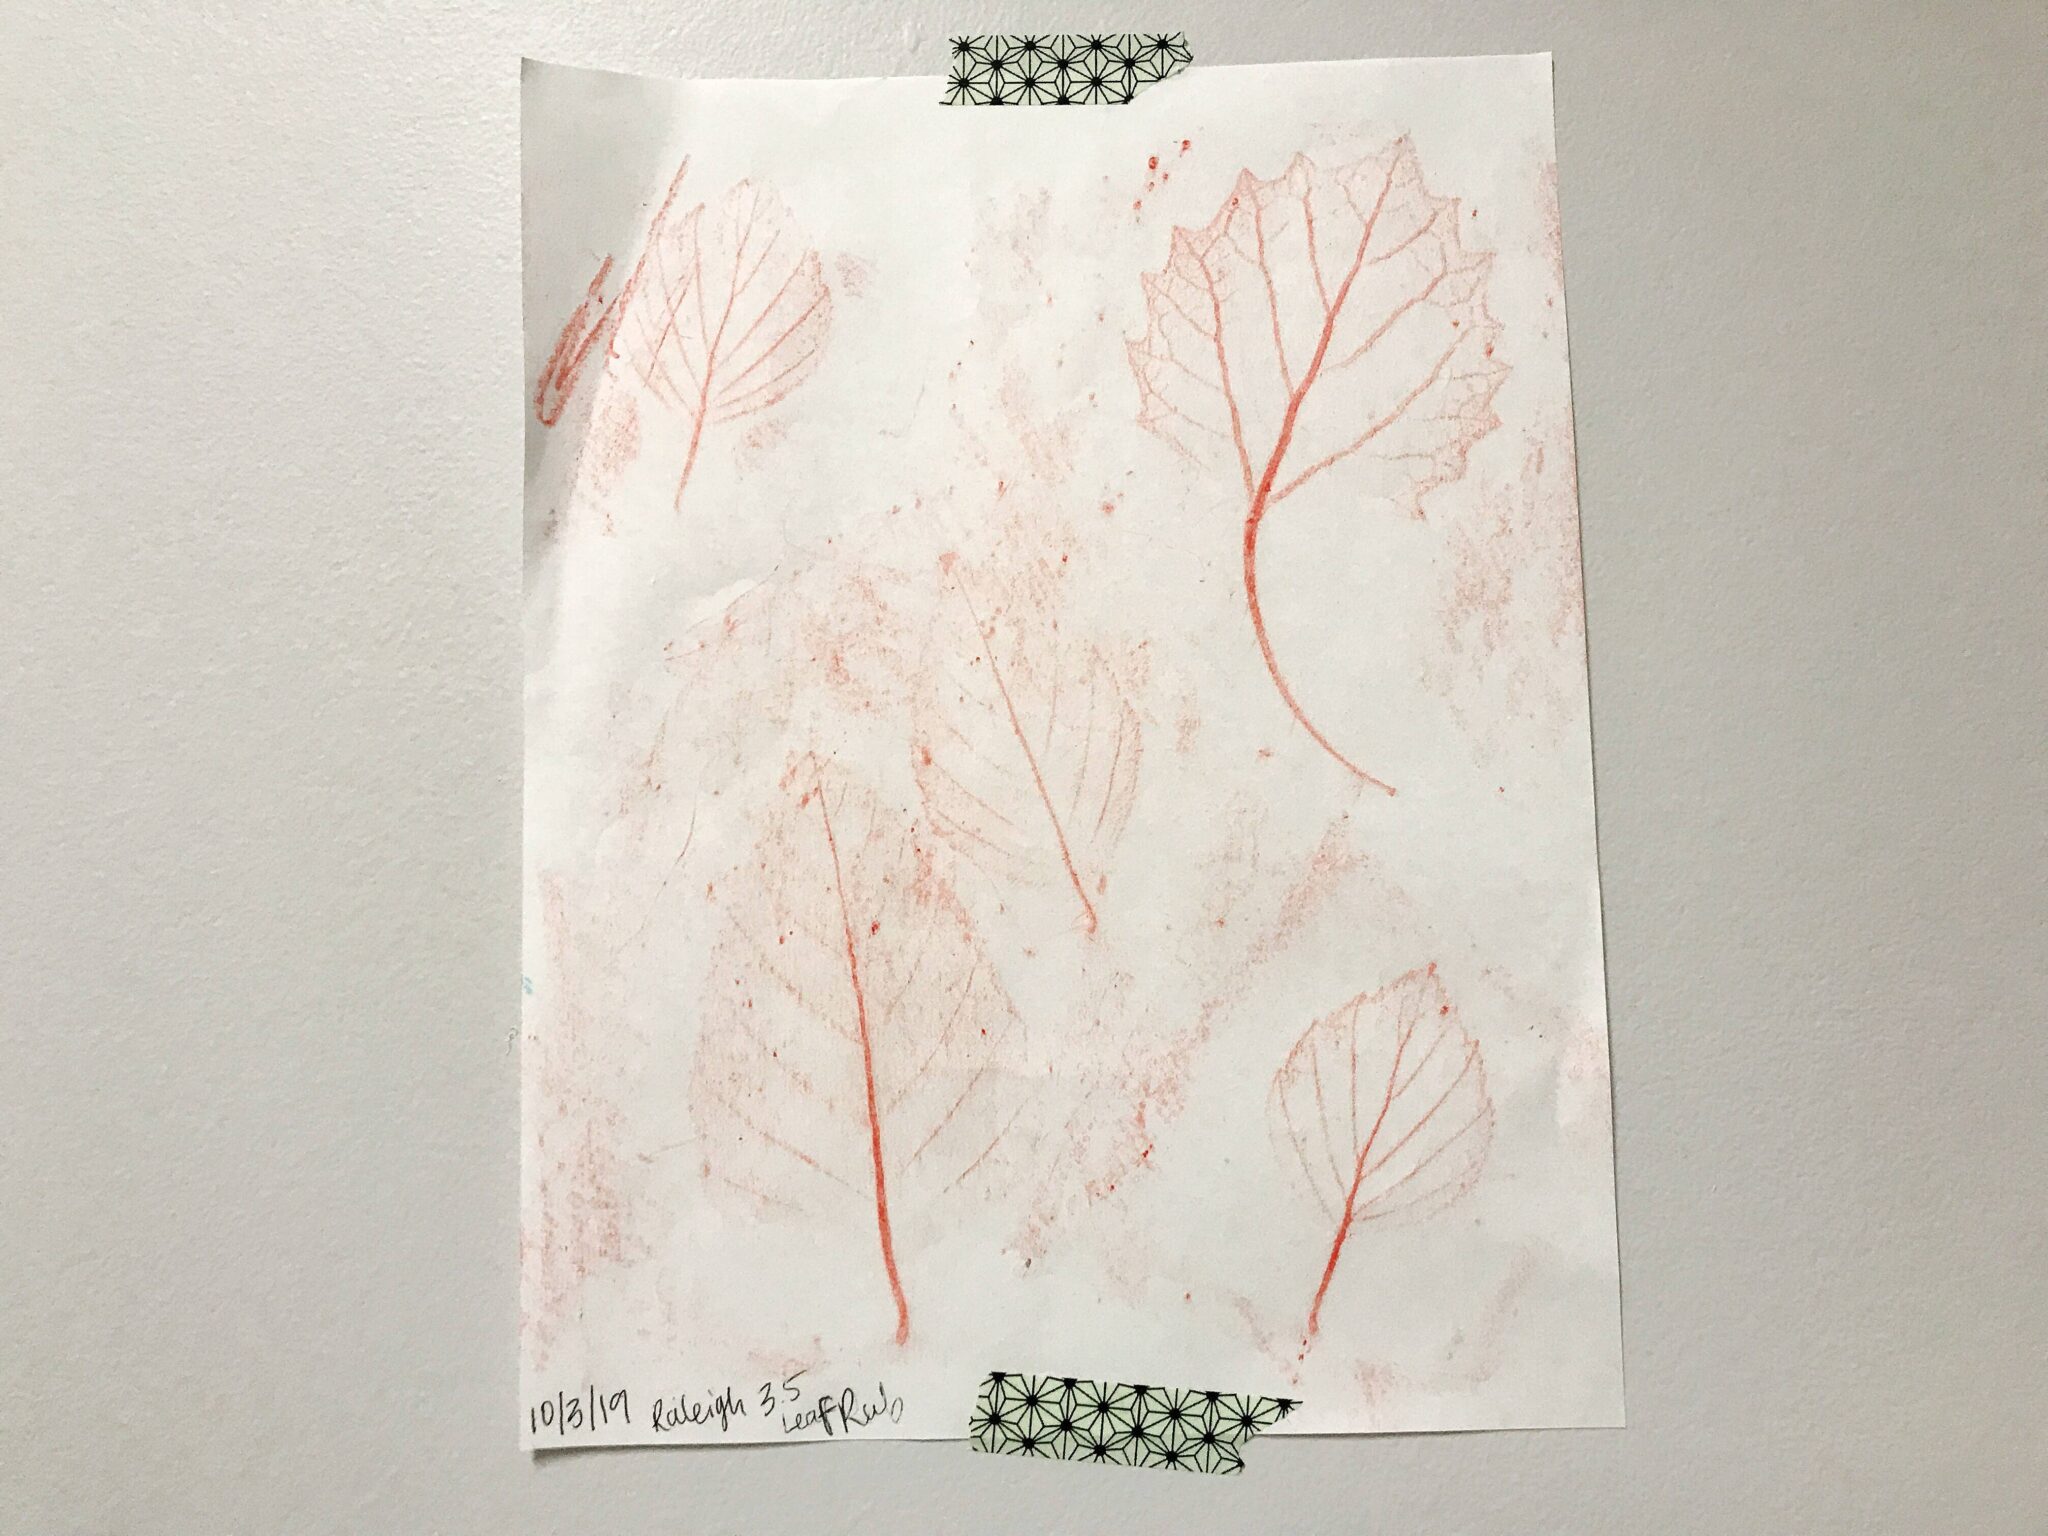
Following these three important leaf-rubbing tips, we tried again and the results were much better!
Common Questions
Leaf rubbing is a name for the type of craft project where you rub a crayon over a leaf and transfer the shape, texture, and veins of the leaf onto the paper. It's an ideal craft for children because it uses safe, readily-available supplies, kids love picking up leaves off the ground, and they love working with their hands! It's a favorite craft in preschools and daycares.
Medium weight white paper is the best paper to use for a leaf rubbing craft. Printer paper is our favorite, but you could use construction paper as well.
You can use any type of crayon from the free ones at restaurants to fancy beeswax crayons - they will all work for your kids leaf rub projects. The key is to remove the wrapper so you can hold it flat to the paper and rub it over the paper to transfer the shapes beneath.
You can do leaf rubbing with any type of leaf; we have used everything from oak and maple to birch and even ferns! Try to use freshly picked leaves or press the leaves flat between the pages of a book so they will be flat when you're ready to use them. It's hard to do a leaf rub when the leaves won't lay flat so you don't want them to dry out and curl up.
Leaf rubbing is kind of like magic! The first time we did it, as the leaf shape appeared I exclaimed, "It really works!"
However, as our first attempt at the project for this tutorial showed, the right supplies make all the difference.
Use big, sturdy pieces of paper and dark crayons, and you'll be on your way to leaf rub magic!
More Fall Crafts You'll Love
---
⭐️🧶 Did you enjoy this craft and want to see more like it? ✂️ Join our FREE email community and get inspiring craft ideas sent right to your inbox! 🧵 ⭐️
---

Easy Leaf Rubbing for Kids
Materials
- Leaves
- Paper
- Crayons
Instructions
- Peel the paper wrapper off the crayons so the whole crayon is exposed.IMPORTANT TIP: Light colors like the yellow crayon in the photo don't show up well. Dark colors work better, but we figured this out the hard way.
- Choose your leaf and lay it down on your work surface.
- Cover the leaf with a piece of paper.IMPORTANT TIP: As my son and I discovered, small pieces of flimsy, lightweight paper like the ones shown in our photos don't work well.Instead, choose thick, sturdy paper like an 8 ½" x 11" piece of printer paper. The larger size gives you more room to hold down the paper while you rub over the leaf with the crayon.
- While holding the paper in place, rub over the leaf with a crayon.Watch the leaf shape beneath appear!Continue to rub over all sections of the leaf as the shape appears.
- Continue for all of your leaves.Because of the flimsy paper and small paper size, my young son had a harder time doing these leaf rubs.But even so, you can still see the general outlines and the veins in each of his leaves.
Notes
- Use sturdy, big pieces of paper like white, medium-weight paper (printer paper or construction paper work well!)
- Use dark-colored crayons so the leaf rubbing will show up well on the white paper.
- Hold the paper still when rubbing the crayon over the leaf. It can help to tape the paper down so it won't move during the leaf rubbing.

Leave a Reply