• Skip to main content
  • Skip to primary sidebar
Laura Radniecki
menu icon
go to homepage
  • Fall
  • Craft Index
  • Library
  • Shop
  • Writing
    • Facebook
    • Instagram
    • Pinterest
    • YouTube
  • subscribe
    search icon
    Homepage link
    • Fall
    • Craft Index
    • Library
    • Shop
    • Writing
    • Facebook
    • Instagram
    • Pinterest
    • YouTube
  • ×
    Home » Stencils

    How to Stencil on a Canvas

    Mar 10, 2020 | Updated Sep 10, 2022 | By Laura | This post may contain affiliate links | 5 Comments

    • Facebook
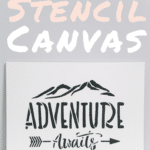
    How to Stencil on a Canvas_ Easy DIY Home Decor Ideas and Tutorial

    Stenciling is a great way to easily customize nearly anything.

    You can use alphabet stencils to make a Valentine's Day banner (or a banner for any holiday or occasion, really!)

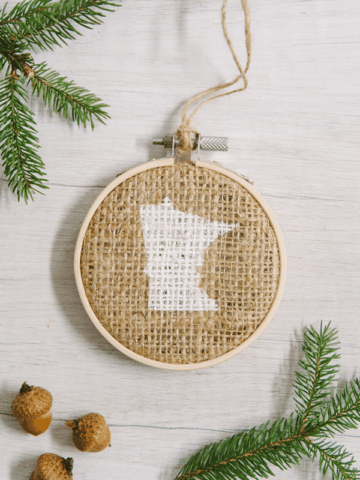
    Stencils can also be used to make personalized Christmas ornaments too, like this MN stencil ornament I'm obsessed with.

    And stencils can be used to make custom wall art as well, by stenciling onto a canvas. 

    Whether you use a brand new blank canvas, or repurpose an old one by first painting over it, all you need is a canvas, a stencil, some paint, and a brush and you're on your way to making your own statement piece of stenciled wall art!

    NOTE: This tutorial follows the steps that are carefully outlined in detail in my How to Stencil the Right Way blog post. Click over to see more specifics on the best way to stencil if you want more details than I include in this tutorial here.

    Let's get to it!

    How to Stencil on a Canvas

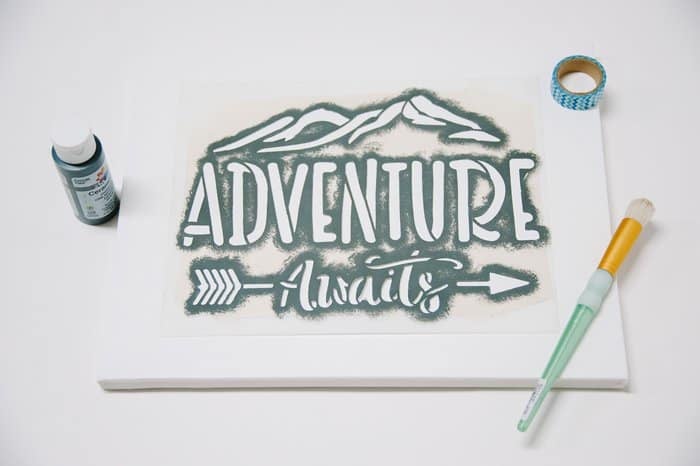
    Step 1. Gather your supplies.

    Supplies needed:

    • Canvas - A blank canvas or an old one that you paint over first
    • A Stencil - Stencil Revolution has hundreds to choose from and is where the one I used came from.
    • Tape - washi, masking tape, or painters tape
    • Stencil brush
    • Acrylic paint
    • Paper plate to dab off excess paint

    Step 2. Anchor your stencil to the canvas

    Decide where you want your stencil to be on the canvas. Then secure it, using the tape.

    You can also use repositionable adhesive spray to ensure it won’t move, but that’s optional.

    Step 3. Stencil carefully with paint.

    First, add a small amount of paint to your paintbrush.

    Then dab off any excess.
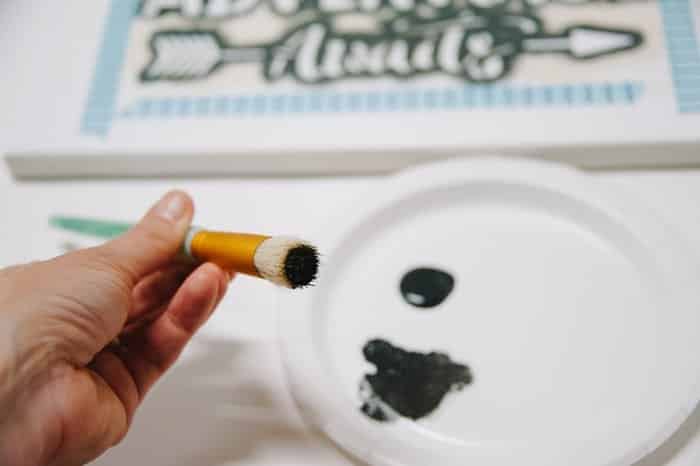
    Finally, dab on a LIGHT coat of paint, in an up and down motion, onto the stencil.
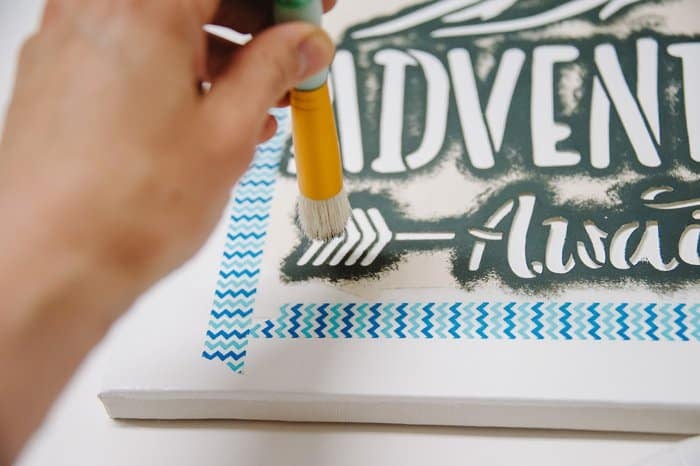
    PRO TIP: With your finger, push down on the edges of the stencil as you go to help make a good seal. This will decrease paint bleed underneath the stencil.
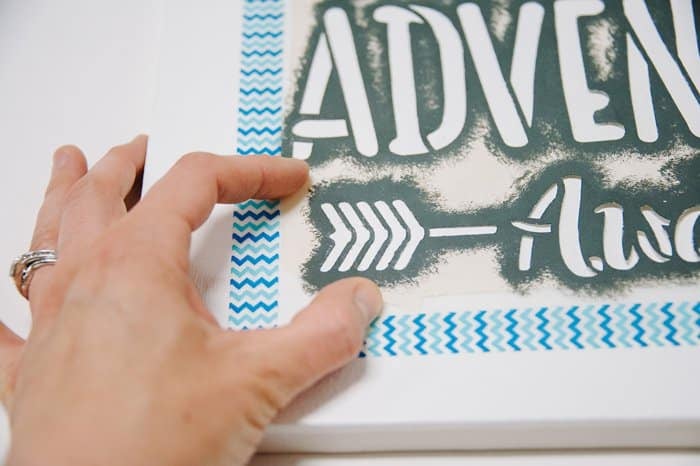
    If you are using an adhesive spray, you won’t need to do this. But if you skip the spray, this step is very helpful in getting a crisp outline to your stencil.
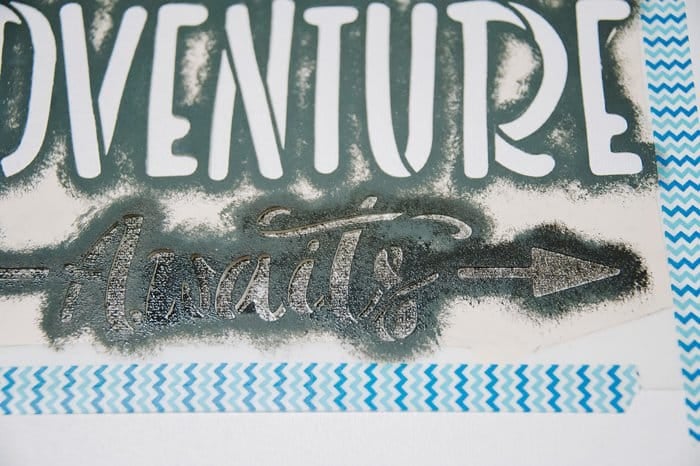
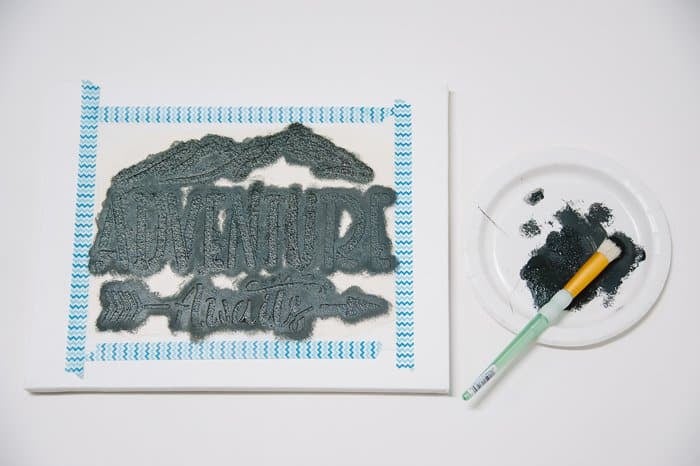
    Step 4. Repeat with additional coats of paint.

    You will be stenciling with light coats, so you will need to do multiple layers to achieve your desired color.
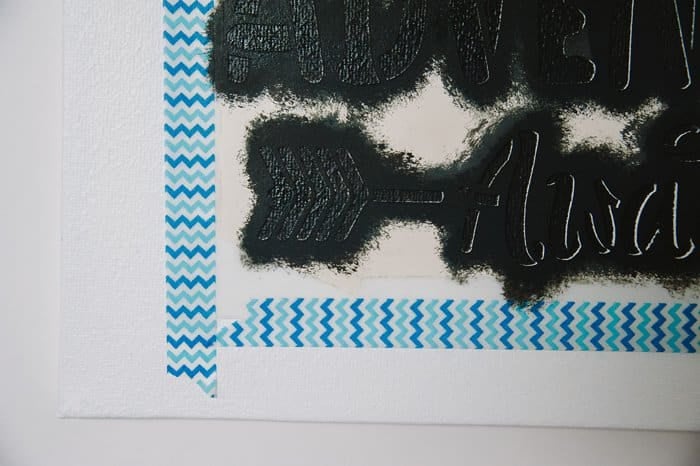
    It’s MUCH better to do several light coats than to do one heavy coat.

    Heavy, thick paint is how you get bleeding under the stencil.
    Step 5. Let dry and remove stencil.

    Once it’s all completely dry, carefully remove your stencil.
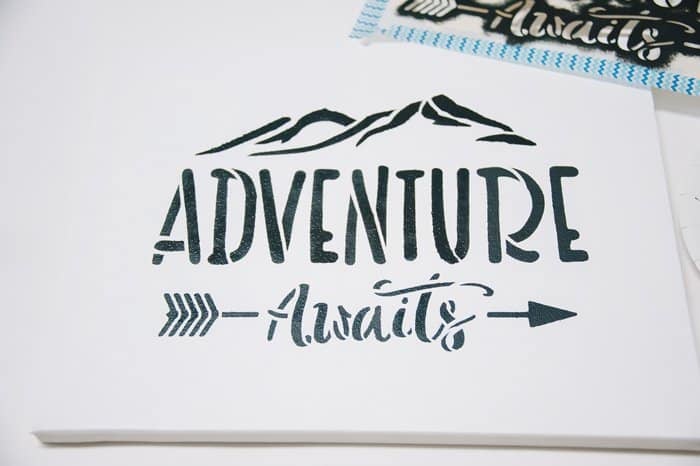
    If you used adhesive spray, you might have some adhesive left over on the surface of your canvas. You can use your finger to rub it off, or you can use a piece of tape to try to get the adhesive off.

    Step 6. Hang up your new stenciled canvas print!
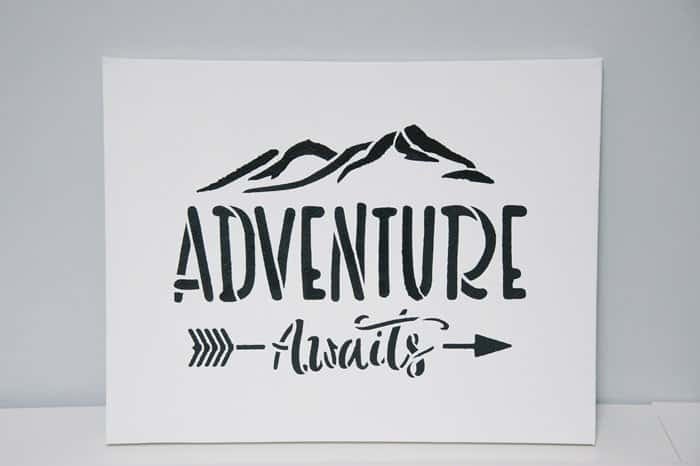
    Stenciling is one of those craft projects that seems way harder than it actually is.

    Using the tips in my post on How to Stencil the Right Way, it's simple and fast to stencil beautiful works of art.

    It won't be long, and I guarantee you'll be looking around, wondering what else you can stencil on!

    - - - - -

    Save this idea for later by pinning the photo below to Pinterest!
    How to Stencil on a Canvas_ Easy DIY Home Decor Ideas and Tutorial

    More Easy Stencil Craft Ideas

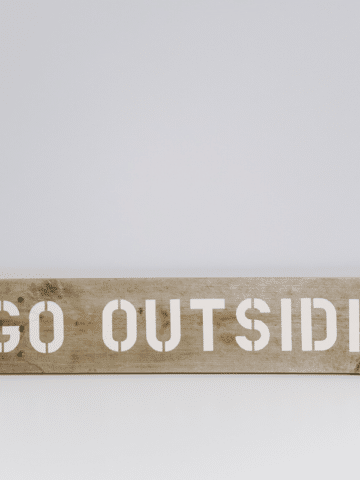
    • How to Stencil Letters on Wood to Make a DIY Wood Sign
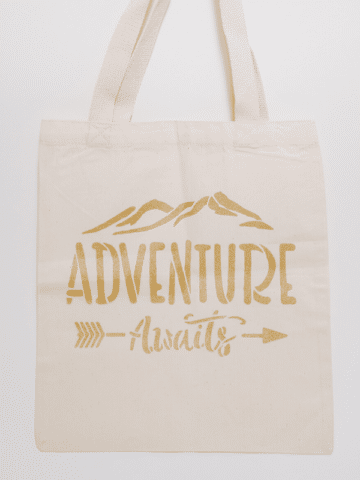
    • How to Stencil on a Canvas Tote Bag _ A DIY Personalized Tote Tutorial
      How to Stencil on a Canvas Tote Bag
    • How to make a Valentine's Day banner.
      How to Make a DIY Book Page Valentine Banner
    • Day 26_ How to Make a MN Stencil Embroidery Hoop Ornament _ The 30 Days of Ornaments Project
      Day 26: How to Make a MN Stencil Embroidery Hoop Ornament | The 30 Days of Ornaments Project

    About Laura

    Laura Radniecki is a crafter, writer, and photographer from small-town Minnesota. A lifelong maker, she shares easy step-by-step craft tutorials. She's a wife to her high school sweetheart, mama to their son and daughter, dog mama to their 2 brother + sister toy poodles, and a part-time RV snowbird in Florida.

    Reader Interactions

    Comments

      Leave a Reply Cancel reply

      Your email address will not be published. Required fields are marked *

      Recipe Rating


    1. Andrea Gengler

      March 25, 2020 at 6:35 pm

      Great ideas for my grandkids when they come to visit!

      Reply
      • Laura

        March 27, 2020 at 8:26 pm

        Yes, they would sure have fun!!

        Reply
        • Kathy

          April 03, 2020 at 10:46 pm

          Yes, adventure awaits! Such a fun stencil to use on a number of items.

          Reply
          • Laura

            April 11, 2020 at 9:04 am

            It is one of my all time favorites!

            Reply

    Primary Sidebar

    Hi, I'm Laura Radniecki!

    I’m here to help you make easy crafts! Around here, you’ll find step-by-step craft tutorials that remove the guesswork, and are easy, fast, and fun. If you are a busy crafter, you are in the right place!

    (I also write when I'm inspired, and share my thoughts on my life + our world here too.)

    .

    More about me →

    Fall Crafts

    • How to make a beeswax dipped leaf garland.
      How to Make a Beeswax Leaf Garland
    • A Halloween wreath made with burlap ribbon with black and orange polka dots on it.
      How to Make a Burlap Halloween Wreath
    • How to Preserve Fall Leaves with Beeswax.
      How to Preserve Fall Leaves with Beeswax
    • Fall earrings made with felt ball pumpkins.
      How to Make Felt Ball Pumpkin Earrings
    • A look at using Matte vs Gloss Mod Podge to preserve fall leaves.
      A Look at Matte vs Gloss Mod Podge Fall Leaves
    • A wooden bowl with plaster easter eggs in it. The plastic eggs are wrapped in yarn and twine to look like DIY acorns.
      DIY Fall Acorns using Yarn-Wrapped Plastic Easter Eggs

    Popular Crafts

    • Purple and red paper cones made with construction paper, laying with a scissors on a table top.
      How to Make a Cone Out of Paper
    • Yellow DIY cornhole bag and scrabble tiles that say "game on".
      How to Make Cornhole Bags
    • Photo showing a wreath made out of jute rope hanging on a wall above a shelf with a plant on it.
      How to Make a Jute Wreath
    • How to Make a Pacifier Clip
      How to Make a Pacifier Clip
    • Learn how to make yarn tassels in this DIY tassel tutorial, showing two methods - one by hand and one using cardboard for making tassels.
      How to Make Yarn Tassels
    • Pinecones laying on a whitewashed wooden surface.
      How to Prepare Pine Cones for Crafts

    Footer

    ↑ back to top

    About

    • About Me
    • Shop
    • Privacy Policy
    • Accessibility

    Newsletter

    • Get craft tutorials, DIY project inspiration, and a first look at anything new by joining our email list. - Sign Up!

    Contact

    • Contact

    As an Amazon Associate, I earn from qualifying purchases.

    Copyright © 2026 Laura Radniecki