• Skip to main content
  • Skip to primary sidebar
Laura Radniecki
menu icon
go to homepage
  • Fall
  • Craft Index
  • Library
  • Shop
  • Writing
    • Facebook
    • Instagram
    • Pinterest
    • YouTube
  • subscribe
    search icon
    Homepage link
    • Fall
    • Craft Index
    • Library
    • Shop
    • Writing
    • Facebook
    • Instagram
    • Pinterest
    • YouTube
  • ×
    Home » Embroidery Floss

    How to Make a Mini Tassel with Embroidery Floss

    Jul 30, 2019 | Updated Oct 20, 2023 | By Laura | This post may contain affiliate links | 3 Comments

    • Facebook
    How to Make a Mini Tassel with Embroidery Floss

    Tassels have become a staple in everything from jewelry and fashion to home and party decor, and these mini tassels with embroidery floss fit right in!

    They are super fast to make, literally taking mere minutes. (Perfect for a nap time craft for us mama makers!) 

    And they can be used to dress up a backpack, turned into statement earrings, or my personal favorite - made into the cutest garlands you've ever seen.

    If you're like me, you'll be hooked once you've made one, so get ready.

    Here's how to make them.

    How to Make a Mini Tassel with Embroidery Floss

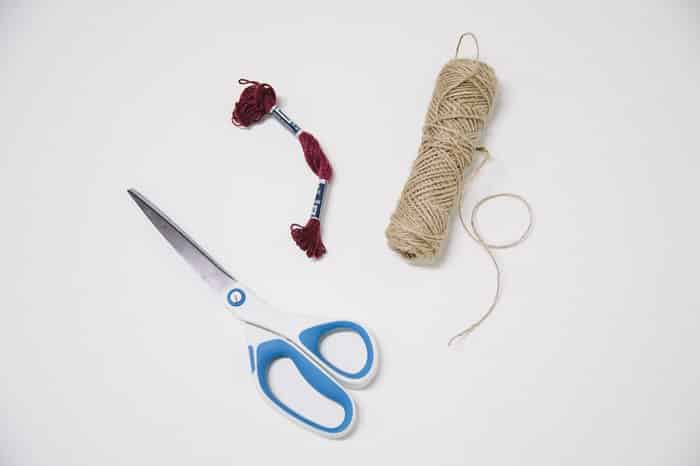
    Step 1. Gather supplies.

    • Embroidery floss
    • Scissors
    • Twine

    Make a tassel with embroidery thread

    Step 2: Cut a piece of twine.

    Cut a piece of twine about 8" long. Set it aside.
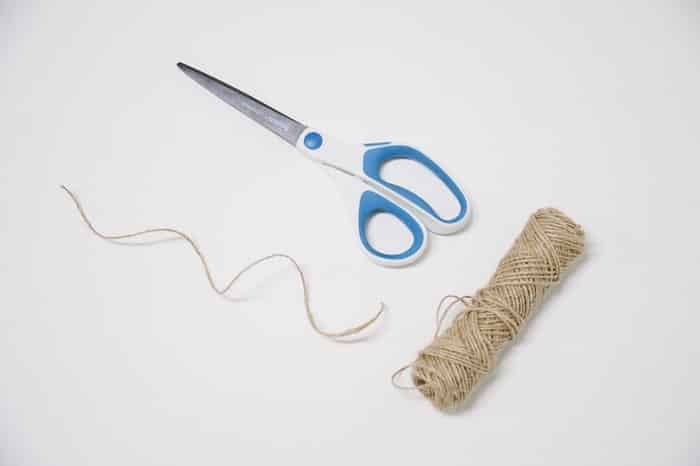
    Cut twine with a scissors

    Step 3. Cut a piece of embroidery floss.

    Take the wrappers off of the embroidery thread bundle.

    Unravel a section of embroidery floss about 12", and cut.
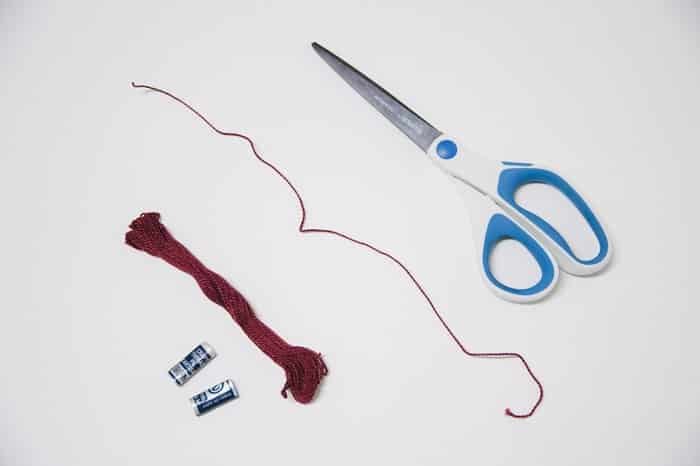
    Cut embroidery floss with a scissors

    Step 4. Fold embroidery floss over twine.

    Lay the piece of twine down. Fold the embroidery floss bundle in half over the piece of twine.
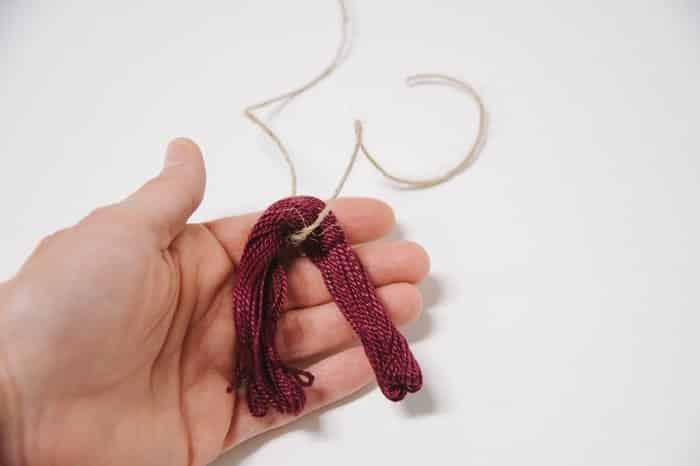
    simple way to make an embroidery floss tassel

    Step 5. Tie embroidery floss section around top of bundle.

    Lay the 12" section of embroidery floss down.

    Lay the bundle of folded embroidery thread with the twine on top of the 12" section, as shown in the photo below.
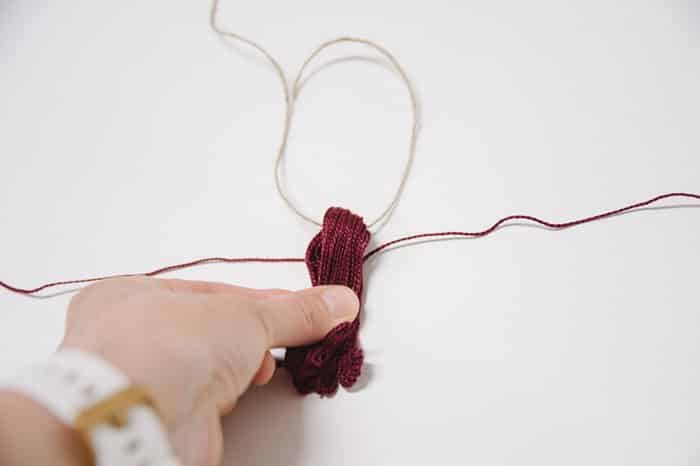
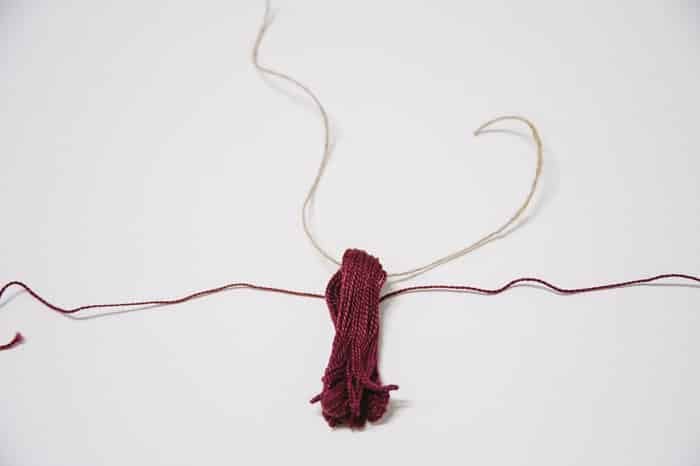
    tie embroidery floss

    tie embroidery thread

    Tie the 12" section of embroidery floss into a half-knot - like the first part of tying your shoes.
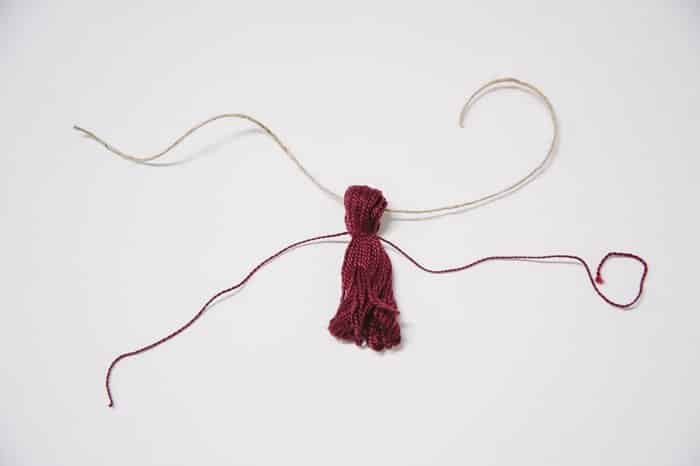
    cute mini tassel

    You don't want an actual knot here. You just want the first part of tying a knot where you put one end over and under the other and pull them tight.

    (See the zoomed up photo below.)
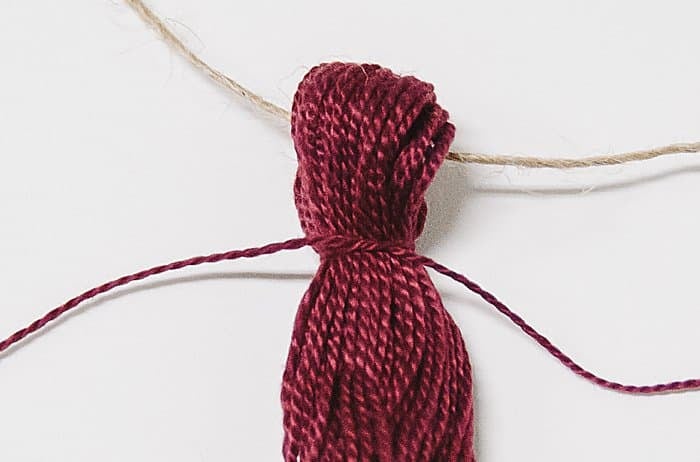
    close up of mini tassel

    Step 6. Wrap ends of the 12" piece around neck of the tassel.

    Take one side of the embroidery floss section and wrap it around the neck of your tassel. Leave about 1-2" unwrapped.

    Take the other end of the section and wrap it around the neck of the tassel. Leave 1-2".

    Knot the two free ends together to secure.
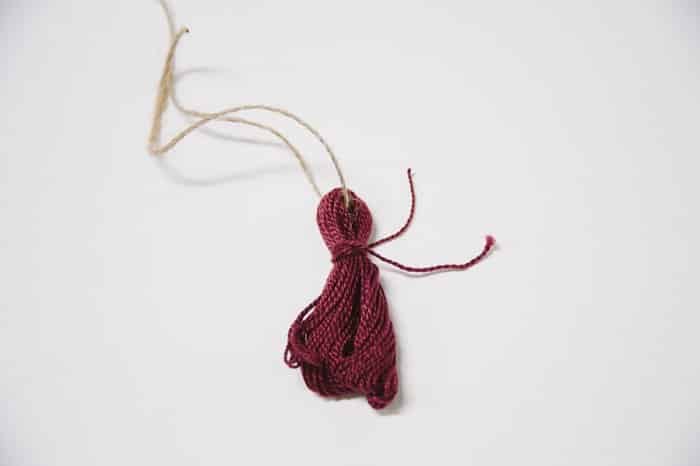
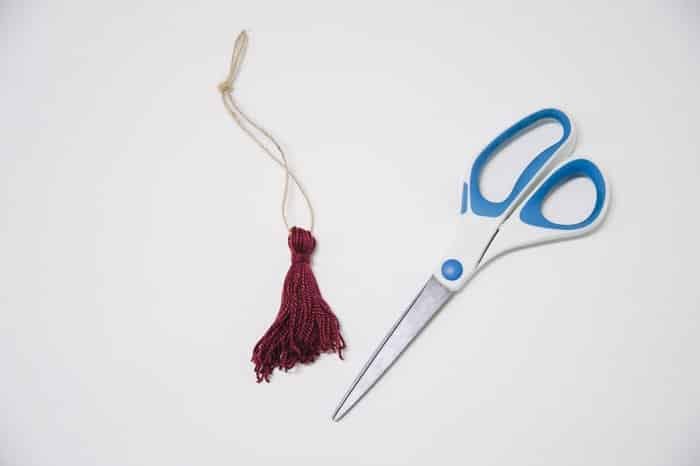
    what does a mini tassel look like?

    Trim the remaining two ends close to the knot.
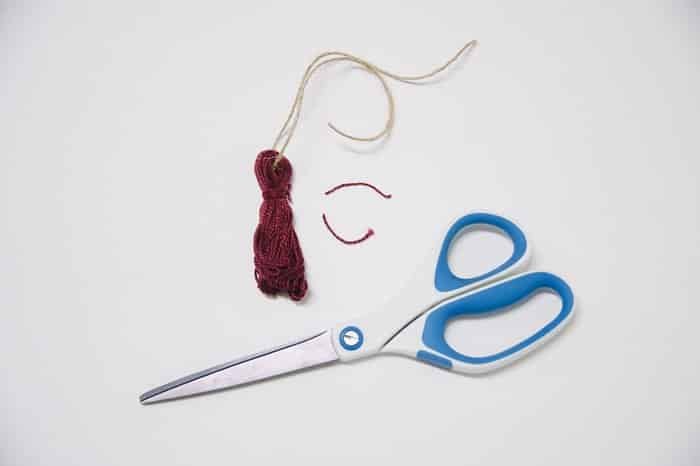
    use scissors to trim tassel

    Step 7. Cut the bottom of the tassel free.

    Using a scissors, cut all of the loops at the bottom of the tassel.
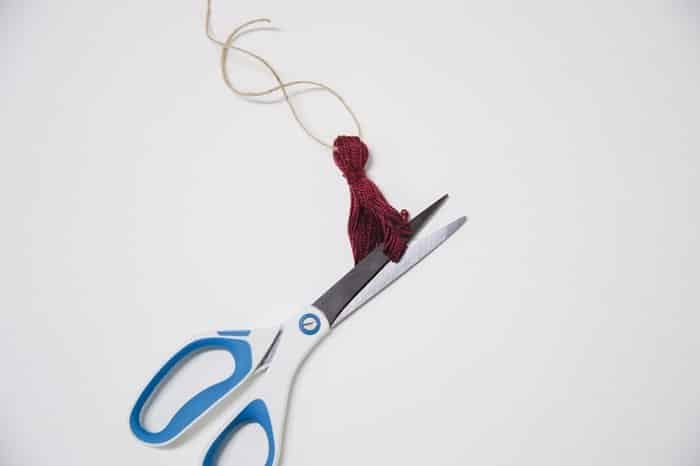
    cut bottom of the tassel free

    almost done with the mini tassel

    Step 8. Trim your tassel.

    Your tassel might be uneven, so use the scissors to even up the bottom of the tassel.

    Shake it and make sure all the loops are cut free and any long pieces are trimmed up.
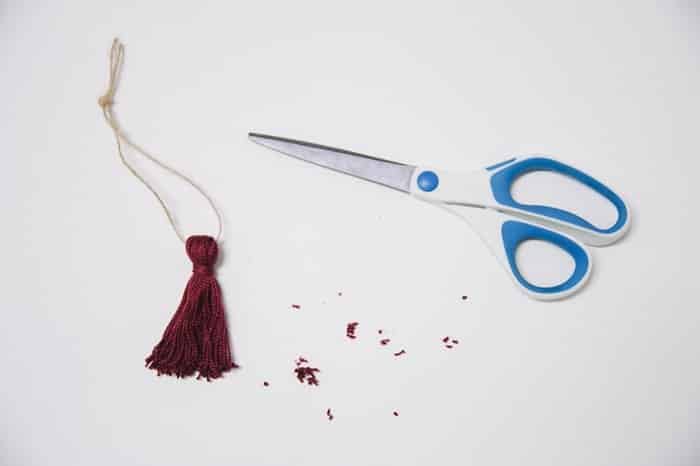
    trim up the bottom of the tassel

    Step 9. Tie the twine, and hang!

    You're done! Tie the twine and your mini embroidery floss tassel is ready to hang!

    If you want to make a garland with them, you would replace the small section of twine with a long piece, or follow the embroidery floss tassel garland tutorial I wrote.
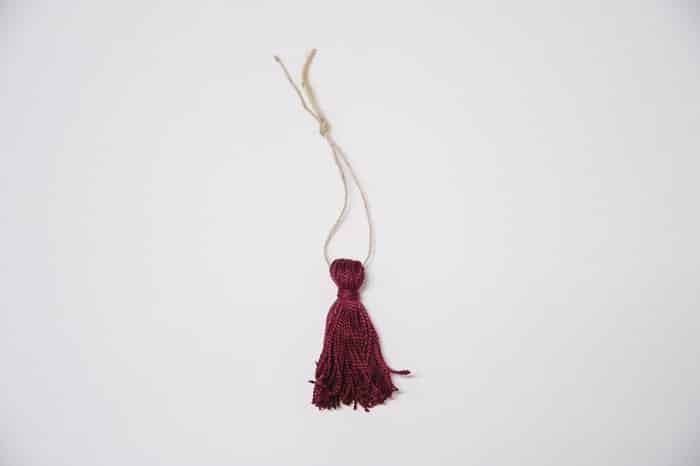
    how to make a mini embroidery thread tassel

    You can also make them into earrings by adding earring hardware, or make them into keychains by adding keychain hardware.

    With bundles of embroidery thread (which are so cheap and available in almost every color imaginable!) and a minute or two, you can easily make mini tassels that can be used in dozens of different ways.

    Be careful though... they really are addicting and pretty soon you'll have a tassel overload on your hands!
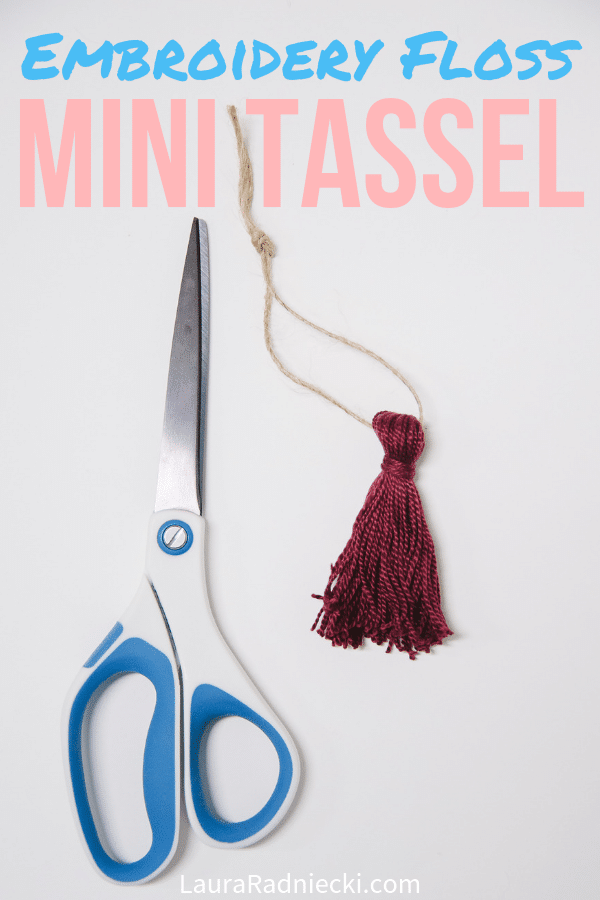
    How to Make a Mini Tassel with Embroidery Floss

    P.S. You can also make full length tassels too!
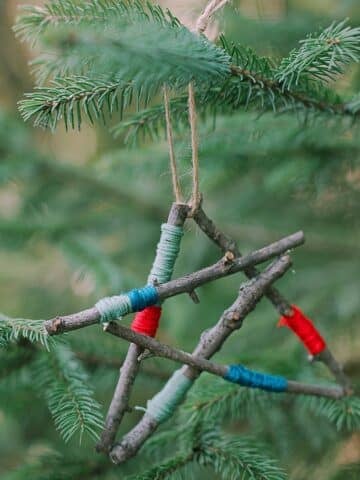
    More Easy Embroidery Floss Craft Ideas

    • Create a dazzling Star Ornament with embroidery floss-wrapped sticks using our simple guide. Elevate your holiday decor this season!
      How to Make a Star Ornament out of Embroidery Floss Wrapped Sticks
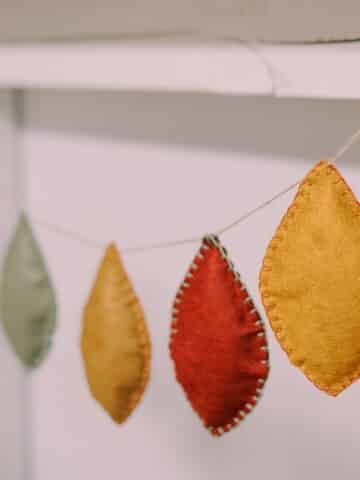
    • how to make a felt leaf garland
      How to Make a Felt Leaf Garland
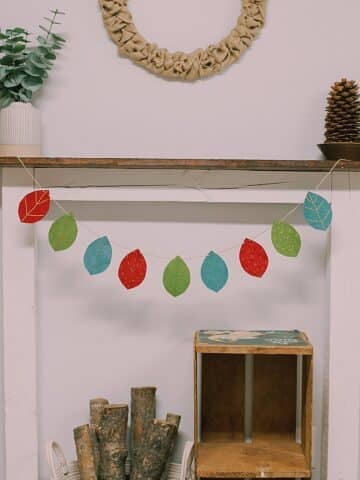
    • how to make an embroidered felt leaf garland
      How to Make an Embroidered Felt Leaf Garland
    • How to make embroidered felt leaves
      How to Make Embroidered Felt Leaves

    About Laura

    Laura Radniecki is a crafter, writer, and photographer from small-town Minnesota. A lifelong maker, she shares easy step-by-step craft tutorials. She's a wife to her high school sweetheart, mama to their son and daughter, dog mama to their 2 brother + sister toy poodles, and a part-time RV snowbird in Florida.

    Reader Interactions

    Leave a Reply Cancel reply

    Your email address will not be published. Required fields are marked *

    Recipe Rating


    Primary Sidebar

    Hi, I'm Laura Radniecki!

    I’m here to help you make easy crafts! Around here, you’ll find step-by-step craft tutorials that remove the guesswork, and are easy, fast, and fun. If you are a busy crafter, you are in the right place!

    (I also write when I'm inspired, and share my thoughts on my life + our world here too.)

    .

    More about me →

    Fall Crafts

    • How to make a beeswax dipped leaf garland.
      How to Make a Beeswax Leaf Garland
    • A Halloween wreath made with burlap ribbon with black and orange polka dots on it.
      How to Make a Burlap Halloween Wreath
    • How to Preserve Fall Leaves with Beeswax.
      How to Preserve Fall Leaves with Beeswax
    • Fall earrings made with felt ball pumpkins.
      How to Make Felt Ball Pumpkin Earrings
    • A look at using Matte vs Gloss Mod Podge to preserve fall leaves.
      A Look at Matte vs Gloss Mod Podge Fall Leaves
    • A wooden bowl with plaster easter eggs in it. The plastic eggs are wrapped in yarn and twine to look like DIY acorns.
      DIY Fall Acorns using Yarn-Wrapped Plastic Easter Eggs

    Popular Crafts

    • Purple and red paper cones made with construction paper, laying with a scissors on a table top.
      How to Make a Cone Out of Paper
    • Yellow DIY cornhole bag and scrabble tiles that say "game on".
      How to Make Cornhole Bags
    • Photo showing a wreath made out of jute rope hanging on a wall above a shelf with a plant on it.
      How to Make a Jute Wreath
    • How to Make a Pacifier Clip
      How to Make a Pacifier Clip
    • Learn how to make yarn tassels in this DIY tassel tutorial, showing two methods - one by hand and one using cardboard for making tassels.
      How to Make Yarn Tassels
    • Pinecones laying on a whitewashed wooden surface.
      How to Prepare Pine Cones for Crafts

    Footer

    ↑ back to top

    About

    • About Me
    • Shop
    • Privacy Policy
    • Accessibility

    Newsletter

    • Get craft tutorials, DIY project inspiration, and a first look at anything new by joining our email list. - Sign Up!

    Contact

    • Contact

    As an Amazon Associate, I earn from qualifying purchases.

    Copyright © 2026 Laura Radniecki