Fall leaves make me go a little wild with craft ideas. This season, we've made a leaf garland, a leaf wall hanging, leaf monsters for kids, and I preserved leaves with Mod Podge.
The last item on my "To Do With Fall Leaves" list was to try Leaf Rubbing with my son.
We gathered our supplies, attempted the leaf rub... and were kind of disappointed.
As it turns out, we learned what NOT to do when trying a leaf rub project, and then we were able to correct course and try again.
So we've got the details for you on leaf rubbing crafts for kids, as well as what NOT to do if you want a successful project.
Here's what we discovered!
Easy Leaf Rubbing for Kids | DIY Leaf Rubbing Craft
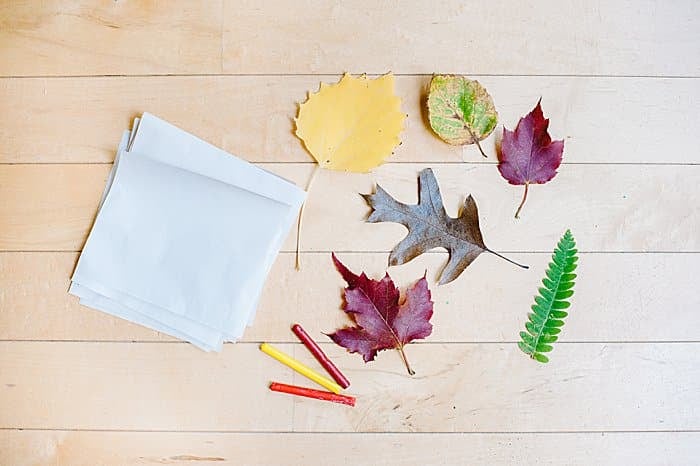
Step 1. Gather Supplies
Supplies Needed:
- Leaves
- Paper (As I'll explain below, use sturdy printer paper. NOT small, flimsy paper like we tried here.)
- Crayons
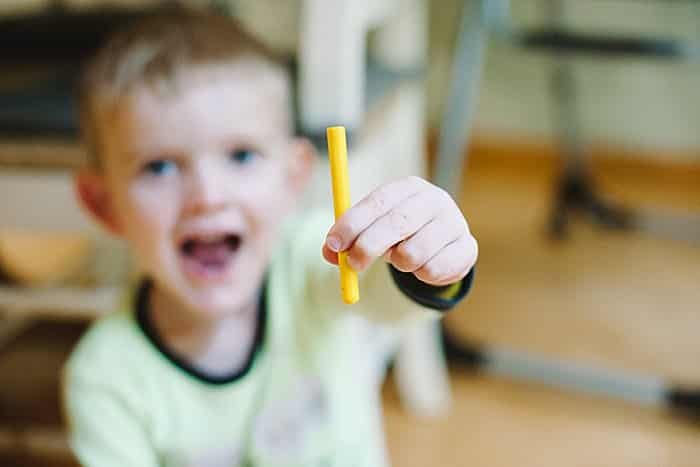
Step 2. Remove paper wrapping from crayons.
Peel off the paper from the crayons so the whole crayon is exposed.
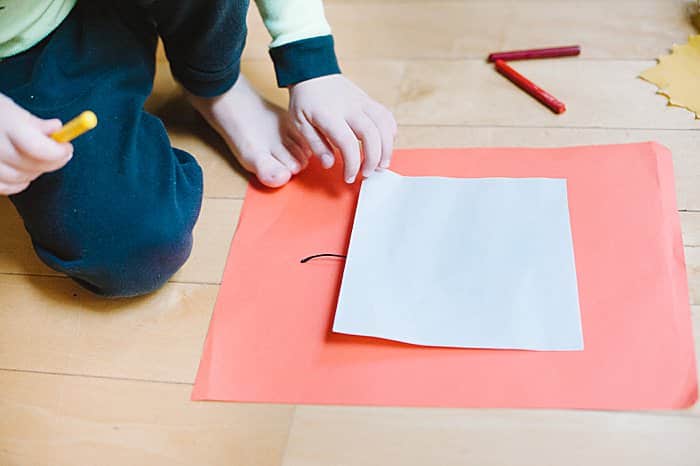
PRO TIP: Light colors like the yellow shown in the photo DO NOT work well. Dark colored crayons show up better.
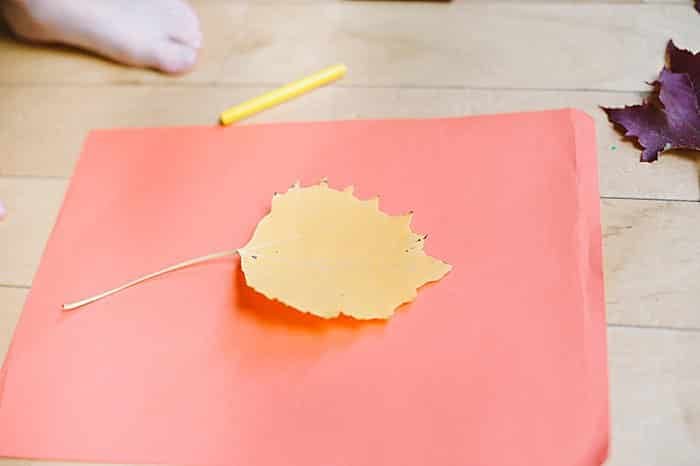
Step 3. Lay leaf down, cover with paper.
Choose the leaf you want to do a leaf rubbing of, and lay it down on your work surface.
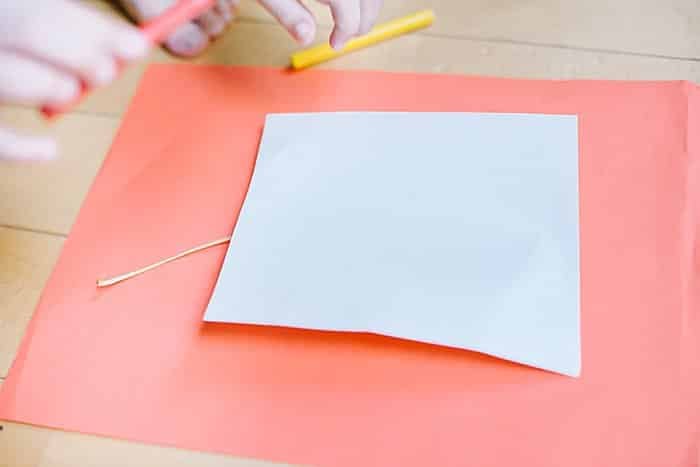
Cover the leaf with a piece of paper.
PRO TIP: As my son and I discovered the hard way doing this craft, small pieces of flimsy, lightweight paper like the ones shown DO NOT work well. Instead, choose bigger pieces of paper like an 8.5x11 piece of white printer paper. Printer paper is thicker and more sturdy, and the larger size gives you more room to hold it down while you rub over the leaf with the crayon.
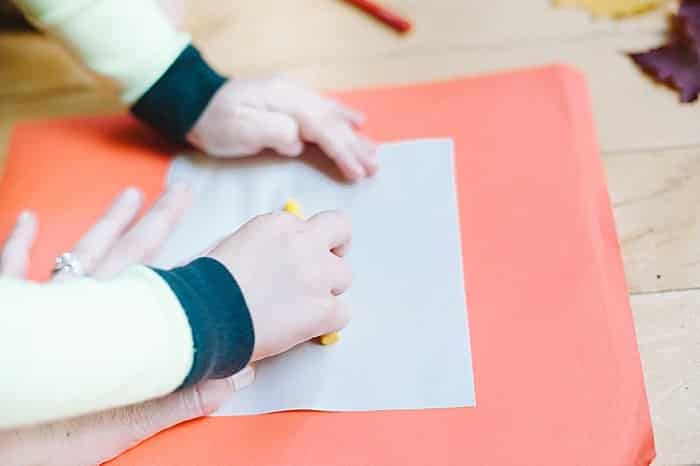
Step 4. While holding the paper in place, rub over the leaf with a crayon.
Again, this paper was too small and too flimsy to be effective, and the yellow crayon does not show up on the light colored paper. This is an example of what NOT to do.
However, the steps are the same and work better with printer paper.
Hold the paper in place, lay the crayon on the surface, and rub the crayon over the leaf.
Watch the leaf shape beneath appear!
Continue to rub over all sections of the leaf as the shape appears.
Step 5. Continue for all leaves.
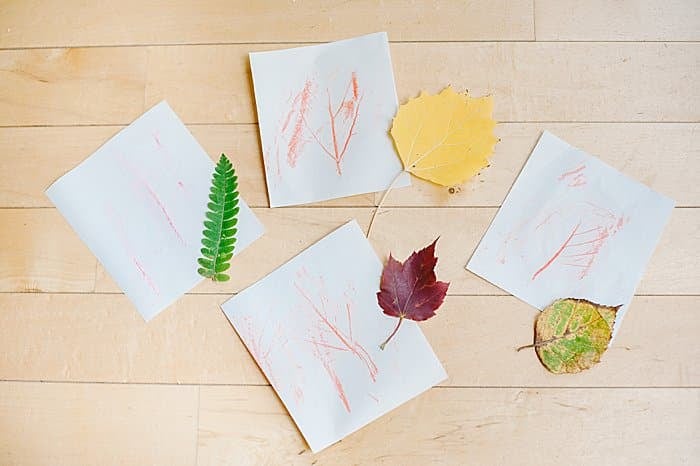
Because of the flimsy paper and small paper size, my son had a harder time doing these leaf rubs.
But even so, you can still see the general outlines and the veins in each of his leaves.
I tried it myself too.
Even I had trouble keeping the flimsy paper in place, but it's still a magical process!
PRO TIPS FOR A SUCCESSFUL LEAF RUBBING PROJECT:
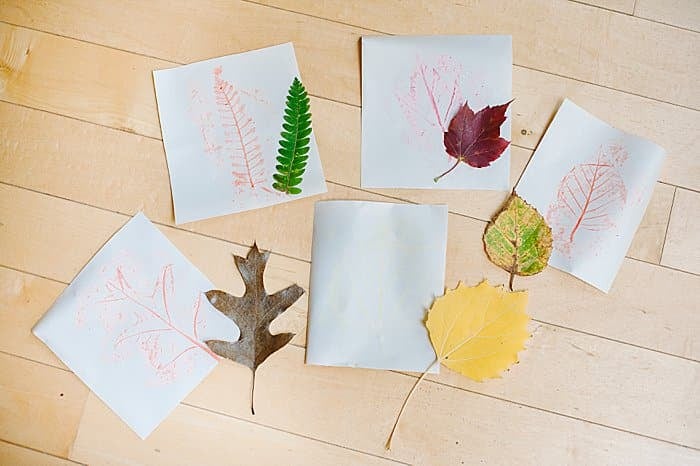
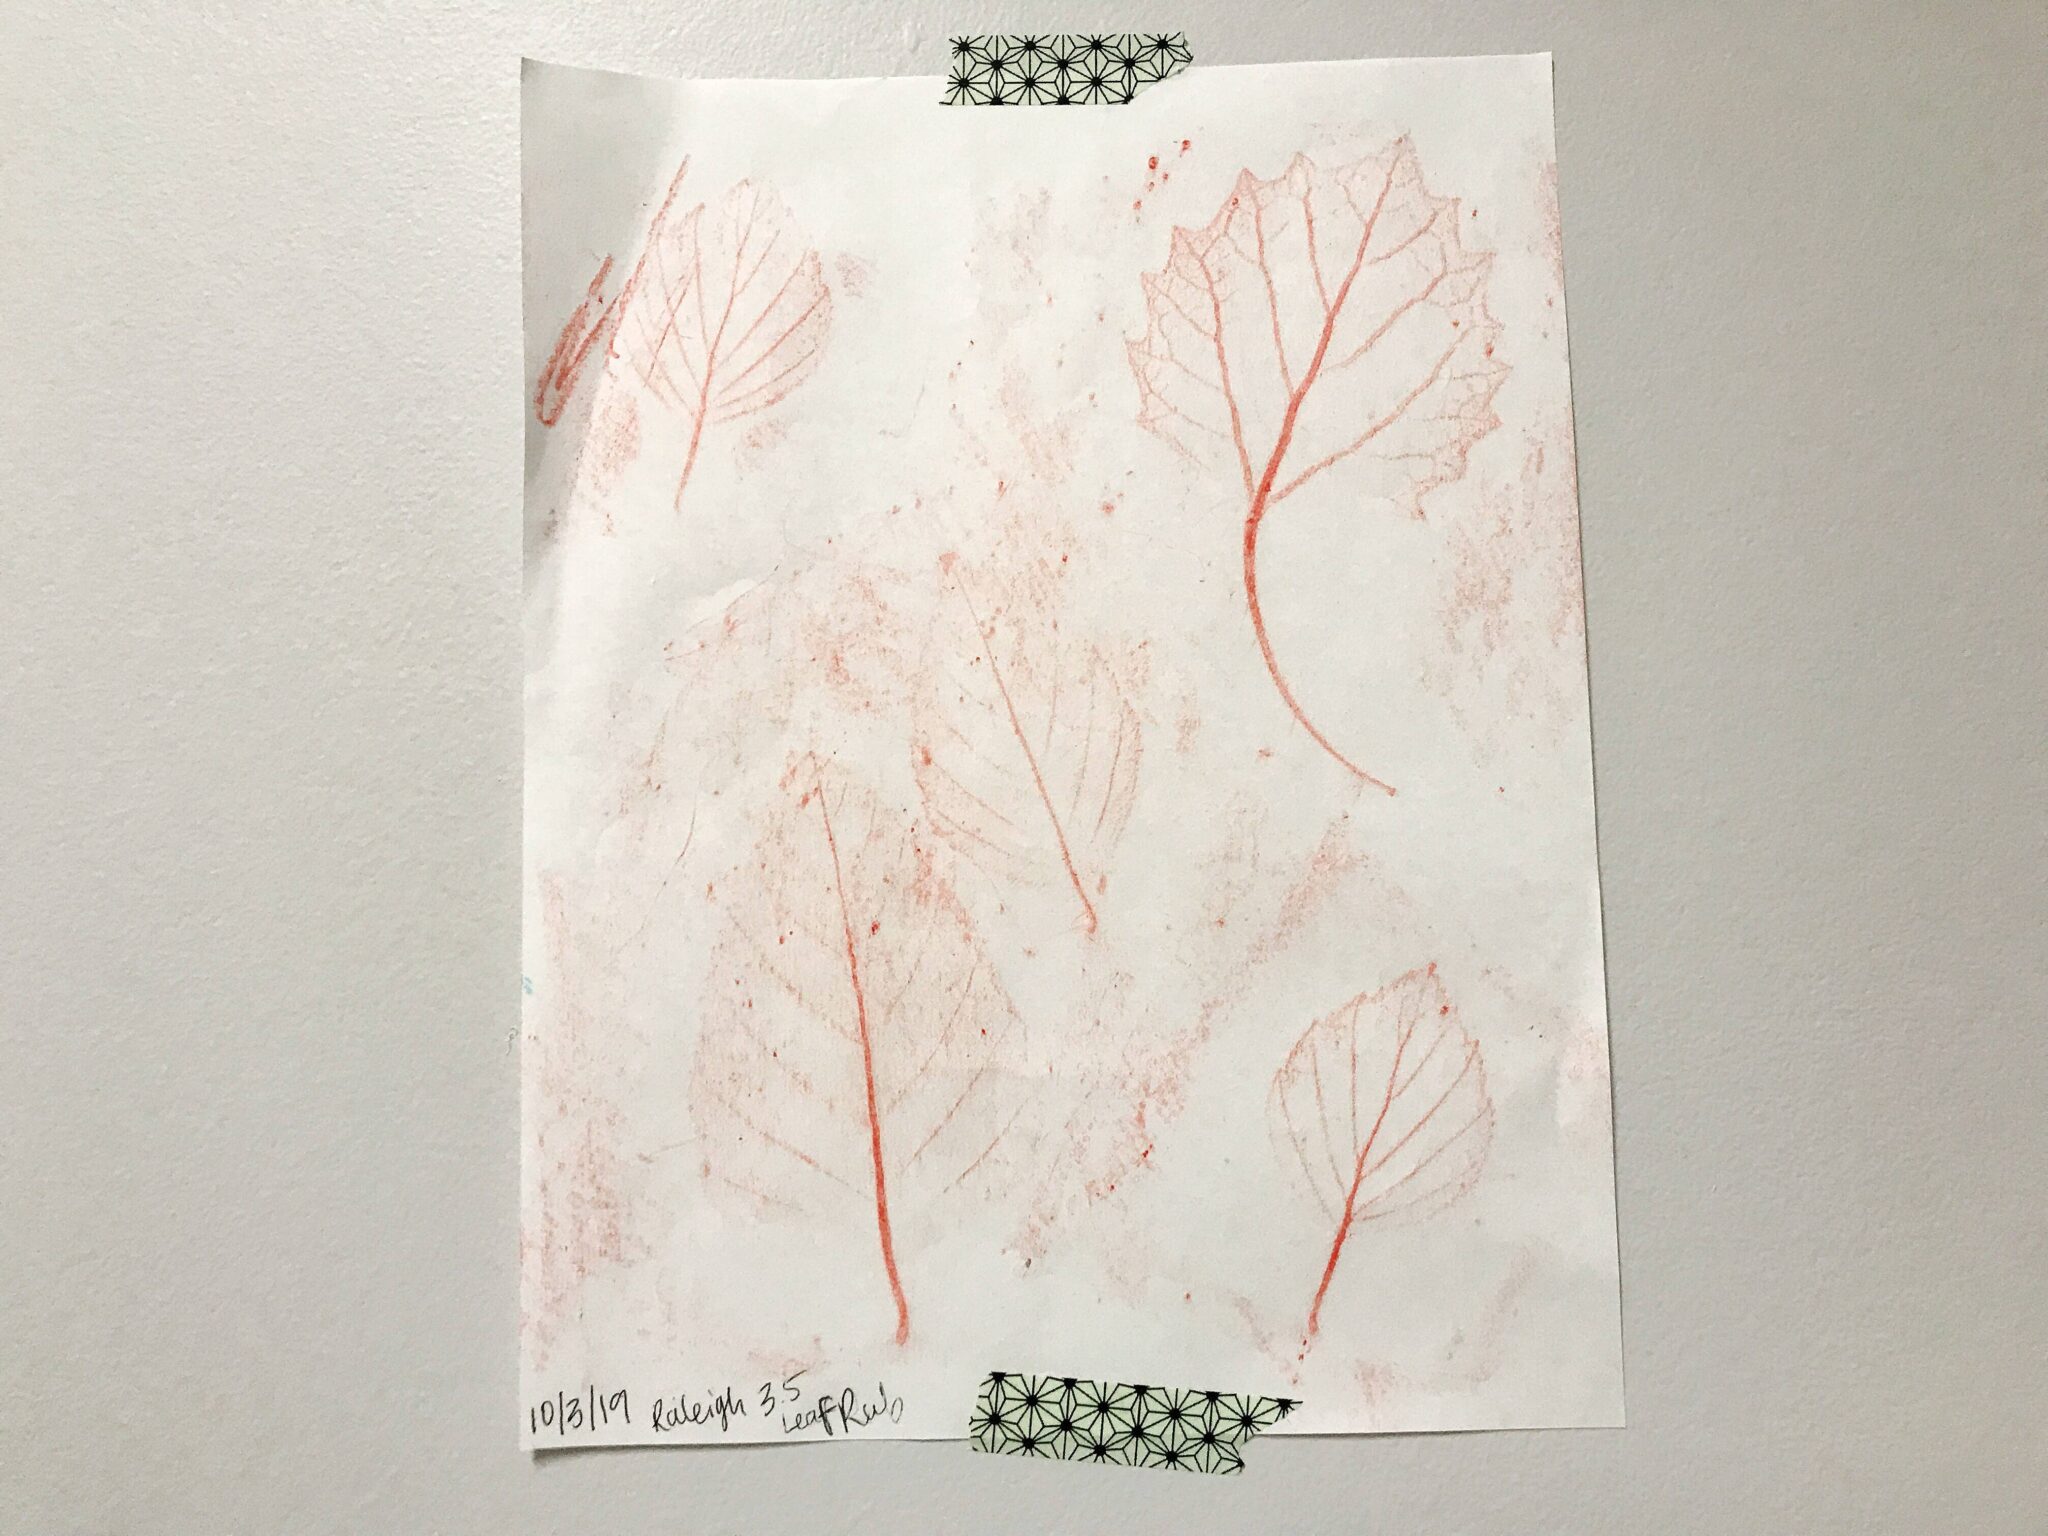
As the photo below shows, (which is 100% my 3.5 year old son's leaf rubbing,) the proper supplies make ALL the difference in a successful leaf rub.
- Use sturdy paper that is big enough to hold secure while rubbing. 8.5x11 printer paper works well.
- Use dark colored crayons so the leaf rubs will stand out on the white paper.
- Hold the paper securely in place while your kiddo rubs over the leaf with the crayon. You don't want the paper to move.
Leaf rubbing is kind of like magic! The first time we did it, as the leaf shape appeared I exclaimed, "It really works!"
However, as our first attempt at the project for this tutorial showed, the right supplies make all the difference in this kids craft.
Use big, sturdy pieces of paper as well as dark crayons, and you'll be on your way to leaf rub magic!
- - - - -



Leave a Reply